


21
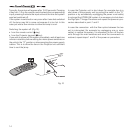
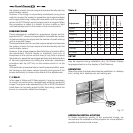
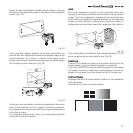
Adjust the feet underneath to obtain a level position, lining up
the base of the projected image to the base of the projection
screen
(Fig. 22)
.
1
2
C
L
A
S
S
1
L
AS
E
R
PR
O
D
U
C
T
3
-
Fig. 22
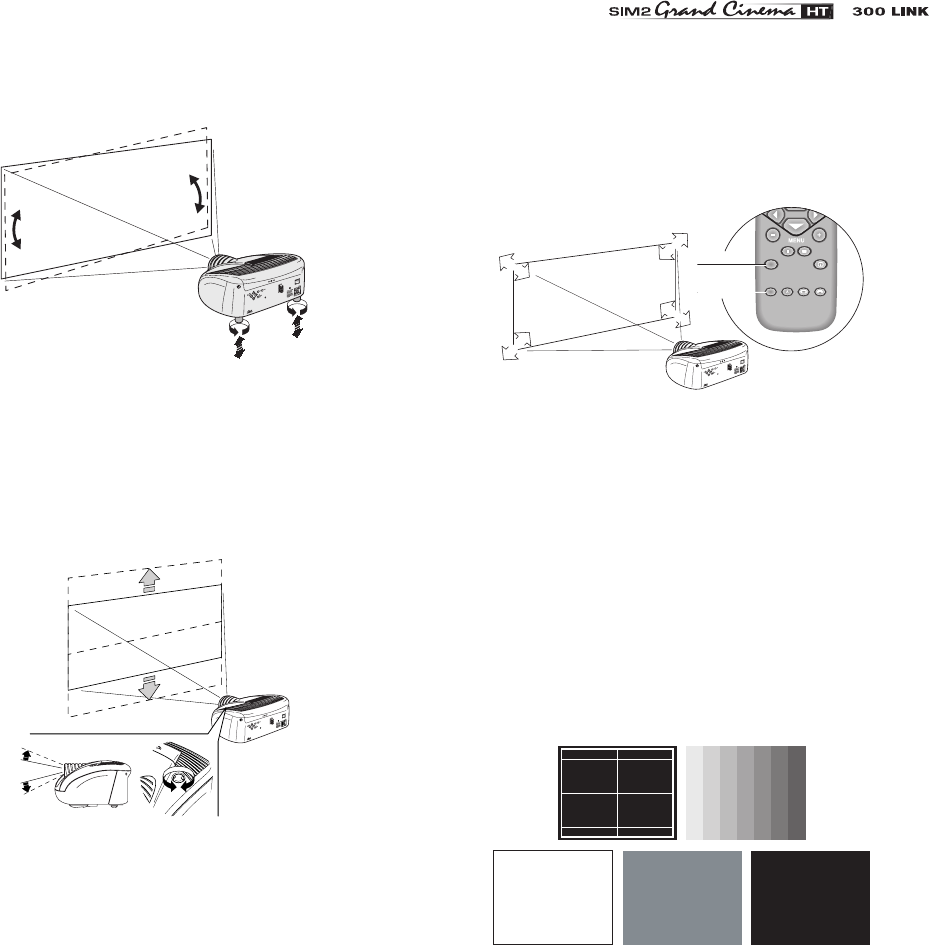
If the projected images needs to be centred horizontally, the
manual lens shift adjustment allows the projected image to be
moved vertically, up or down, in relation to the centre of the
screen; the maximum adjustment being equal to half the height
of the image in either direction
(Fig. 23)
.
1
2
C
L
A
S
S
1
L
A
S
E
R
P
R
O
D
U
C
T
3
-
Fig. 23
In the event you are unable to centre the image within the screen
area, tilt the projector until the image is correctly positioned.
Any keystone error can be removed by the Keystone adjustment
in the Set up menu.
The keystone adjustement helps to compensate possible
horizontal tilts of the projector.
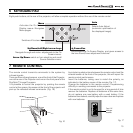
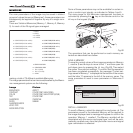
LENS
The Zoom adjustment impacts on the motorized zoom lens
allowing to increase or decrease the dimension of the projected
image. The Focus adjustment impacts on the motorized lens
focus, allowing to obtain the highest definition on the projected
image, an accurate focus setting should allow the viewer to
distinguish each pixel that create the image one from another.
ZOOM
ZOOM
ZOOM
ZOOM
FOCUS
FOCUS
FOCUS
ZOOM
FOCUS
1
2
C
L
A
S
S
1
L
A
S
E
R
P
R
O
D
U
C
T
3
-
Fig. 24
In the initial phase of installation the configurable keys (F1, F2)
serve as optical zoom and optical focus
(Fig.24).
POWER ON
If active (
AUTO
) allows to power up the system directly from the
power feeder, once the initializing phase is completed.
If not active
(STAND-BY
) once the initializing phase is completed
the system remains in a stand-by mode waiting to receive the
power on command from the remote control or the key pad.
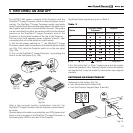
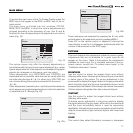
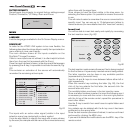
TEST PATTERNS
Displays a series of five test patterns, useful for the installation
of the projector.
Press and keys to browse pattern.