


Installation
RS-900 and RS1100 Series Installation/Operation Manual 31
PRE
L
IMINAR
Y
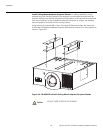
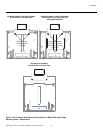
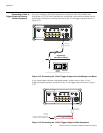
For a floor installation, turn the four adjustable
feet on the bottom of the projector to adjust
the projector height and/or projection angle.
If you do this, you may need to make keystone
adjustments or vertically shift the image using
the on-screen display (OSD) controls, to
compensate. For detailed instructions, refer to
Using the On-Screen Menus on page 50.
3.6
Connections to the
RS-900/RS1100
Proceed as follows to connect the RS-900/RS1100 to your video sources, external
controller(s) – if present – and AC power.
When connecting your equipment:
• Turn off all equipment before making any connections.
• Use the correct signal cables for each source.
• Ensure that the cables are securely connected. Tighten the thumbscrews on
connectors that have them.
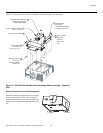
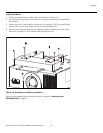
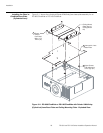
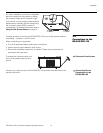
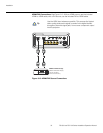
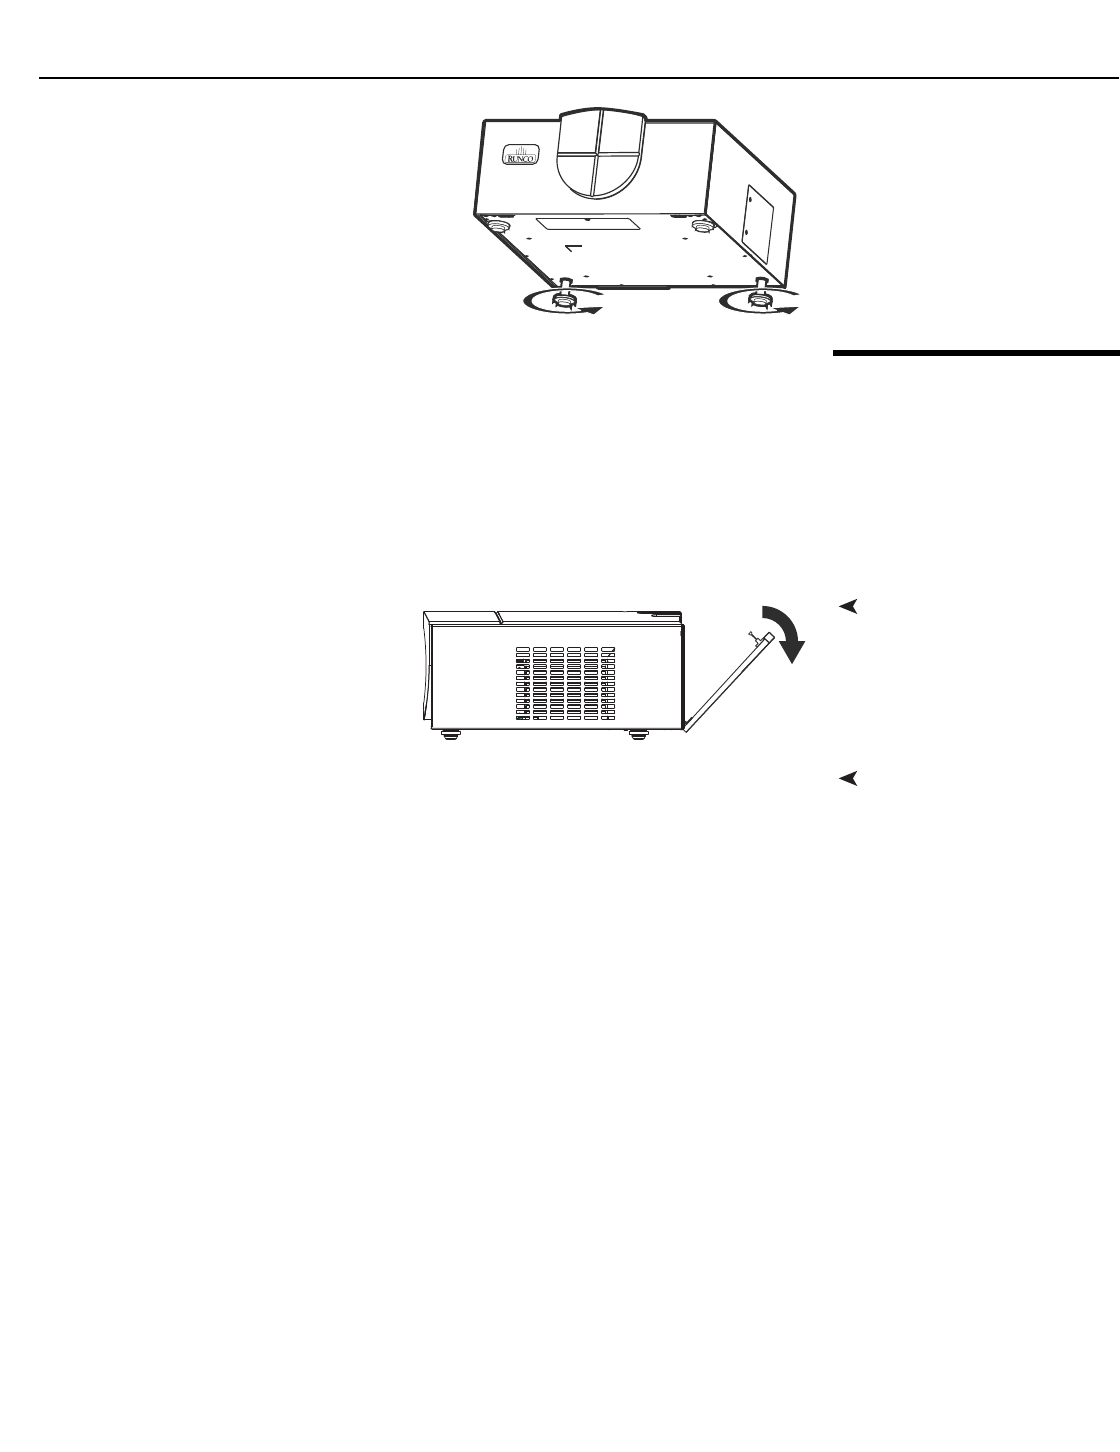
Connector Panel AccessTo access the connector panel, pull
firmly on the cable access cover to
open it.
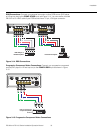
Connecting Source
Components to the
RS-900/RS1100
Connect your video sources to the RS-900/RS1100 as shown and described in the
sections that follow.