46
En/Fr
More recording features
Autres fonctions d’enregistrement
6
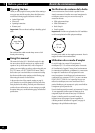
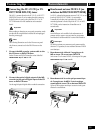
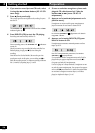
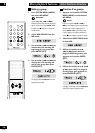
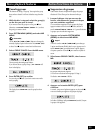
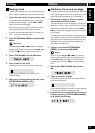
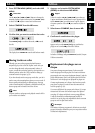
5 Set the recording start time:
First, set the hour:
Use the 2 and 3 (4 and ¢) buttons to change the
flashing hour display, then press ENTER (SET).
Next, set the minute:
Use the 2 and 3 (4 and ¢) buttons to change the
flashing minute display, then press ENTER (SET).
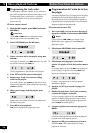
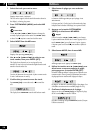
6 Set the recording end time:
First, set the hour:
Use the 2 and 3 (4 and ¢) buttons to change the
flashing hour display, then press ENTER (SET).
Next, set the minute:
Use the 2 and 3 (4 and ¢) buttons to change the
flashing minute display, then press ENTER (SET).
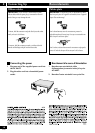
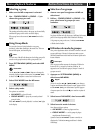
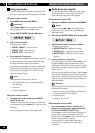
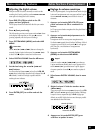
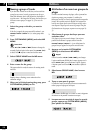
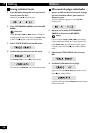
7 Set the recording component to MD REC.
Use the 2 and 3 (4 and ¢) buttons to select MD
REC
then press ENTER (SET).
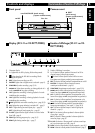
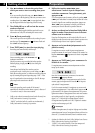
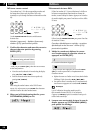
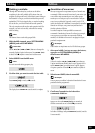
After pressing ENTER (SET), the display shows you the
settings you’ve just made, including the switch on and off
times, and the component you’re recording from.
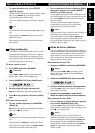
The clock and record symbols in the display indicate that the
record timer is set.
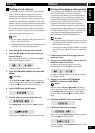
8 Switch the system into standby mode before
timer recording starts.
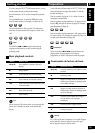
In standby mode you can check the timer settings by pressing
CLOCK/TIMER (TIMER).
After the recording has finished, the timer recording mode is
automatically canceled.
5 Réglez l’heure du début de l’enregistrement:
Pour commencer, réglez les heures:
Utilisez les touches 2 et 3 (4 et ¢) pour changer le
réglage des heures qui clignote dans la fenêtre d’affichage,
puis appuyez sur la touche ENTER (SET).
Ensuite, réglez les minutes:
Utilisez les touches 2 et 3 (4 et ¢) pour changer le
réglage des minutes qui clignote dans la fenêtre d’affichage,
puis appuyez sur la touche ENTER (SET).
6 Réglez l’heure de la fin de l’enregistrement:
Pour commencer, réglez les heures:
Utilisez les touches 2 et 3 (4 et ¢) pour changer le
réglage des heures qui clignote dans la fenêtre d’affichage,
puis appuyez sur la touche ENTER (SET).
Ensuite, réglez les minutes:
Utilisez les touches 2 et 3 (4 et ¢) pour changer le
réglage des minutes qui clignote dans la fenêtre d’affichage,
puis appuyez sur la touche ENTER (SET).
7 Réglez la source à enregistrer sur MD REC.
Utilisez les touches 2 et 3 (4 et ¢) pour sélectionner
MD REC, puis appuyez sur la touche ENTER (SET).
Lorsque vous avez appuyé sur la touche ENTER (SET), la
fenêtre d’affichage indique les réglages que vous venez de
faire, y compris les heures d’activation et de désactivation, et
l’appareil source.
Dans la fenêtre d’affichage, les symboles de l’horloge et de
l’enregistrement indiquent que le programmateur
d’enregistrement est activé.
8 Mettez l’appareil en mode de veille avant que
l’enregistrement programmé commence.
En mode de veille, vous pouvez vérifier les réglages de
programmation en appuyant sur la touche CLOCK/TIMER
(TIMER).
Une fois l’enregistrement terminé, le mode d’enregistrement
programmé est automatiquement annulé.