


GETTING STARTED
10
RQTX1220
10
ENGLISH
ENGLISH
EASY SETUP
The EASY SETUP screen assists you in making basic settings.
Preparation
Switch on your TV and change its video input mode
(example: change to “AV1” if you use “AV1” for the connection).
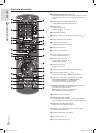
1 Press [
`
] to switch on the system.
If the EASY SETUP screen appears, skip steps 2 to 6.
2 Press [
4
, DVD/CD].
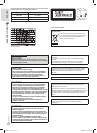
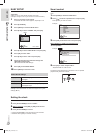
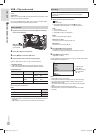
3 Press [SETUP] to show the SETUP menu.
4 Press [
R
/
T
] to select “OTHERS” and press [OK].
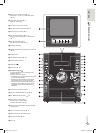
SET
MAIN
DISC
VIDEO
AUDIO
DISPLAY
OTHERS
EXIT : SETUP
RETURN
5 Press [
R
/
T
] to select “EASY SETUP” and press [OK].
6 Press [OK] to select “SET”.
7 Press [
R
/
T
] to select “YES” and press [OK].
8 Follow the messages and make the settings with
[
R
/
T
/
Y
/
U
] and press [OK].
(
Z
below, EASY SETUP settings)
9 Press [OK] to finish EASY SETUP.
10 Press [SETUP] to close the screen.
EASY SETUP settings
Language Select the language for the on-screen
messages.
TV aspect Select the aspect ratio that suits your TV.
PCM output Select the maximum sampling frequency of
PCM digital output.
Note:
Settings in the EASY SETUP can also be changed in the system
settings (
Z
20).
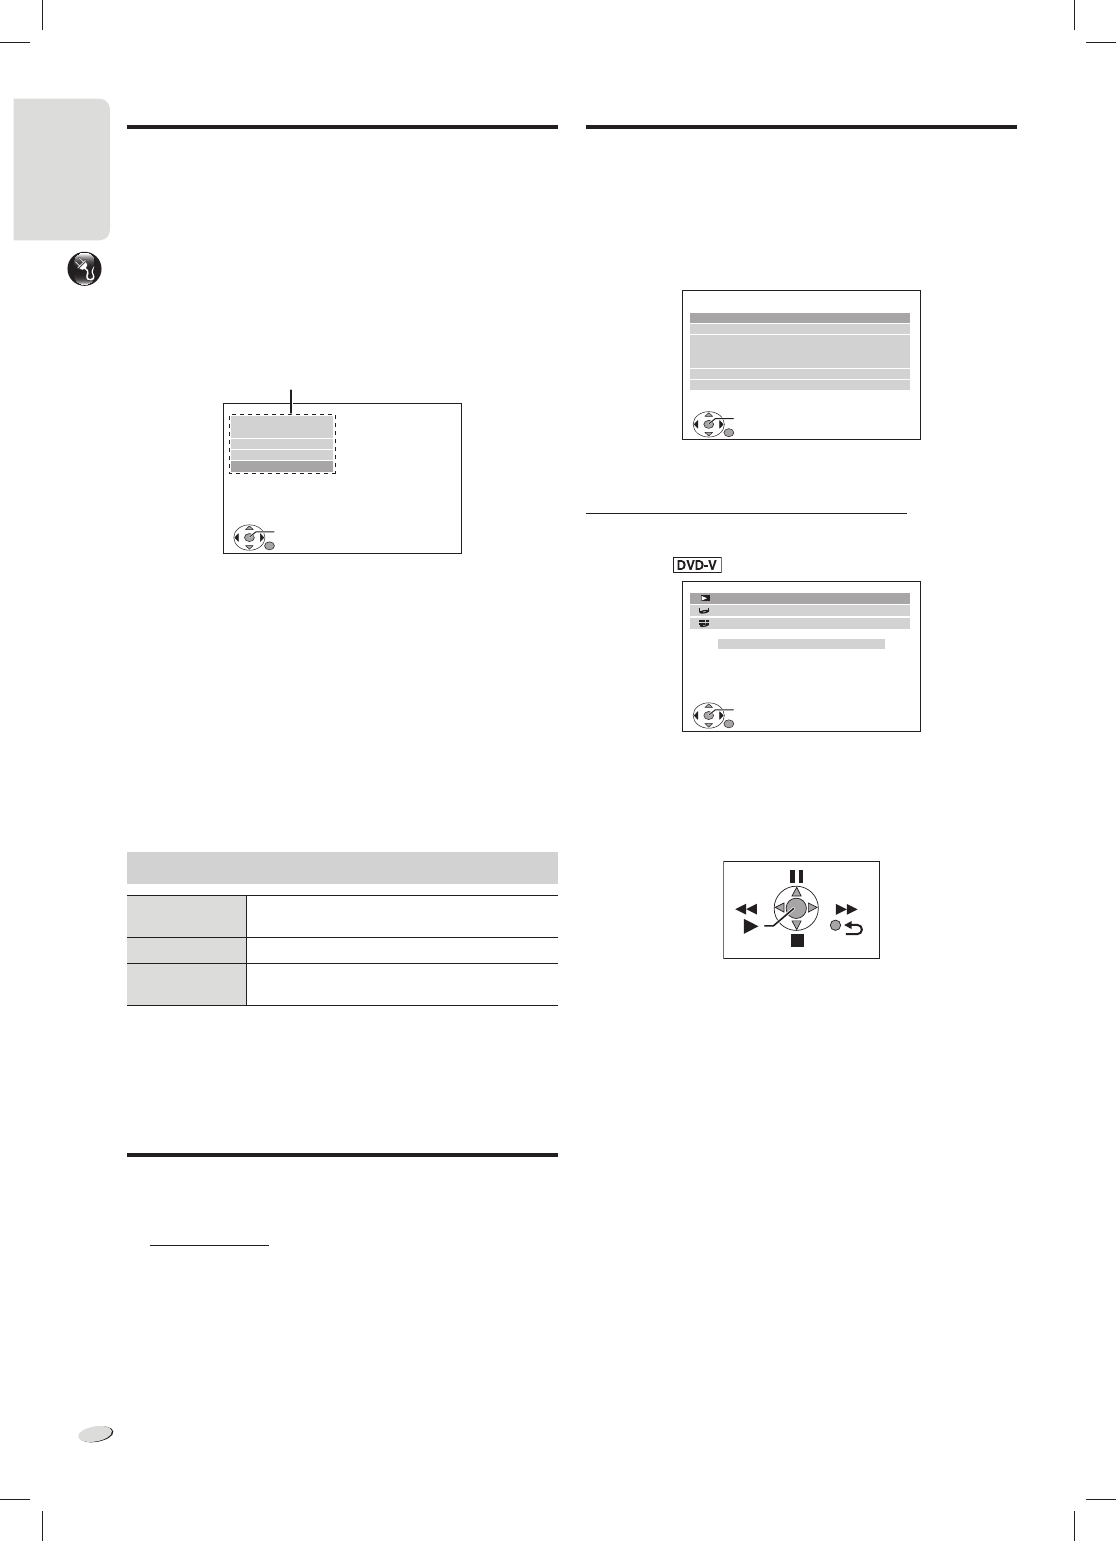
Menu
Smart control
You can select the source or access menus by using the START
menu.
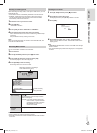
1 Press [START] to show the START menu.
2 Press [
R
/
T
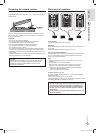
] to select “Input Selection” and press [OK].
Press [START] to close the screen.
Example:
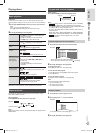
OK
TAPE
Input Selection
DVD/CD
FM RADIO
AM RADIO
AUX
USB
MUSIC PORT
TAPE
RETURN
3 Press [
R
/
T
] to select the source and press [OK].
When “DVD/CD” or “USB” is the selected source
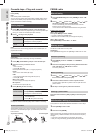
1 Press [START].
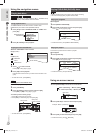
Example:
Input Selection
OK
DVD/CD
Playback Disc
RETURN
TOP MENU (DVD)
MENU (DVD)
2 Press [OK] to select “Playback Disc”.
“Playback USB” for “USB” source.
The smart control panel shows on the screen. You can operate
playback easily with these controls.
Setting the clock
This is a 24-hour clock.
1 Press [CLOCK/TIMER] to select “CLOCK”.
2 Within 7 seconds, press [
2
] or [
6
] to set the time.
3 Press [CLOCK/TIMER] to confirm.
• Press [CLOCK/TIMER] to show the clock for a few seconds.
• Reset the clock regularly to maintain accuracy.
VKX80_GC_1En.indd 10VKX80_GC_1En.indd 10 9/22/2010 2:34:41 PM9/22/2010 2:34:41 PM