


23
Changing the Remote ID
If the T-4555’s remote controller interferes with other
Onkyo components located in the same room, you can
change the remote control ID. You can select remote
control ID #1, #2, or #3. By default, the remote control
ID is set to #1. If you change the ID, you must also
change the ID on the remote controller to match, as
explained below, otherwise, the remote controller won’t
work.
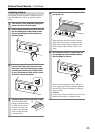
Changing the T-4555’s Remote ID
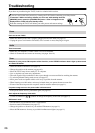
Changing the Remote Controller’s ID
Note:
• The remote controller and T-4555 must be set to the
same remote control ID. Otherwise, you won’t be
able to control the T-4555 with the remote controller.
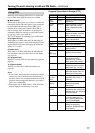
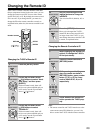
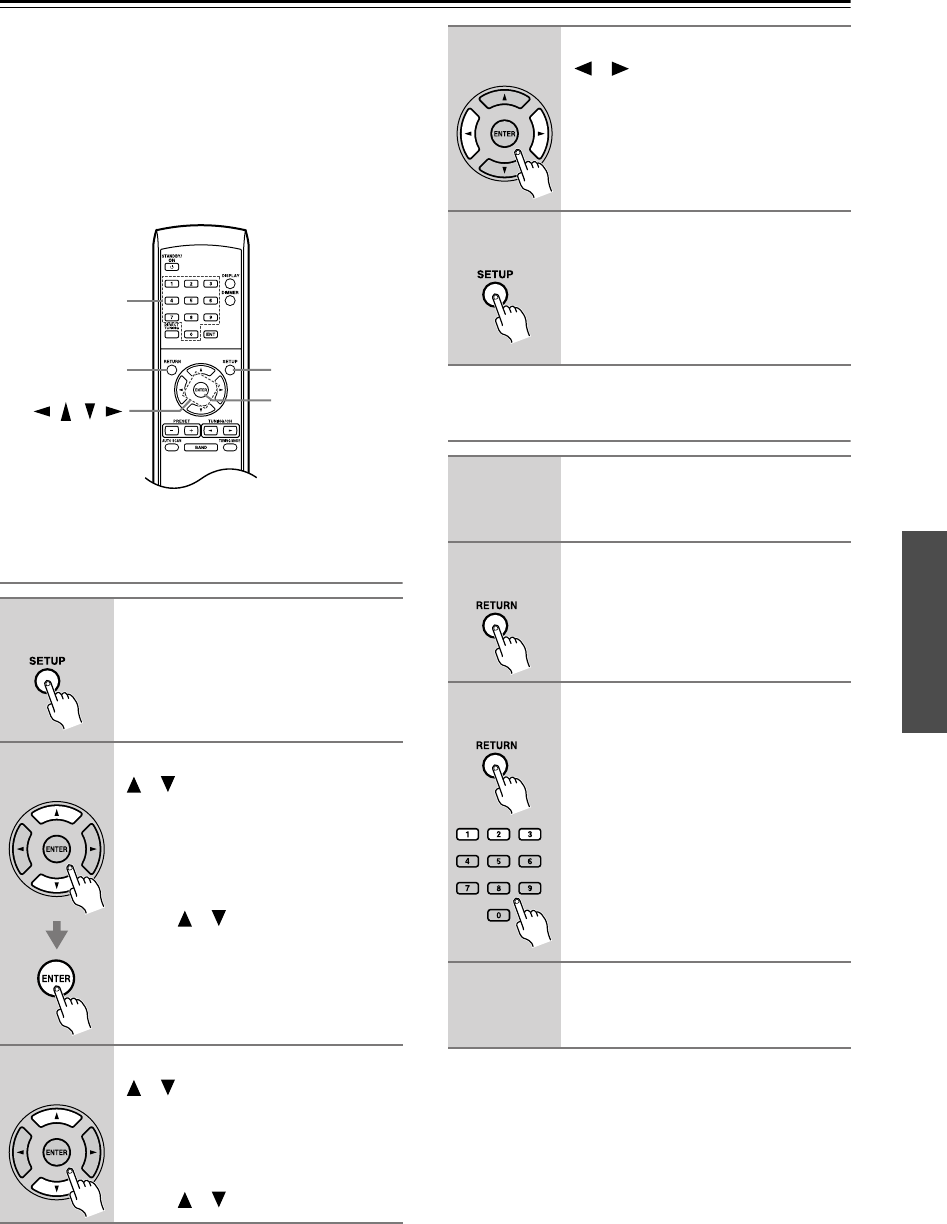
1
Press the [SETUP] button.
2
Use the Up and Down Arrow
[ ]/[ ] buttons to select “Hard-
ware Setup,” and then press
[ENTER].
With some tuner boards, there will
only be one option available and you
won’t need to use the Up and Down
Arrow [ ]/[ ] buttons.
3
Use the Up and Down Arrow
[ ]/[ ] buttons to select
“Remote ID.”
With some tuner boards, there will
only be one option available and you
won’t need to use the Up and Down
Arrow [ ]/[ ] buttons.
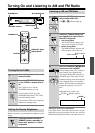
SETUP
///
ENTER
Number buttons
RETURN
Remote controller
Remote controller
Remote controller
4
Use the Left and Right Arrow
[ ]/[ ] buttons to change the
remote ID.
You can select ID #1 (default), #2, or
#3.
5
Press the [SETUP] button.
Once you’ve changed the T-4555’s
remote ID, the remote controller will
no longer control the T-4555, so you
must change the remote controller’s ID
to match, as explained below.
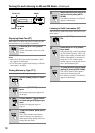
1
Before changing the remote con-
troller’s ID, change the T-4555’s
ID first (see above).
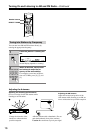
2
Press the remote controller’s
[RETURN] button.
3
While pressing and holding
down the remote controller’s
[RETURN] button, press number
button [1], [2], or [3] for 3 sec-
onds to select ID #1, #2, or #3
respectively.
4
Check whether the remote con-
troller operates the T-4555 prop-
erly.
Remote controller
Remote controller
Remote controller
Remote controller