29
Playing Your AV Components—Continued
While “Auto” is displayed, the name of the digital input cur-
rently assigned to the input source (page 24) is displayed in
parenthesis. For example, “Auto (COAX).” The possible
inputs are OPT1, OPT2, and COAX.
The options are explained below.
Auto: The assigned digital input will have priority over the
analog inputs. If no digital signal is present, the analog inputs
will be used.
Analog: The analog inputs will be used even if the input
source (i.e., AV component) is connected digitally.
Multich: The multi-channel inputs will be used even if the
input source is connected digitally.
Notes:
• When you assign an input source to COAX, OPT1, or
OPT2 on page 24, if the signal format for that input source
was previously set to Analog, it’s automatically set to Auto.
• When you assign an input source to “– – – –” on page 24,
if the signal format for that input source was previously set
to Auto, it’s automatically set to Analog.
Fixing the signal format at DTS or PCM
If you experience either of the following issues when playing
DTS or PCM source material with the Auto setting, you can
fix the signal format at PCM or DTS, as explained below.
• If the beginnings of tracks from a PCM source are cut off
in Auto mode, try fixing the format at PCM.
• If noise is produced when fast forwarding or reversing a
DTS format CD or LD in Auto mode, try fixing the format
at DTS.
1) To fix the signal format, use the [AUDIO SELECTOR]
button, or the remote controller’s [AUDIO SEL] button to
select Auto.
2) While “Auto” is being displayed, use the PRESET/
ADJUST [ ] [ ] buttons to select: PCM, DTS, or Auto.
When the digital signal format is fixed at DTS or PCM,
only signals in the corresponding format will be output.
Digital signals in other formats will be ignored, and the
DTS or PCM indicator, depending on which format you
have set, will flash.
The multi-channel inputs are for connecting an AV compo-
nent with individual 5.1-surround analog outputs, such as a
DVD player or MPEG decoder.
See “Connecting Your AV Components” on page 13 for con-
nection information.
You can adjust the volume level of each individual speaker as
you like. For the front-left, front-right, center, surround-left,
and surround-right speakers, you can adjust the volume from
–12 dB to +12 dB. The subwoofer can be adjusted from
–30 dB to +12 dB.
Note that these settings work independently of the individual
speaker volume settings on page 27.
Enabling the Tone Controls
To use the Bass and Treble functions with the multi-channel
inputs, first you need to enable them. To do this, press the
[SURROUND] button. “Tone On” appears on the display.
You can now use the [AUDIO ADJUST] button to select the
Bass and Treble functions and adjust as explained on
page 37. To switch off the Bass and Treble functions, press
the [DIRECT] button. “Tone Off” appears on the display.
Notes:
•To use the multi-channel inputs, you must connect an AV
component with individual 5.1-surround analog outputs to
the HT-R510’s multi-channel inputs.
•You can select Multich only when the DVD input source is
selected.
• While Multich is selected, you can’t select a listening
mode. If you select Multich while using a listening mode,
the listening mode will be cancelled.
• While Multich is selected, the speaker configuration set-
ting (page 25) is ignored, so even if you have specified two
speakers, the multi-channel input signals will be fed to the
front-left, front-right, center, surround-left, and surround-
right speakers regardless.
• While Multich is selected, the subwoofer mode (page 25)
is ignored, so even if you have specified “Subwoofer Off,”
the signal connected to the SUBWOOFER DVD IN will be
fed to the SUBWOOFER PRE OUT regardless.
3
While the format is being dis-
played, use the [AUDIO SELEC-
TOR] button to select: Auto,
Analog, or Multich (DVD input
source only).
AUDIO
SELECTOR
Using the Multi-Channel Inputs
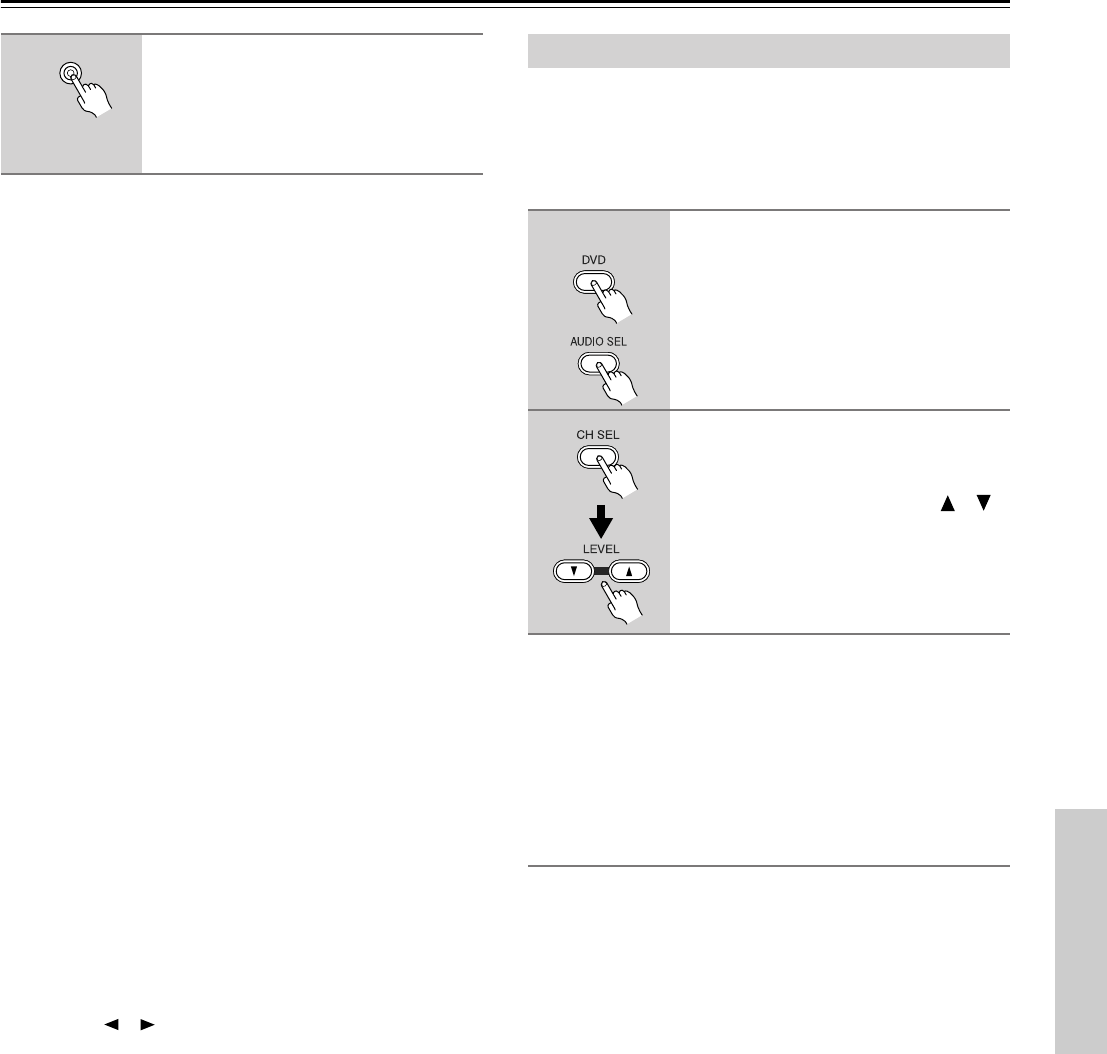
1
Press the remote controller’s [DVD]
input selector button, then [AUDIO
SEL] button to select “Multich.”
Start playback on the AV compo-
nent.
2
To adjust the volume of an individ-
ual speaker, use the remote con-
troller’s [CH SEL] button to select
it, and then use the LEVEL [ ] [ ]
buttons.
Remote
controller


