


118
Multi Zone—Continued
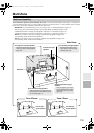
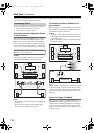
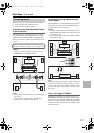
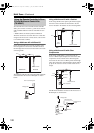
If you’ve connected your Zone 2/3 speakers to the AV
receiver, as explained in “Connecting Your Zone 2
Speakers Directly to the AV receiver” on page 116 or
“Connecting Your Zone 3 Speakers Directly to the AV
receiver” on page 117, you must set the “Powered
Zone2” or “Powered Zone3” setting to “Act” (Acti-
vated).
Notes:
• Powered Zone2/3 cannot be used if “Speaker Type
(Front)” is set to “Bi-Amp” (see page 51).
• “Powered Zone3” cannot be used if “Powered Zone2”
is set to “Not Act”.
• This procedure can also be performed on the AV
receiver by using its [SETUP] button, arrow buttons,
and [ENTER] button.
Setting the Powered Zone 2/3
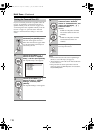
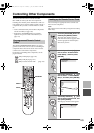
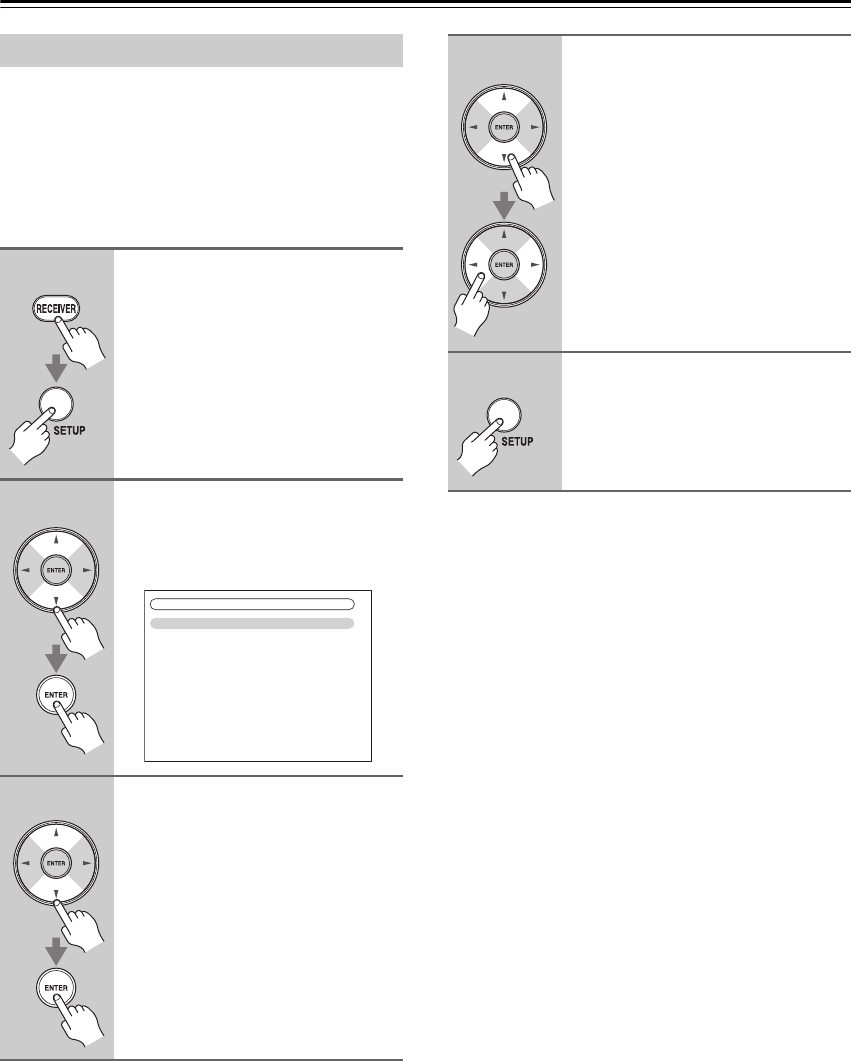
1
Press the [RECEIVER] button
followed by the [SETUP] button.
The main menu appears onscreen.
If the main menu doesn’t appear, make
sure the appropriate external input is
selected on your TV.
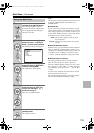
2
Use the Up and Down [ ]/[ ]
buttons to select “2. Speaker
Setup”, and then press [ENTER].
The “Speaker Setup” menu appears.
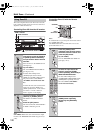
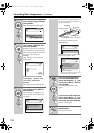
3
Use the Up and Down [ ]/[ ]
buttons to select “1. Speaker
Settings”, and then press
[ENTER].
The “Speaker Settings” menu appears.
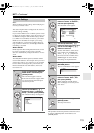
2. Speaker Setup
1. Speaker Settings
2. Speaker Configuration
3. Speaker Distance
4. Level Calibration
5. Equalizer Settings
6. THX Audio Setup
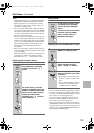
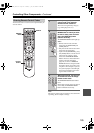
4
Use the Up and Down [ ]/[ ]
buttons to select “Powered
Zone2” or “Powered Zone3”, and
use the Left and Right [ ]/[ ]
buttons to select:
Not Act:
ZONE 2/3 L/R speaker terminals
not activated (Powered Zone 2/3
disabled).
Act:
ZONE 2/3 L/R speaker terminals
activated (Powered Zone 2/3
enabled).
5
Press the [SETUP] button.
The setup menu closes.
TX-NR807_En.book Page 118 Tuesday, July 28, 2009 12:00 PM