16
3. Move the CamLink to the 0˚ position and secure with a
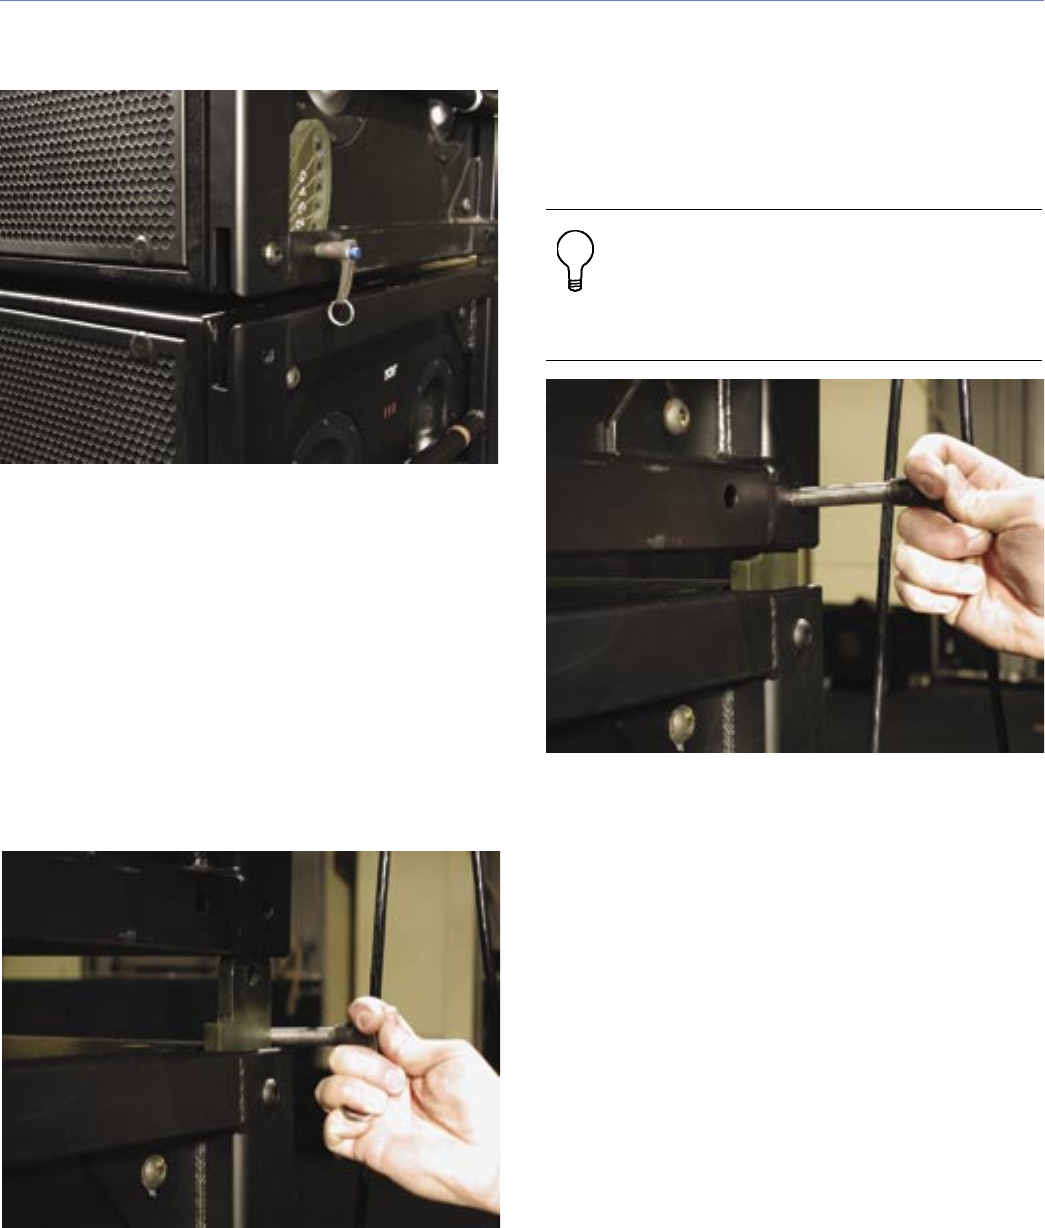
QRP as shown in Figure 24.
Figure 24. Front CamLink in up position, QRP inserted
You are now ready to assemble another block of
loudspeakers to the array.
ADDING A BLOCK OF M3DS TO AN ARRAY
1. Raise the assembled array so that the next block of
cabinets can be moved into place. The lowest cabinet
of the hung array should be level to the next block.
Have the motor operator adjust the front and back
hoists as necessary.
2. Fold the rear link out of the top cabinet and hold it in
place using a QRP as shown in Figure 25.
Figure 25. Holding the rear link using a QRP
3. Lower the own assembly down onto the waiting
block of M3D loudspeakers.
4. While the upper array is still oating, visually align the
cabinets to be sure the CamLinks will not bind into the
mating end frame.
5. Once the rear link is sitting inside the end frame, move
the QRP into the end frame’s hole, awaiting alignment
with the rear link as shown in Figure 26.
TIP: Use small motor bumps (small
movements up or down) as the alignment
gets closer. You may nd that going “down”
past the alignment hole and then bumping
up gives you ner control.
Figure 26. Inserting QRP into rear link
6. Attach the two rear QRPs rst, as shown in Figure 27,
keeping the front CamLinks tucked away in the frame.
7. If the array isn’t level, left to right, use the motors to
adjust the own block of cabinets (if using three- or
four-motor hoists).
8. If using only two motors (front and back), pin the rst
(or lowest) rear link in, bump the motors in, and then
attach the second pin.
