8
9
TIP: If the bottom of the array ends up being
too far downstage during assembly, have
stagehands breast it upstage until assembly
is complete and it is own to its nal trim
position.
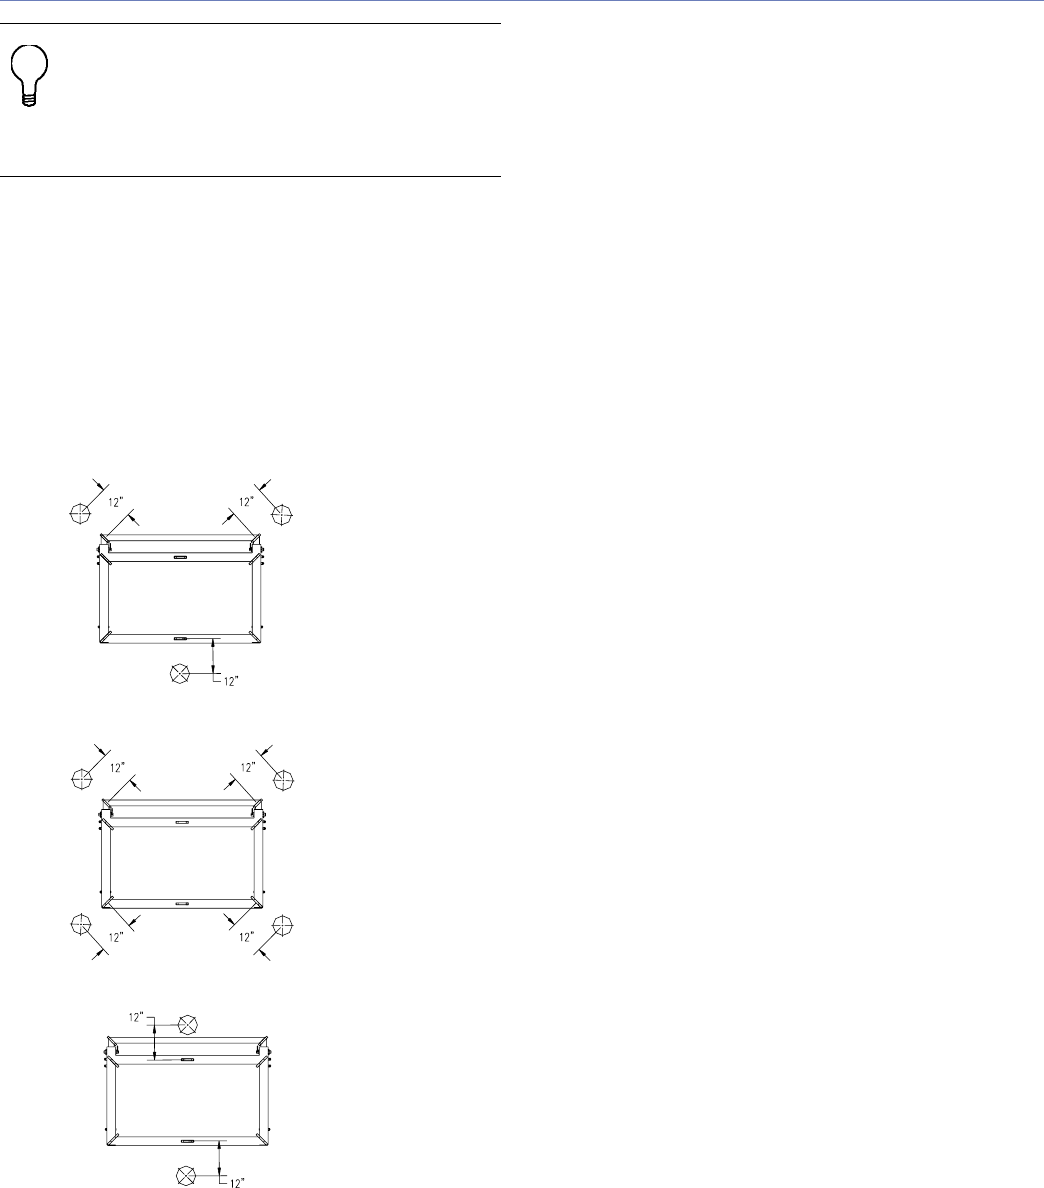
5. It is often necessary to increase the stability of an
array in venues with very high structural steel from
which the array is suspended. The rigging points
can be located a small distance, that is, 6 inches
(152.4 mm) diagonally, from the MTG-3D Top Grid
dimensions for a four-motor conguration. For a two-
motor conguration, the rigging points can be located
a small distance outside of the MTG-3D Top Grid’s
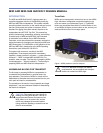
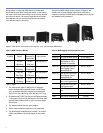
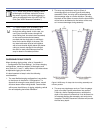
depth, as shown in Figure 9.
Structural Steel Rigging Point
Structural Steel Rigging Point
6" to 12" Outside of Rigging Frame
6" to 12" Outside of Rigging Frame
Figure 9. Example of wide rigging
In the congurations shown in Figure 9, the motors will be
outside of the actual MTG-3D Top Grid dimensions. The
technician will need to pull the motors in to attach them
to the MTG-3D Top Grid. When the array is own into
position, it will nd its own center of gravity between the
motors. In windy conditions, this will also reduce swaying.
This method minimizes any chance of a cable pic turning
the array. If three or four motors are used and the array is
slightly off its ideal horizontal angle, individual motors can
then be used to turn the array once it is close to its nal
trimmed position.
ARRAY ASSEMBLY AND
ANGLE ADJUSTMENT
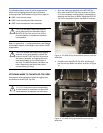
You will need the following items for assembling the array
and adjusting the angle:
Quick release pins (QRPs)
Cable assembly
Alignment block (optional)
Vertical angle conguration
STARTING ARRAY ASSEMBLY
After determining that you have all the necessary
equipment and tools, proceed as follows:
1. Choose the appropriate motor points for the rigger to
prepare the ground rigging of a hanging conguration,
selecting from the options shown in “Appendix A
— Congurations and Load Ratings.”
2. Once the points have been rigged, check for accuracy
and ensure that the climbing riggers have nished all
the points for the array before applying any weight to
these points.
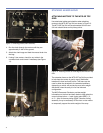
3. Apply power to the motors, checking for correct
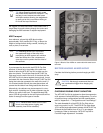
electrical phase (chain movement direction — see
Figure 10). Change phase if necessary.


