29
How to Operate the C500
RECORD Selector has stopped. Refer to figure 66.
Note: When the McIntosh MDA1000 is connected to the
C500 Controller (refer to page 12) and the “D/A
Control” is active (refer to the Setup Controller Mode
page 19) the LISTEN Control and the INPUT Push-
buttons (W and X) on the Remote Control will step
thru the active MDA1000 Inputs automatically when
the D/A Input is selected. When recording from the D/A
Input, care should be exercised not to select the D/A
for Listening as the MDA1000 Input can change. The
D/A Control feature may also be temporarily switched
Off (refer to the Setup Controller Mode page 19) when
recording the D/A Input.
Volume Control
Adjust the Front Panel VOLUME control or the VOLUME
Push-buttons on the Remote Control for the desired listen-
ing level.
Note: The default setting of the Front Panel Alphanumeric
Display indication of the volume level is percentage.
Refer to figure 61. The other choice is decibels, and a
change in Setup on page 18 is required for the display
to indicate decibels. Refer to figure 67.
Listen and Record External Processors
The activation of both the Listen and Record Processors is
fully automatic on a Input per Input basis. To activate the
Listen or Record Processor refer to page 23.
Record Monitor
Press the Front Panel REC MONITOR Push-button or the
REC MONITOR Push-button on the Remote Control to
hear the Signal Source that is available at the Record Out
Jacks for recording. The LED above the REC MONITOR
Push-button on the Front Panel will Illuminate.
Note: The Front Panel Alphanumeric Display will display the
Input Title on the Left side of the Display with the
Volume Level on the right side. Refer to figure 68.
Setup Mode
Pressing the SETUP Push-button activates the Setup Mode
of the C500 and allows customizing of the various Operat-
ing Modes, Front Panel Alphanumeric Display and indica-
tion of the Firmware Version. The LED above the SETUP
Push-button will Illuminate. Refer to page 16 for additional
information on the SETUP Mode.
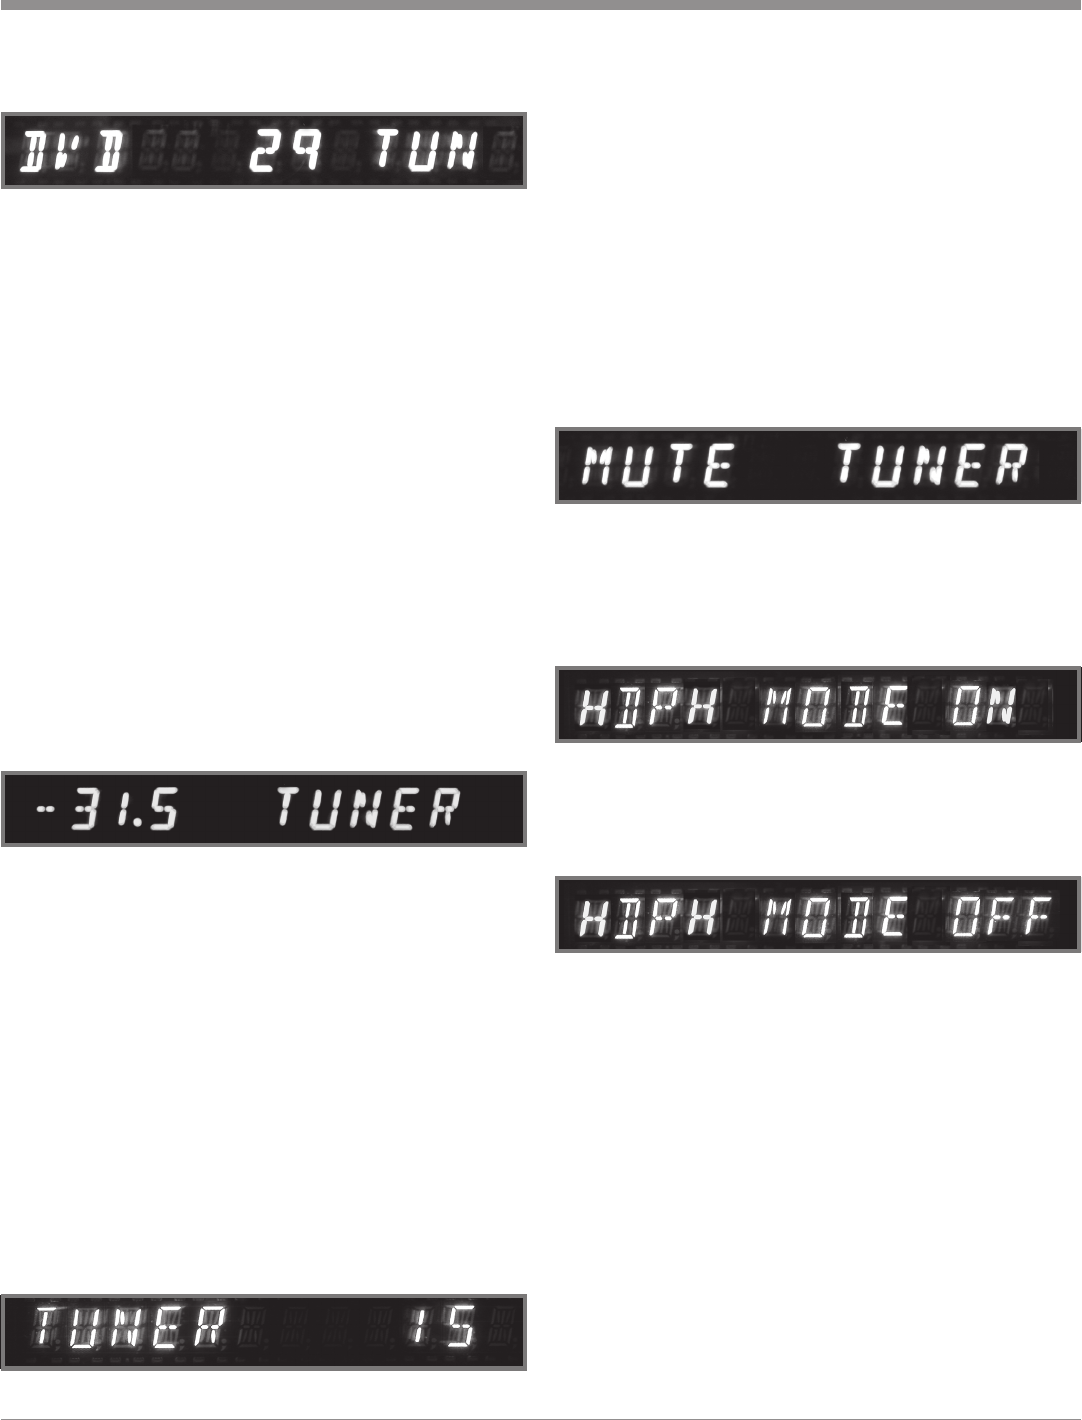
Mute
Press the MUTE Push-button to mute audio in all Listen
Outputs including headphones and the Front Panel Alphanu-
meric Display will indicate MUTE in place of the actual
volume setting. Refer to figure 69a. Press the MUTE again
to resume listening. If it is desirable to listen privately with
headphones (connected to the Preamplifier Front Jack),
press and hold the MUTE Push-button until the Front Panel
Alphanumeric Display indicates “HDPH MODE ON”.
Refer to figure 69b. Only the Headphones will be active for
listening. Return to regular listening of Loudspeaker or
Headphones by pressing and hold the MUTE Push-button
until the Front Panel Alphanumeric Display indicates
“HDPH MODE OFF”. Refer to figure 69c.
How To Make A Recording
The separate RECORD and LISTEN Controls allow the
recording from one program source while listening to an-
other. You can also listen (monitor) to the recorded signal
off the recording media, a fraction of a second later. You
can also listen to the signal at the record outputs by pressing
the REC MONITOR push-button.
1. Select the desired program source to record with the
Front Panel RECORD Control.
2. Adjust the record level using the recorders volume con-
trol.
3. To listen to the signal at the record outputs going to the
recorder, press the REC (Record) MONITOR push-
button.
Figure 66
Figure 67
Figure 69a
Figure 68
Figure 69b
Figure 69c


