21
Setup, con’t
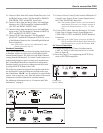
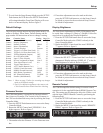
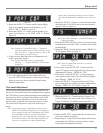
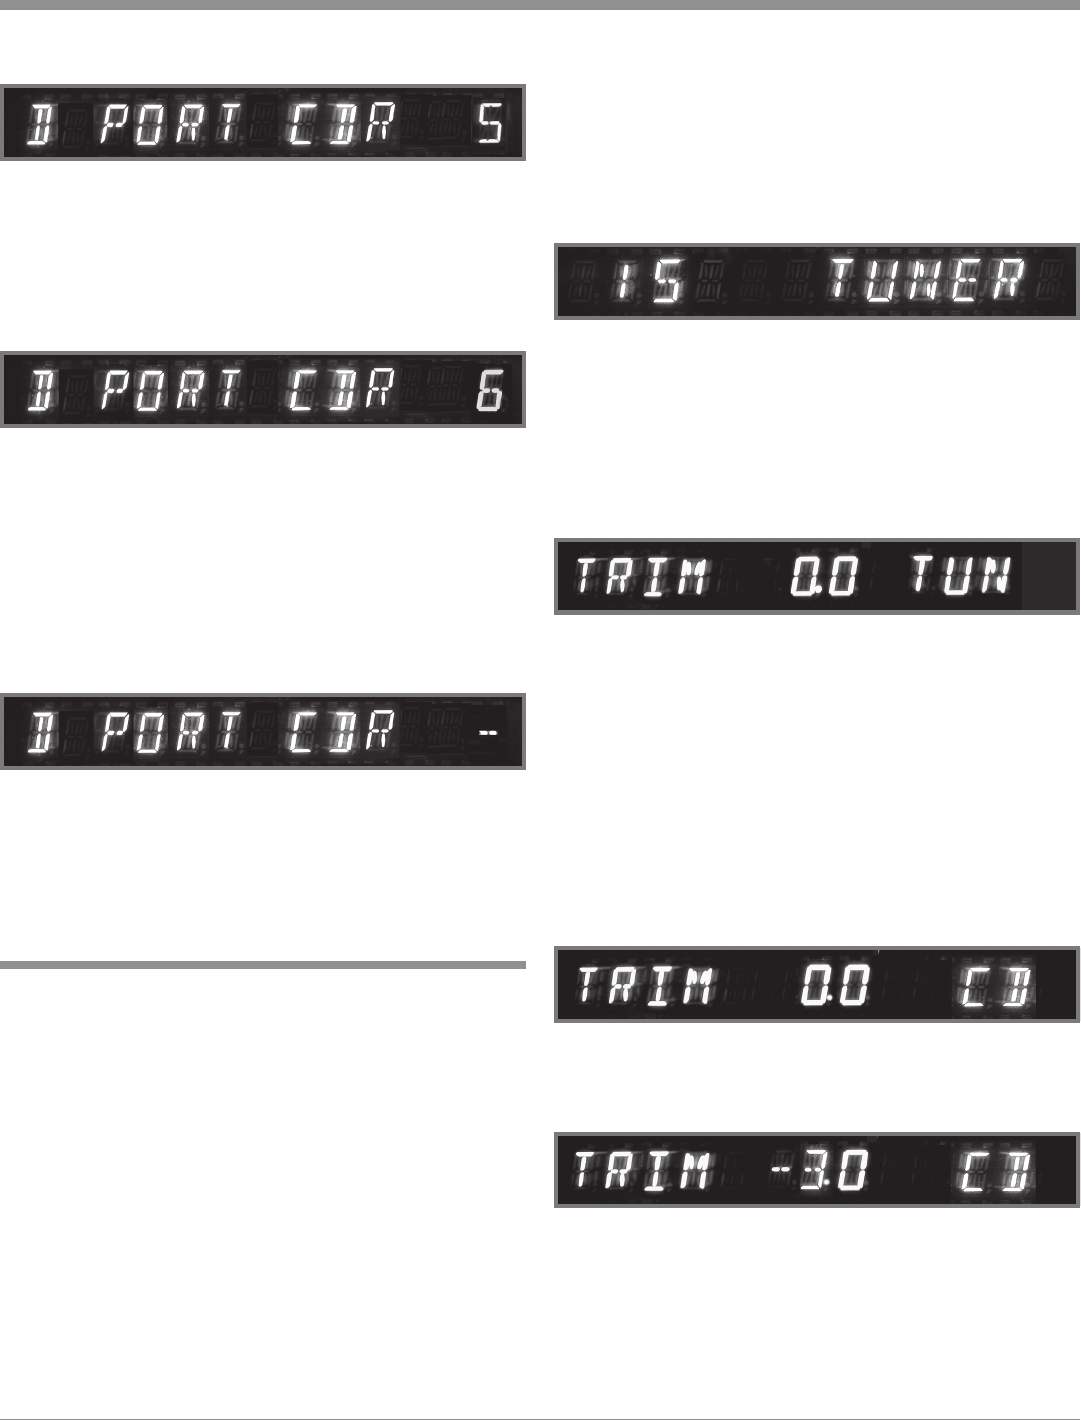
3. Rotate the SELECT 1 Control until the desired Input
Title to be changed appears in the Display, e.g. “D
PORT CDR 5”. Refer to figure 29.
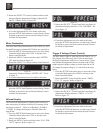
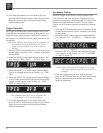
4. Rotate the SELECT 2 Control until the number 2 ap-
pears in the Display, e.g. “D PORT CDR 6”. Refer to
figure 30.
Note: Connect a 1/8 inch Stereo Mini “Y” adapter to
Data Port number 6 on the C500 Controller. From
each leg of the “Y” adapter connect a Cable to the
Data In jacks on each CD Player.
5. If there are any other Data Port re-assignments to be
made, repeat steps 3 and 4.
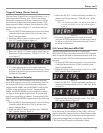
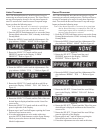
Note: DATA PORTS may also be switched off by
selecting “- -” using the SELECT 2 Control Refer
to figure 31.
6. If no other adjustments are to be made at this time,
press the SETUP Push-button to exit the Setup Preamp
Mode or proceed to the next desired Setup Preamp
Mode for adjustment.
Figure 30
Figure 29
Trim Level Adjustment
Various source components can have slightly different vol-
ume levels. This could result in the constant need to readjust
the C500 Volume Control when switching between different
Input Sources. The Level Input Trim Feature on the C500
Controller allows the adjustment of levels for each of the
Source Inputs, so that they have the same relative volume.
The Tuner and CD Inputs are used in the following ex-
ample.
Notes: The possible range of adjustment in volume level is
±6dB. The Tape/Record Output Levels are unaffected
by any changes in the Level Trim Settings. Any LEVEL
Trim adjustments made are retained in permanent
memory and can be changed only by performing a new
Level Trim Procedure. The Tuner Input Volume Level
can serve as a reference or choose another Input
Figure 31
Source that is frequently listened to as the reference.
The reference Input Source should be set to a Level of
00.
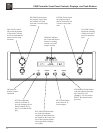
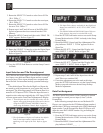
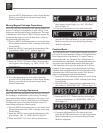
1. Rotate the SELECT 2 Control to select the Tuner Input
and adjust the VOLUME Control to the desired listen-
ing level. Refer to figure 32 .
Note: If the C500 Controller is in the SETUP Mode, exit
before proceeding.
2. Press the SETUP Push-button twice to access the Setup
Preamp Mode, unless the C500C is already in the Setup
Preamp Mode.
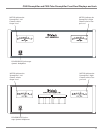
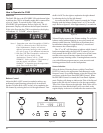
3. Rotate the MENU Control until the words “TRIM 0.0
TUN” appears. Refer to figure 33.
Note: The Level Input Trim can also be set via the
Remote Control.
4. If necessary, rotate the SELECT 2 Control until the
word TUN appears on the right side of the Front Panel
Alphanumeric Display, “TRIM 0.0 TUN”.
5. If necessary, rotate the SELECT 1 Control until two
zeros appears in the center of the Front Panel Alphanu-
meric Display, “TRIM 0.0 TUN”.
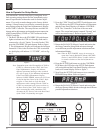
6. Rotate the SELECT 2 Control until the word CD ap-
pears on the right side of the Front Panel Alphanumeric
Display, “TRIM 0.0 CD”. Refer to figure 34.
7. Rotate the SELECT 1 Control until the Volume Level
of the CD Input is the same as the Tuner Volume Level.
Figure 35 indicates a 3.0dB decrease in the CD Level.
8. Rotate the SELECT 2 Control until the next desired In-
put Source Name is displayed.
9. Repeat steps 6, 7 and 8 until all the Inputs with sources
connected to the C500 have the same relative volume
levels when switching between them.
Figure 35
Figure 34
Figure 33
Figure 32


