23
How to Operate the C45, con’t
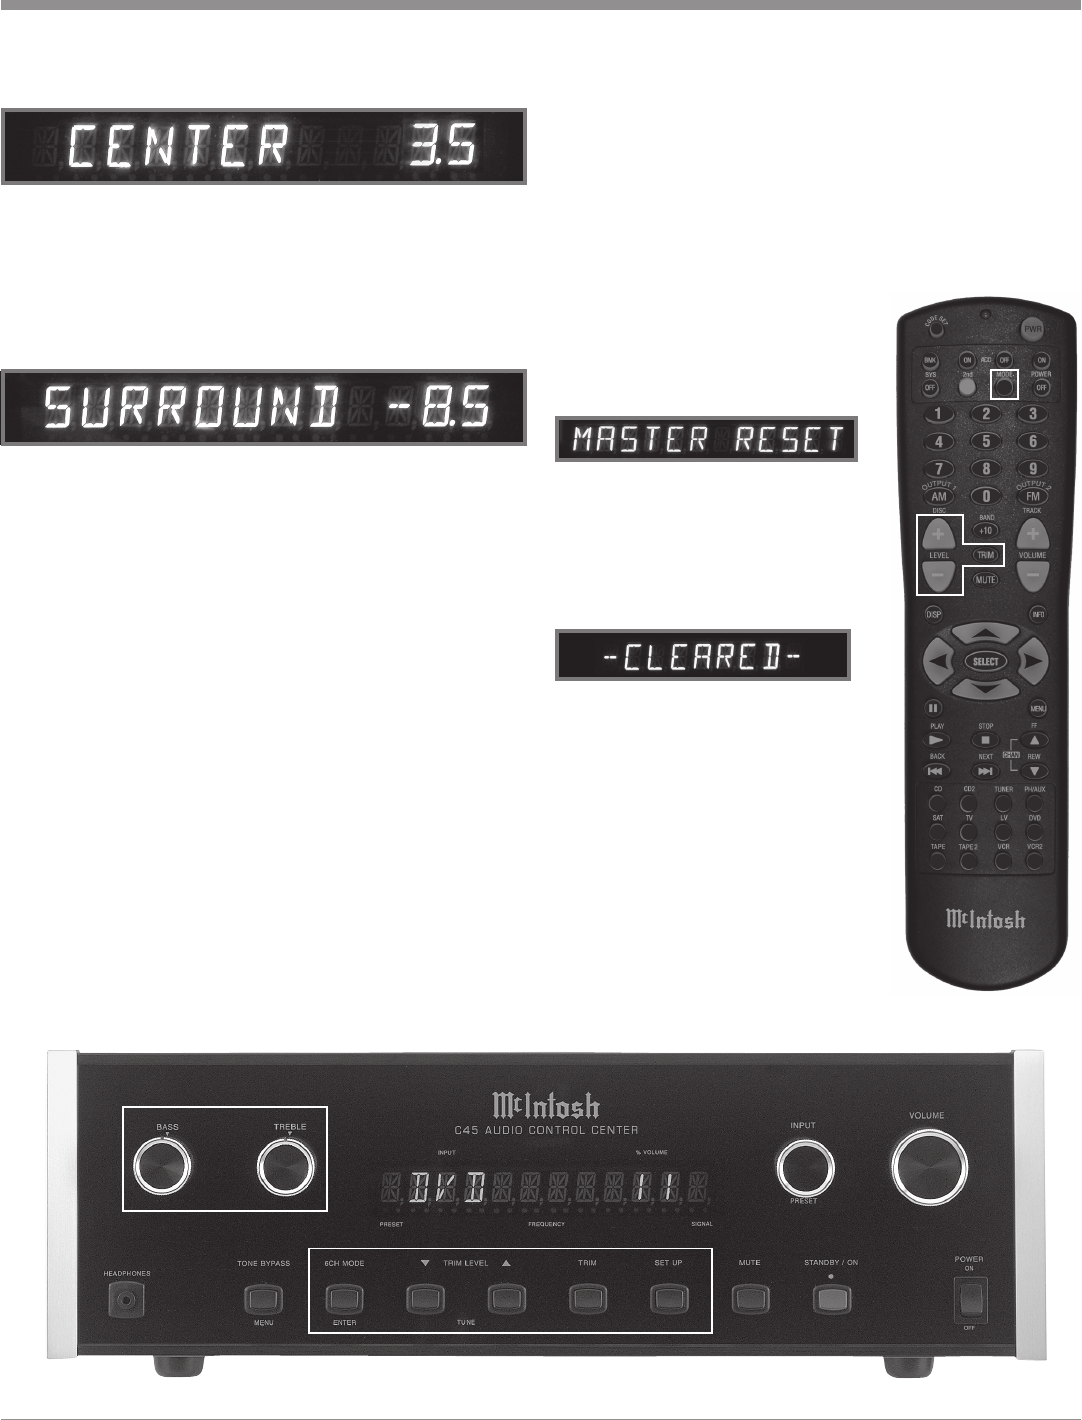
Refer to figure 37.
6. Press and release the TRIM Push-button until “SUR-
ROUND 0.0” appears on the Front Panel Display.
7. Press the LEVEL Down
TT
TT
T Push-button until “SUR-
ROUND -8.5” appears on the Front Panel Display.
This is an example of decreasing the Center Channel
Level by 8.5dB. Refer to figure 38.
Note: Approximately four seconds after no additional
Trim adjustments are made, the C45 Front Panel
Display will revert back to indicating the selected
input source and volume setting. To exit quickly
from the TRIM Mode, press and release the TRIM
Push-button until the Name of the Input selected
reappears on the display.
Setup
Pressing the SETUP Push-button activates the Setup Mode
of the C45 and allows customizing various operating func-
tions. Refer to the SETUP Section of this Owner’s Manual
starting on page 15. Refer to figure 41.
Reset of Microprocessors
In the event that the controls of the C45 stop functioning,
push the POWER switch OFF and wait about two minutes.
Then push the POWER switch ON followed by pushing the
STANDBY/ON Push-button. This will reset the C45 micro-
processors and the Audio Control Center will be returned to
normal operation.
Figure 37
Figure 38
Figure 41
Note: The above condition is usually caused by either
interruptions in AC power and/or major changes that
may occur in AC power line voltage.
Default Settings
To restore the C45 to Factory Default Settings perform the
following. Press and hold in the 6CH MODE Push-button
together with the MUTE Push-button. Approximately 5 sec-
onds after holding in the Front
Panel Push-buttons, the Front Panel
Alphanumeric Display will indicate
“MASTER RESET”. Refer to fig-
ure 39.
Release both Push-buttons and the
Front Panel Alphanumeric Display
will now indicate “-- CLEARED - -
” and the C45 will switch Off. Re-
fer to figure 40.
Press the STANDBY/ON Push-but-
ton on the C45 and proceed to the
Setup on page 15 to re-enter and
custom settings that have been pre-
viously made.
Figure 39
Figure 40
Figure 42
