


19
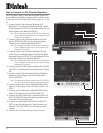
Setup, con’t
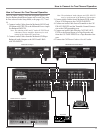
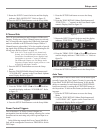
Figure 21
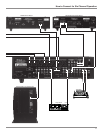
2 Channel Sub
The C45 has both Balanced and Unbalanced SUBwoofer
Outputs. If either one of the 6 Channel Inputs are selected,
the C45 Amplifies the signal at the SUBwoofer Input and
makes it available at the SUBwoofer Output. When a 2
Channel Input is selected the C45 is also capable of provid-
ing signal at the SUBwoofer Outputs by performing the fol-
lowing steps: Refer to figure 3 on page 15.
Note: If the C45 is to be used as a two channel only
preamp, one of the SUBwoofer Outputs may be
connected to an additional power amplifier and
Loudspeaker to provide a “center fill channel”.
The SUBwoofer Outputs are Full Range Audio
Frequency Outputs and the signal present is a sum
of both Left and Right Channels.
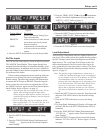
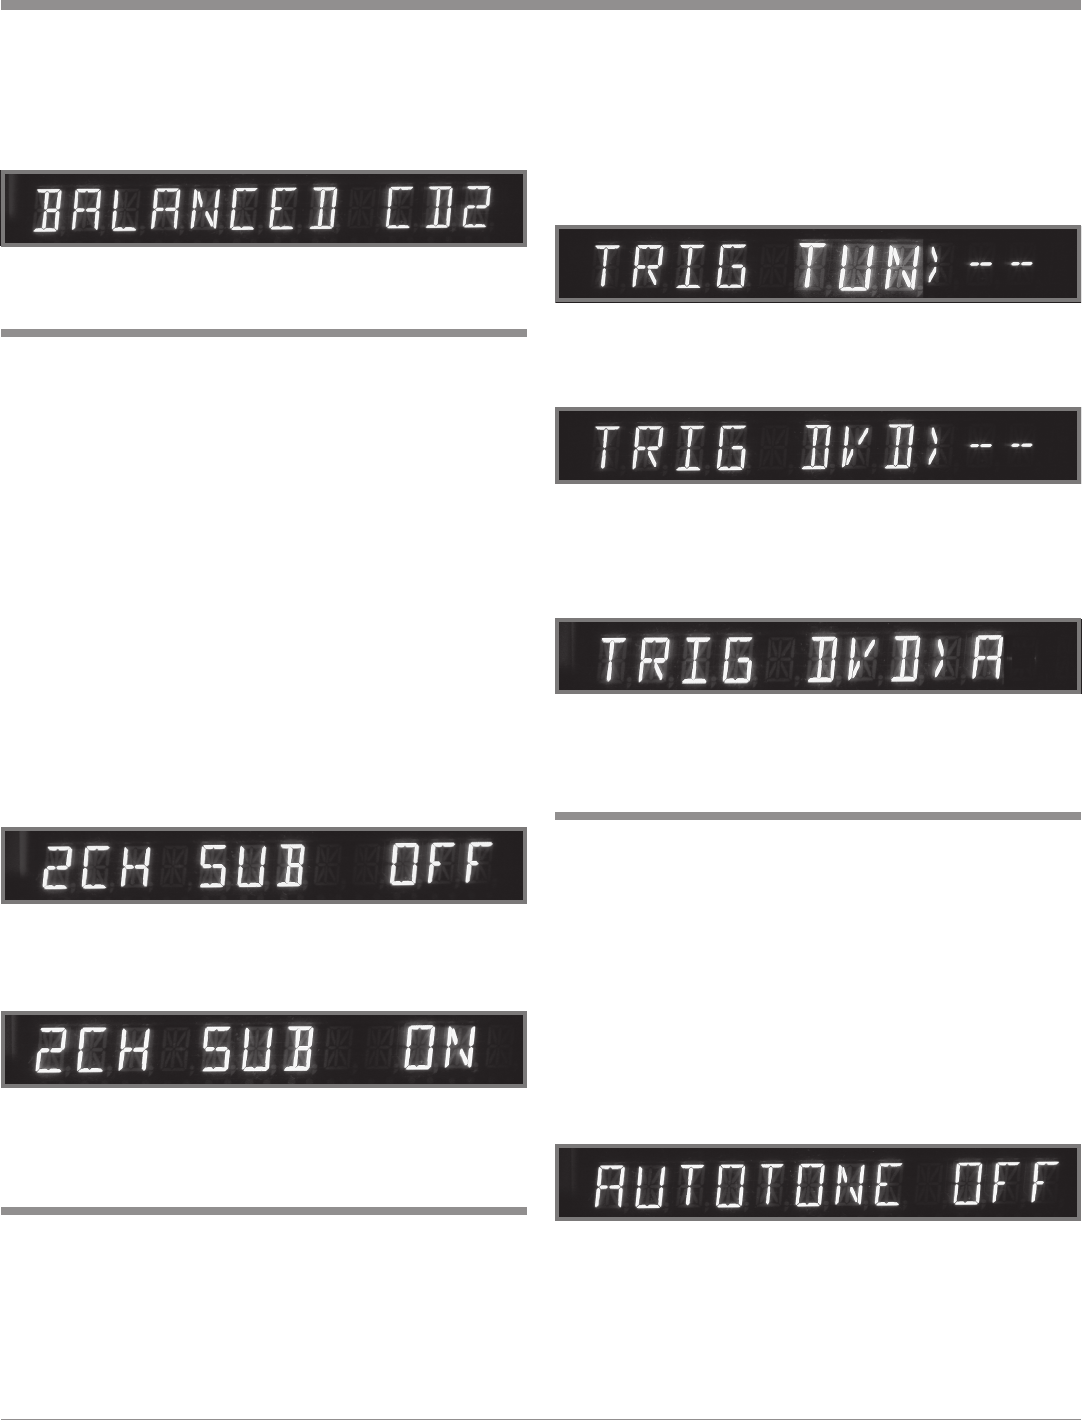
1. Press the SETUP Push-button to access the Setup
Mode.
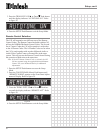
2. Press the TONE BYPASS (Menu) Push-button until
“2CH SUB OFF” appears on the Front Panel Alphanu-
meric Display. Refer to figure 22.
3. Press the TRIM LEVEL UPS or Down
TT
TT
T Push-but-
ton until the display indicates “2CH SUB ON”. Refer
to figure 23.
4. Press the SETUP Push-button to exit the Setup Mode.
Figure 22
Figure 23
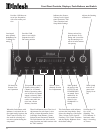
Power Control Triggers
Two of the three C45 Power Control Outputs are
reassignable from their default settings, allowing for various
functions such as activating only when a given Input is se-
lected.
In the following example the Power Control MAIN(A)
Jack will be reassigned to function as TRIGGER A for the
DVD Input.
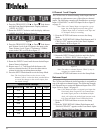
1. Press the SETUP Push-button to access the Setup
Mode.
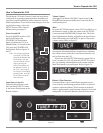
2. Press the TONE BYPASS (Menu) Push-button until
“TRIG TUN > - - ” appears on the Front Panel Alpha-
numeric Display. Refer to figure 24.
3. Rotate the INPUT Control clockwise until the display
indicates “TRIG DVD > - - ”. Refer to figure 25.
4. Press the TRIM LEVEL UPS or Down
TT
TT
T Push-button
until the display indicates “TRIG DVD > A ”. Refer to
figure 26.
5. Press the SETUP Push-button to exit the Setup Mode.
Figure 24
Figure 25
Figure 26
The C45 Audio Control Center allows for the audio signal
to totally bypass the Tone Control Circuitry by pressing the
Front Panel TONE BYPASS Push-button. It also has the
ability to remember for each input if the TONE BYPASS
has been activated, by setting the AUTOTONE feature to
the On position. To activate this feature perform the follow-
ing steps:
1. Press the SETUP Push-button to access the Setup
Mode.
2. Press the TONE BYPASS (Menu) Push-button until
“AUTOTONE OFF” appears on the Front Panel Al-
phanumeric Display. Refer to figure 27.
Auto Tone
Figure 27
3. Rotate the INPUT Control clockwise until the display
indicates “BALANCED CD2”. Refer to figure 21.
4. Press the SETUP Push-button to exit the Setup Mode.