


49
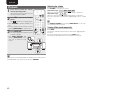
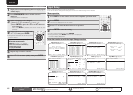
Basic versionSimple version Information
ENGLISHDEUTSCHFRANÇAISITALIANOESPAÑOLNEDERLANDSSVENSKA
Advanced version
ENGLISHDEUTSCHFRANÇAISITALIANOESPAÑOLNEDERLANDSSVENSKA
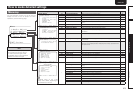
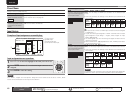
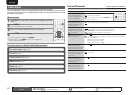
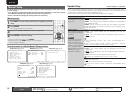
Input Setup
Setting items Setting details
Component
Set this to change the
component video input
connectors assigned to the
input sources.
BD
DVD
VCR
SAT
GAME
AUX1
TV
Comp1/Comp2/Comp3 (Component video)
None : Do not assign a component video input connector to the selected
input source.
• At time of purchase, the settings of the different input sources are as
shown below.
Input
source
BD DVD VCR SAT GAME AUX1
TV
Default
setting
Component
1
Component
2
None
Component
3
None None None
An input source to which an component video input connector cannot
be assigned is displayed as “–”.
Default
The “Input Assign” settings
are returned to the default
settings.
Yes : Reset to the defaults.
No : Do not reset to the defaults.
If you select “Default” and press ENTER, the message “Default
Setting?” is displayed. Select “Yes” or “No”, and then press ENTER.
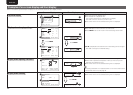
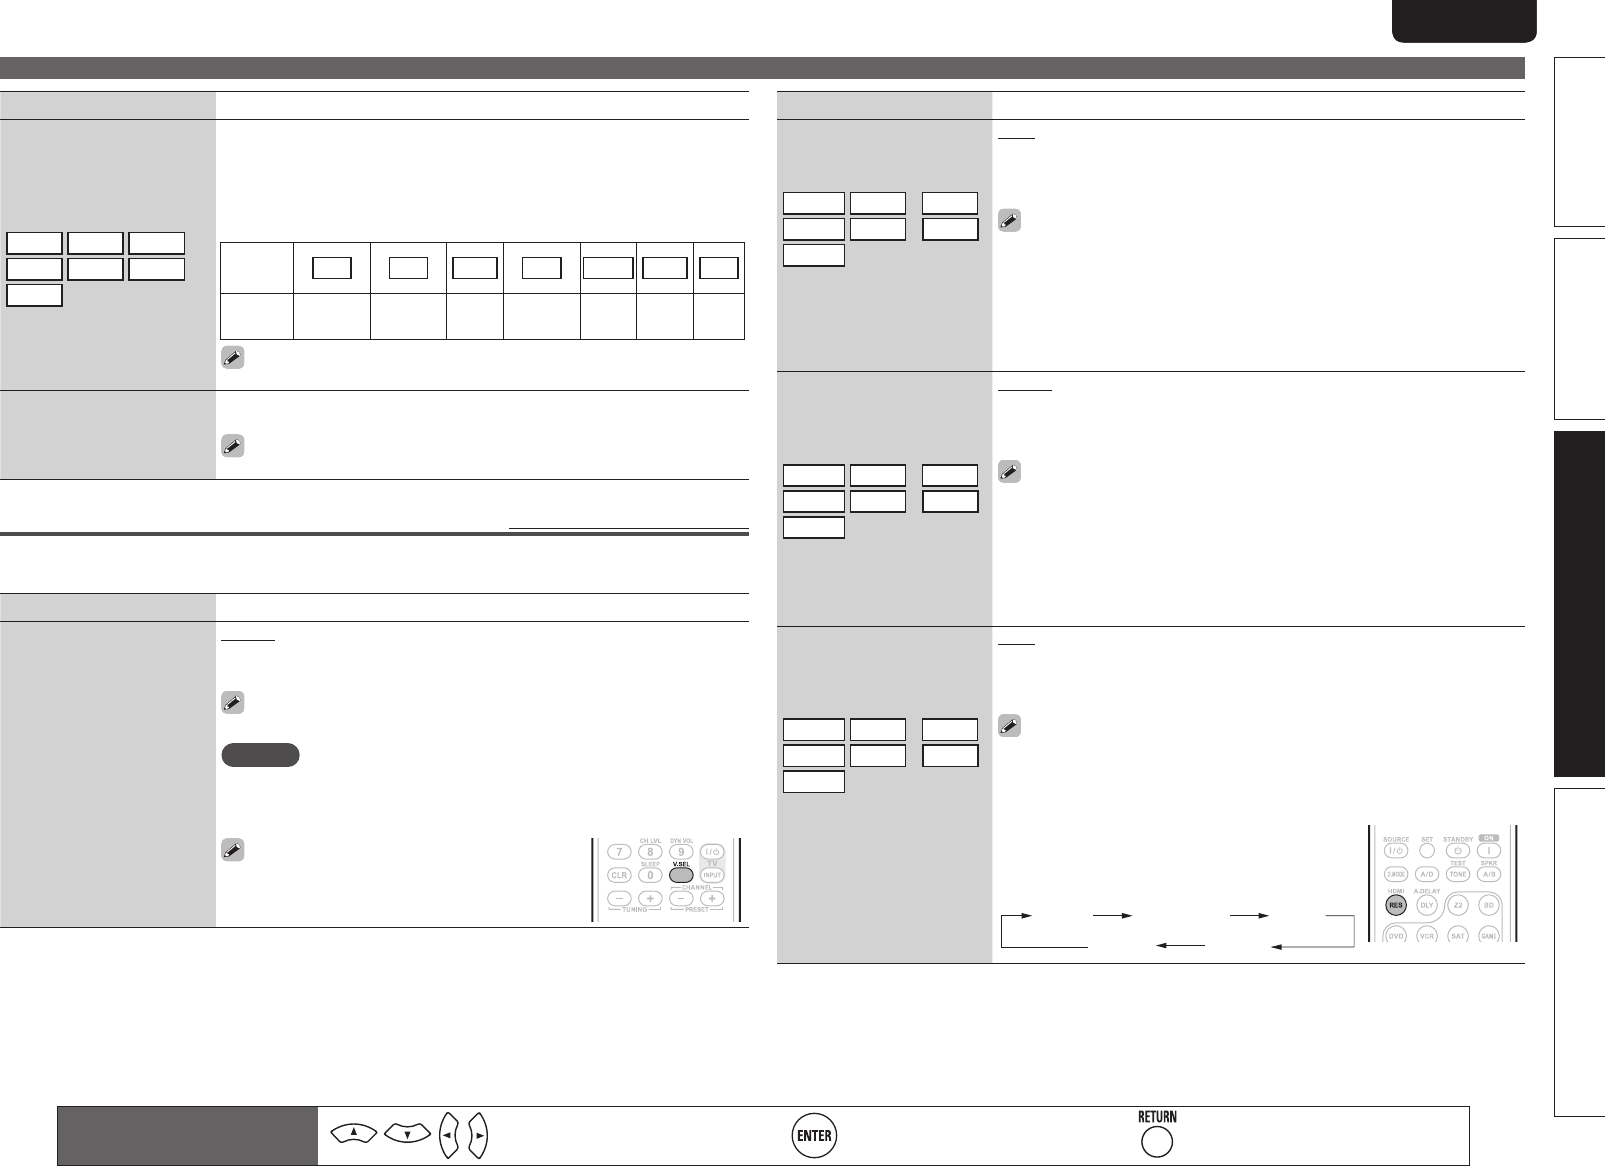
Video
Default settings are underlined.
Set the source video.
z“TV” or “GAME” can be set when “HDMI” (vpage48) or “Component” (vpage49) has been assigned.
Setting items Setting details
Video Select
Video of another input
source is played back
combined with the playing
audio.
Source : Play the picture and sound of the input source.
BD / DVD / VCR / SAT / GAME / AUX1 / TV : Select video input source to
view. This can be set for individual input sources.
“TV” and “GAME” can be selected only when a component video
connector is assigned as an input source.
NOTE
• It is not possible to select HDMI input signals.
• Input sources for which “Delete” is selected at “Source Delete”
(vpage60) cannot be selected.
Buttons on the remote control unit can be used
for operations.
Press V.SEL until the desired picture appears.
• To cancel, press V.SEL to select “Source”.
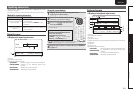
Setting items Setting details
Video Mode
Make settings for video
processing.
BD
DVD
VCR
SAT
GAME
z
AUX1
TV
z
Auto : Process video automatically based on the HDMI content
information.
Movie : Process video normally.
Game : Always process video appropriate for game content.
• This can be assigned to HDMI terminal in “Input Assign” in the menu.
• If “Video Mode” is set to “Auto”, the mode is switched according to the
input contents.
• If a source is played in both MAIN ZONE (audio and video) and ZONE2
(audio only) modes in the same room, audio in MAIN ZONE and ZONE2
modes may sound out of synchronization, but this is not malfunction.
In this case, setting to “Game” mode may improve audio synchronization.
i/p Scaler
Convert the input source’s
resolution to the resolution
set at “Resolution”.
BD
DVD
VCR
SAT
GAME
z
AUX1
TV
z
Analog : Use i/p scaler function for analog video signal.
Analog & HDMI : Use i/p scaler function for analog and HDMI video signal.
HDMI : Use i/p scaler function for HDMI video signal.
OFF : Do not use i/p scaler function.
• “Analog & HDMI” and “HDMI” can be set for input sources for which an
HDMI input connector is assigned.
• Which items can be set depend on the input source assigned to each
input connector.
• This function is not effective when the input signal is x.v.Color, 3D,
sYCC601 color, Adobe RGB color, Adobe YCC601 color or computer
resolution.
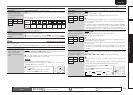
Resolution
Set the output resolution.
Resolution A : Analog Video
Resolution H : HDMI
BD
DVD
VCR
SAT
GAME
z
AUX1
TV
z
Auto : The number of pixels the TV connected to the HDMI output
connector supports is detected automatically and the appropriate output
resolution is set.
480p / 576p / 1080i / 720p / 1080p : Set the output resolution.
• This item can be set when “i/p Scaler” is set to anything other than
“OFF”.
• When “i/p Scaler” is set to “Analog & HDMI”, the resolution of both the
analog video input signal and HDMI input signal can be set.
• This can also be set by pressing
RES on the
remote control unit.
Each time RES is pressed, the setting is changed
as shown below.
Auto 480p/576p 1080i
720p1080p
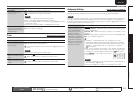
Remote control operation
buttons
Move the cursor
(Up/Down/Left/Right)
Confirm the setting Return to previous menu