


44
English
• You cannot use Program Play and Random Play for JPEG
discs.
• You cannot eject tray while in Program Play.
Playing at Random—Random Play:
•
The 4
button does not work for skipping chapters or tracks,
but only work for going back to the beginning of the current
chapter or track.
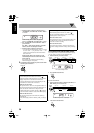
On-Screen Disc Operations
(see pages 27 to 31)
• For JPEG files playback...
– It is recommended that you record a file at 640 x 480
resolution. (If a file has been recorded at a resolution of
more than 640 x 480, it will take a long time to be
shown.)
– This System can play only baseline JPEG files.
Progressive JPEG files or lossless JPEG files cannot be
played.
Baseline JPEG format: Used for digital cameras,
web, etc.
Progressive JPEG format:Used for web.
Lossless JPEG format: An old type and rarely used
now.
– This System may not play back JPEG files properly
which are recorded by the devices other than digital still
camera.
– If progressive or lossless JPEG files are played back, a
black screen appears. In this case, stop playback and
select a baseline JPEG file. Note that it may take a long
time to select another file.
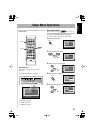
Advanced Tape Operations
(see pages 32 to 34)
Recording on a Tape:
• The recording level is automatically set correctly. Thus,
you can adjust the sound you are actually listening to
without affecting the recording level.
• There is leader tape which cannot be recorded onto at the
start and end of cassette tapes. Thus, when recording CDs
or radio broadcasts, wind the leader tape first to ensure that
the recording will be made without any music part lost.
• If you start recording with no cassette inserted, “NO
TAPE” appears on the display. If a protected tape has been
inserted, “NO REC” appears.
• When using Reverse mode for recording, start recording in
the forward (3
) direction first; otherwise, recording will
stop when only one side (reverse) of the tape is recorded.
• You can also change Reverse mode setting ( and )
after starting recording.
• You cannot open or close the disc tray while recording a
disc.
Synchronized Disc Recording:
• When the tape reaches its end in the forward direction (3
)
during recording with Reverse mode set to , the last
tune will be re-recorded at the beginning of the reverse side
(except for DVD Video).
Timer Operations
(see pages 35 and 36)
• When you unplug the AC power cord or if a power failure
occurs, the timer will be canceled. You need to set the clock
first, then the timer again.
• Without stopping the recording, you cannot change the source
after Recording Timer start recording.
• If you set the Sleep Timer after Daily Timer starts playing the
selected source, Daily Timer is canceled.
• If you set the Sleep Timer after Recording Timer starts
recording, Recording Timer is canceled, but recording
continues until Sleep Timer shuts off the power.
Setup Menu Operations
(see pages 37 to 42)
LANGUAGE Setup Menu:
• When the language you have selected for “MENU
LANGUAGE,” “AUDIO LANGUAGE,” or “SUBTITLE” is
not recorded on a disc, the original language is used as the
initial language.
PICTURE Setup Menu—MONITOR TYPE:
• Even if “4:3 PS” is selected, the screen size may become 4:3
letter box with some DVD Video discs. This depends on how
the discs are recorded.
• When you select “16:9” for a picture whose aspect ratio is 4:3,
the picture slightly changes due to the process for converting
the picture width.
AUDIO Setup Menu—DOWN MIX:
• This setting is not effective when DTS multi-channel software
is played back.
OTHERS Setup Menu—ON SCREEN GUIDE:
• Setup Menus and on-screen bar will be displayed (and
recorded) even though this function is set to “OFF.”
Subtitles and the information for zooming in always appear
on the display regardless of this setting.
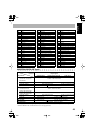
1
1
2
3
10
11
12
4
5
6
7
8
9
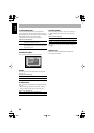
01
01
02
03 04
05
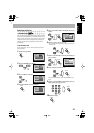
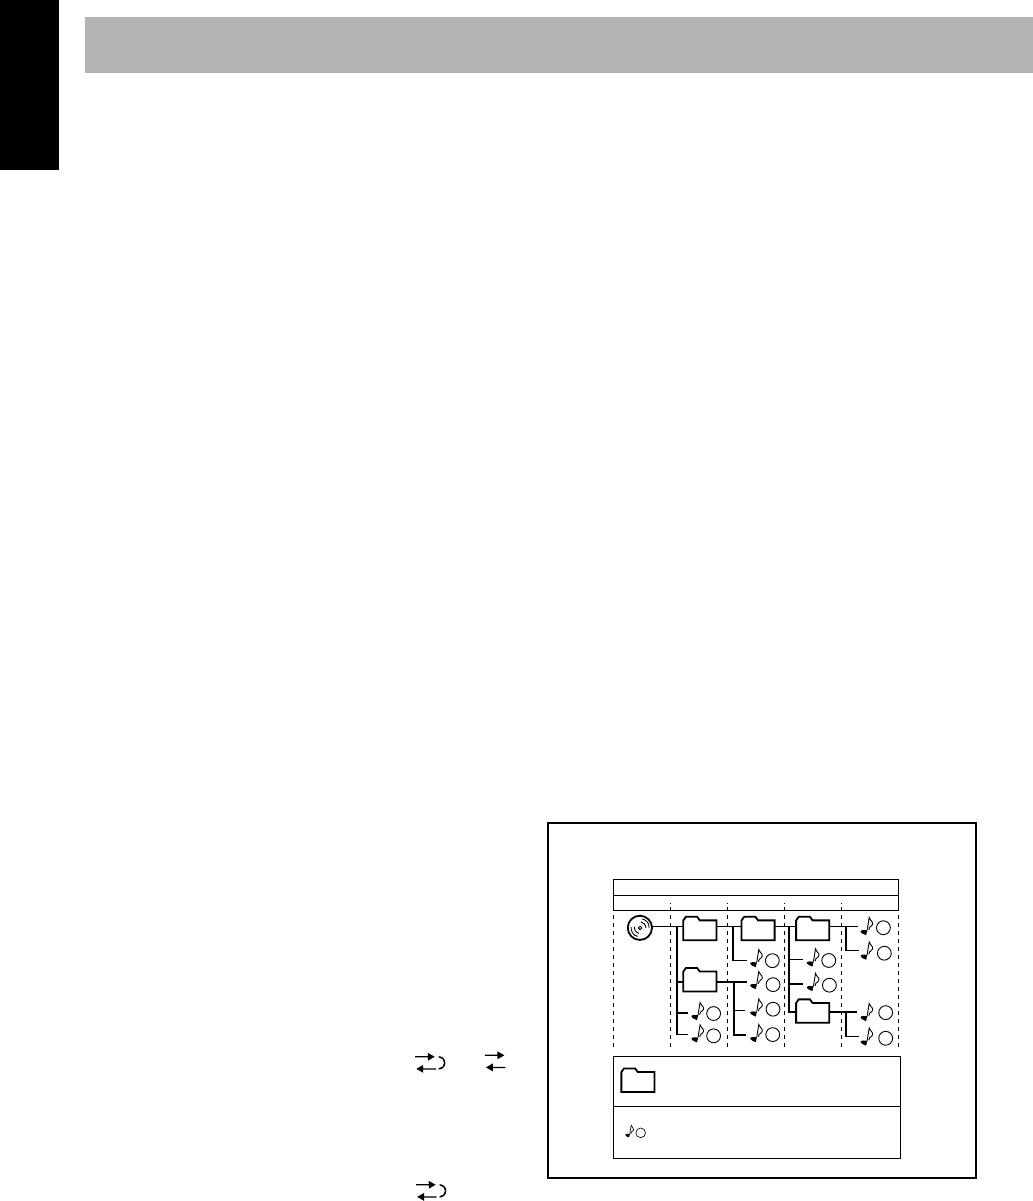
Hierarchy
ROOT
Level 1 Level 2 Level 3 Level 4 Level 5
MP3/WMA/JPEG groups/tracks configuration
This System plays back the tracks as follows.
Group with its play order
Track with its play order