


33
English
3
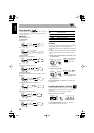
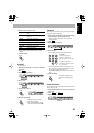
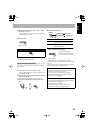
Select and start playing the source—“FM,” “AM,”
“DVD/CD,” or “AUX.”
• When recording a disc, you can also use “Synchronized
Disc Recording” (see below).
4
Start recording.
• While recording a disc, recording stops automatically after
the disc player plays back the disc.
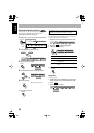
Synchronized Disc Recording
You can start and stop both disc play and tape recording at
the same time.
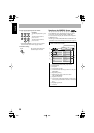
1
Load a disc and insert a recordable cassette.
• If the current playing source is not the disc player, press
DVD/CD 3
, then 7
.
2
Check the tape running direction and Reverse mode
settings on the display.
• See step
2
of “Recording on a Tape” on page 32.
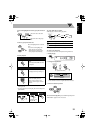
3
Select the disc number you want to start recording
from.
4
Select the Recording mode.
5
Start recording when the recording mode selected in
step
4
is still shown on the display.
• If the loaded disc is not compatible for the current
recording mode, the disc player skips the disc and loads the
next one.
• When either disc play or recording ends, both disc player
and the cassette deck stop at the same time.
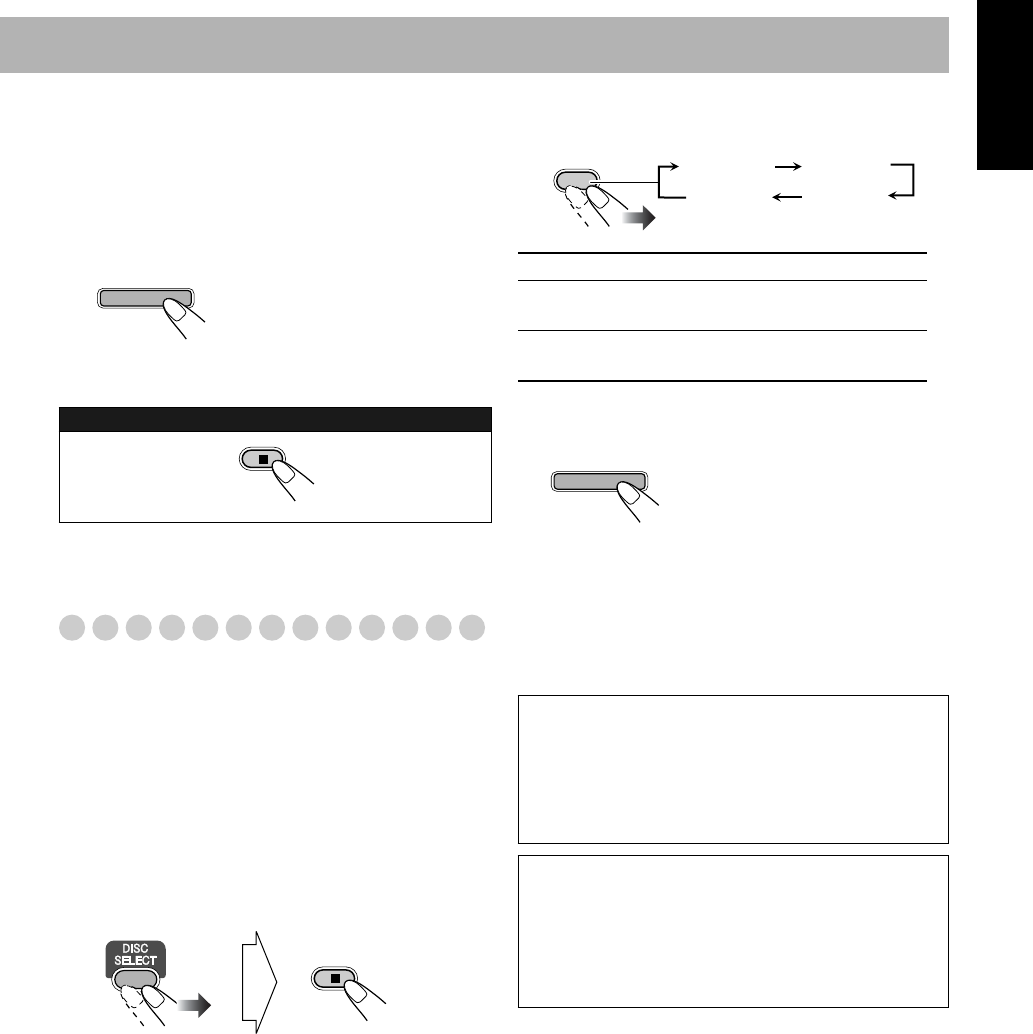
To stop recording:
REC
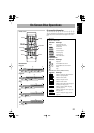
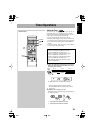
On the main unit
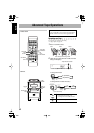
ONE DISC
Records the entire disc.
ALL DISC
Records the all loaded discs continuously
(except for DVD Video/DVD Audio).
1ST TRK
Records the first track of each disc (only
for SVCD/VCD/CD).
On the main unit
The System automatically
creates 4-second blanks between
the tunes recorded on the tapes.
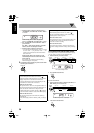
To record a “Live” disc
It will not be desirable to put 4-second blank portions
between the tunes recorded on the tape.
To record the entire disc without any interruption
recorded, pause the disc play (press 8
on the remote
control) before pressing REC.
To record Program Play or Random Play
1 Select Program Play (and make a program) or Random
Play, but do not start playback.
2 Press REC to start recording.
• When disc play stops, recording continues. It is
required that recording be stopped manually.
DISC
REC MODE
ONE DISC ALL DISC
1ST TRKCanceled
REC