


– 18 –
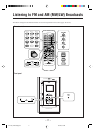
Tuning in to a Station
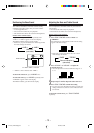
1
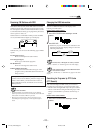
Press TUNER/LINE repeatedly until “FM” or “AM”
is selected.
The unit automatically turns on and tunes in to the
previously received station.
• Each time you press the button, the source changes as
follows:
* If you have changed the source name of the external
component, the currently selected source name will appear
(see page 26).
2
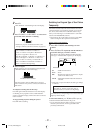
Press and hold SELECT ¢ or SELECT 4 until the
station frequencies start changing in the main
display.
• SELECT ¢ : to increase the frequencies.
• SELECT 4 : to decrease the frequencies.
The unit starts searching for stations and stops when a
station of sufficient signal strength is tuned in.
To stop during searching, press SELECT ¢ or
SELECT 4.
When you repeatedly press SELECT
¢¢
¢¢
¢ or
SELECT
44
44
4
The frequency changes step by step.
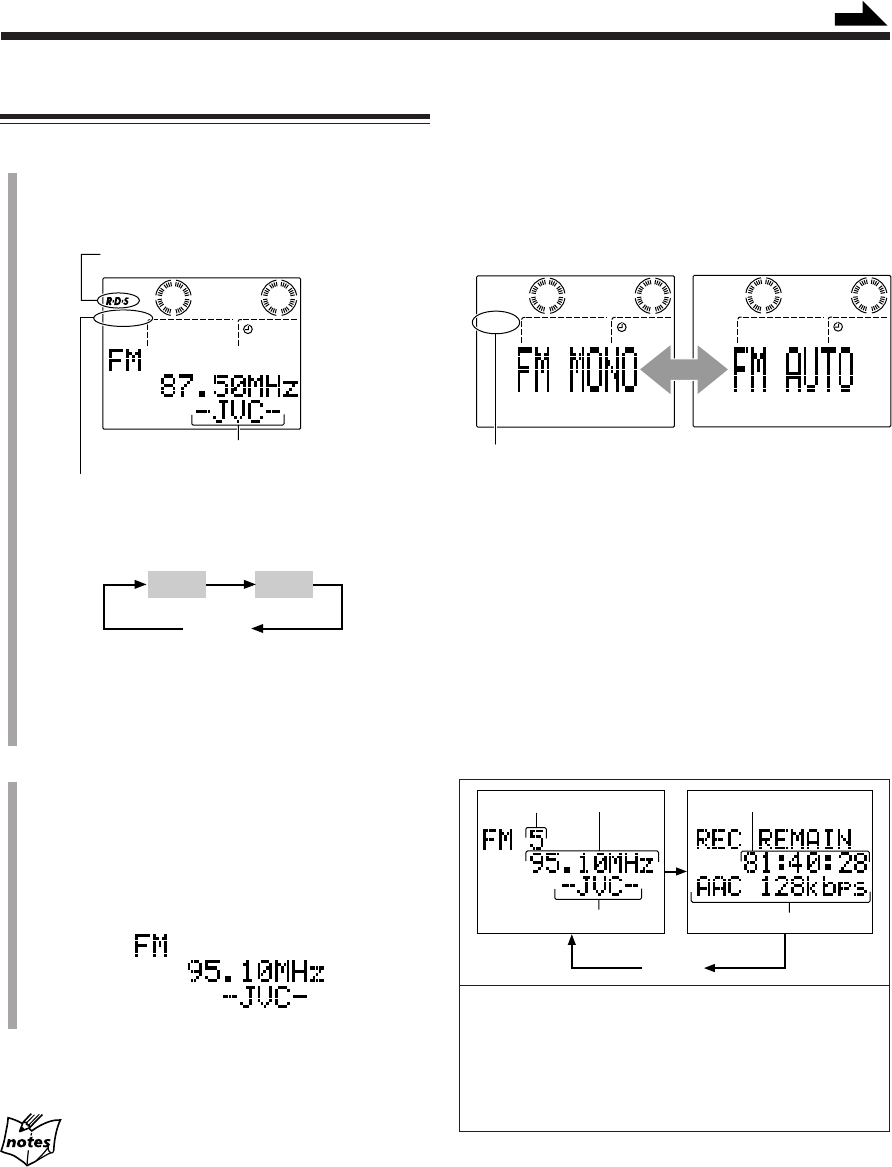
To change the FM reception mode
When an FM stereo broadcast is noisy or hard to receive,
you can change the FM reception mode to improve the
reception.
Press FM/PLAY MODE on the remote control.
• Each time you press the button, FM reception mode
alternates between “FM MONO” and “FM AUTO.”
FM MONO : Select this when an FM stereo broadcast is
noisy or hard to receive. Reception
improves though stereo effect is lost.
The MONO indicator lights up on the
display.
FM AUTO : Normally select this. In this mode, you
can hear stereo sound when a program is
broadcast in stereo.
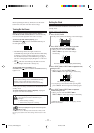
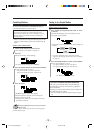
To change the information shown in the main display
Each time you press DISP/CHARA on the remote control,
the information in the main display changes as follows:
1 Preset station number if any
2 Station frequency
3 PS name (see page 20)
4 Remaining recording time in the HDD, calculated
based on the current setting of the recording mode
5 Recording mode currently selected
If an FM program is broadcast in stereo, the STEREO
indicator lights up.
MONO
AAC128
AAC128
MONO indicator
Continued
Clock
1
24
5
3
PS name (see page 20)
See page 20.
STEREO
AAC128
*
FM AM
LINE
(See page 25.)
EN17-23_NXHD10R[B]f.pm6 02.6.25, 5:04 AM18