


– 37 –
2
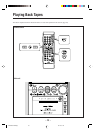
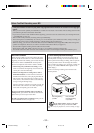
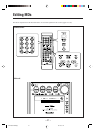
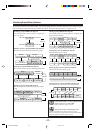
Insert a recordable MD into the MD loading slot.
• Set the MD recording length mode, “LP:”-prefix
addition mode, and Group recording mode (see
“Setting MD Recording Modes” on page 36).
3
Press ONE TOUCH MD REC on the main unit.
The recording starts and the MD REC indicator starts
flashing on the display.
• When recording the external equipment, start
playback after “AUX = MD” appears in the main
display.
To put a track mark manually while recording, press
SET on the remote control at the place where you want.
To stop recording, press 7.
“WRITING” flashes in the main display for a while.
When recording the external equipment
Recording starts automatically when the source sound comes into
the unit, and stops automatically if no sound comes into the unit
for more than 30 seconds (Sound synchronized recording).
To change the information shown in the main display
On the remote control ONLY:
Press DISP/CHARA.
• Each time you press the button, the information in the
main display changes as follows:
To record a single track during play or pause
On the main unit ONLY:
While playing back or pausing a track you want to
record, press ONE TOUCH MD REC.
The playback of the track is stopped, and the same track
starts playing from the beginning again. This time, the MD
recorder starts recording the track.
• After the track is recorded, both the CD player and the
MD recorder stop automatically.
To change the information shown in the main display
On the remote control ONLY:
Press DISP/CHARA.
• Each time you press the button, the recording
indications, the current track numbers of both the disc
and the MD, and the clock indication appear in sequence
in the main display.
When recording from a CD-R/RW
You cannot make a digital recording from a digital-copied
CD-R/RW on an MD. “SCMS CANNOT COPY” appears in the
main display and an analog recording starts (see page 68). The
recording speed is automatically set to x1 (normal speed).
Recording Other Sources onto an MD
1
Prepare the source to record.
To record FM/AM broadcasts:
Press FM/AM (or FM/AM/AUX on the remote control)
to select either “FM” or “AM,” then tune in to a preset
station you want.
• For more detailed operations, see pages 17 and 18.
To record a tape:
1) After putting a cassette, press TAPE 2 3, then 7 to
select TAPE as the source.
2) Press REV.MODE to select the reverse mode (see
page 30).
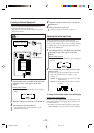
To record external equipment:
Press AUX/DVD (or FM/AM/AUX on the remote
control) to select “AUX” and prepare the external
equipment to play.
• Adjust the audio input level if necessary (see page
32).
• For operation of the external equipment, see the
manuals supplied with it.
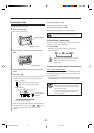
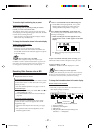
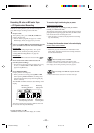
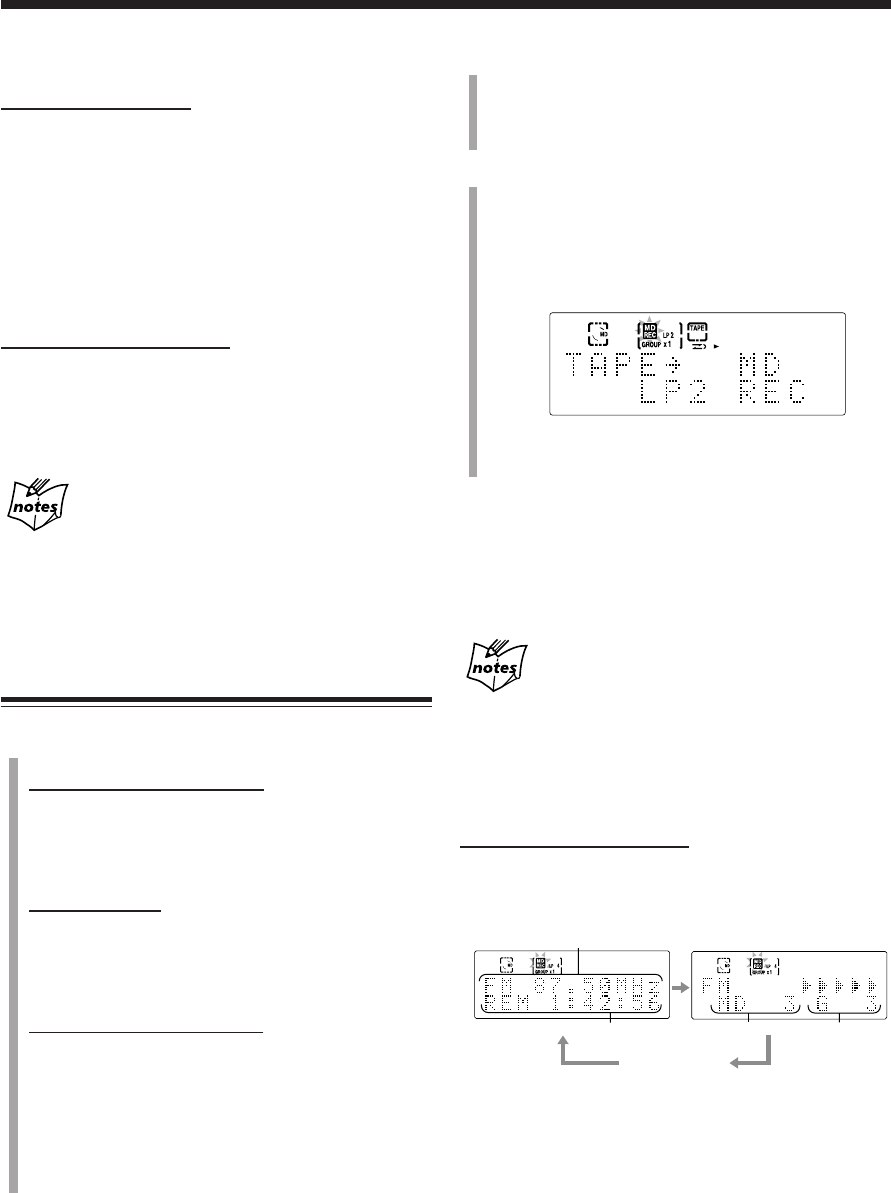
Ex.: When recording a tape using LP2 and Group
recording.
Ex.: When you record an FM broadcast.
1 Source indication
2 Remaining recording time
3 MD track No.
4 MD group No. (When Group recording is not
activated, “– –” will appear.)
42
1
3
Clock time
EN33-40UX-Z7MD[A]f 02.7.31, 21:2637