


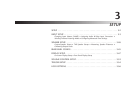
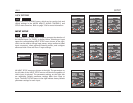

SETUP
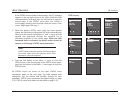
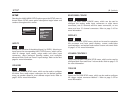
Selecting the MAIN MENU SETUP option opens the SETUP menu as
shown below. SETUP menu option descriptions begin below and
continue throughout this section.
SETUP
JBL Synthesis
3-2
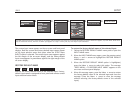
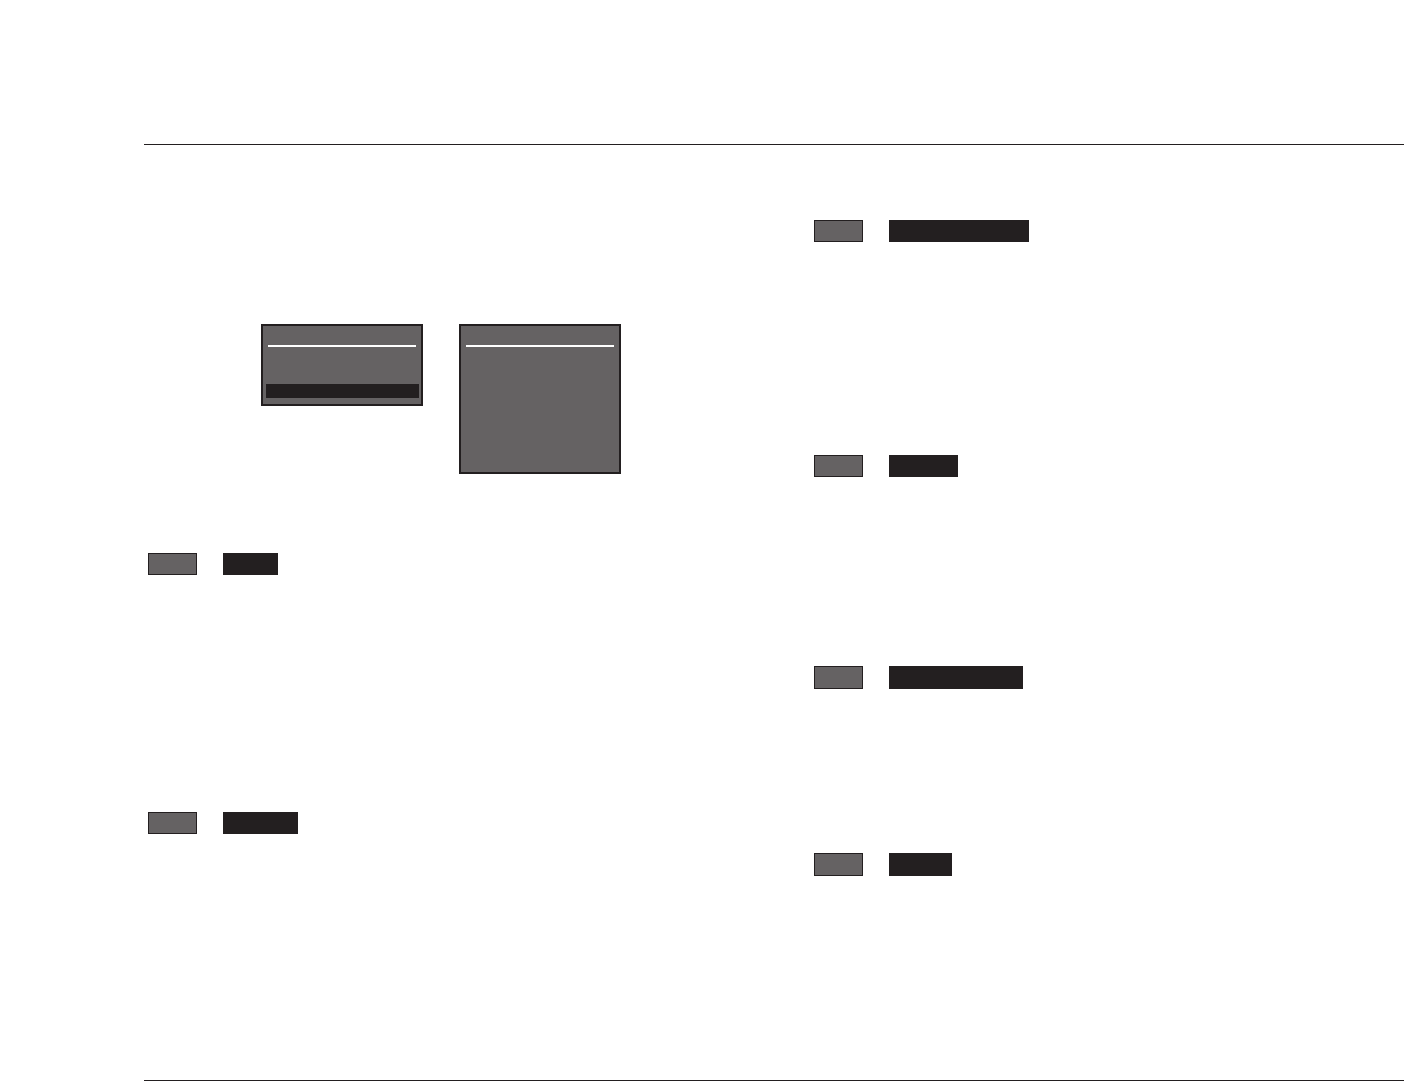
MAIN MENU
MODE ADJUST
AUDIO CONTROLS
SETUP
SETUP
SETUP
INPUTS
SPEAKERS
REAR PANEL CONFIG
DISPLAYS
VOLUME CONTROLS
TRIGGER
LOCK OPTIONS
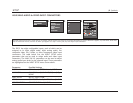
INPUTS
Prompts the selection of the desired input (i.e. DVD1). Selecting an
input opens the corresponding INPUT SETUP menu, which can be
used to change input names, assign audio and video input
connectors, select preferred listening modes, and configure
advanced Main Zone and Zone 2 input settings. Refer to the next
page for more information.
SPEAKERS
Opens the SPEAKER SETUP menu, which can be used to configure
the Main Zone audio output connectors for the desired speaker
setup, set speaker distances, and calibrate output levels. Refer to
page 3-26 for more information.
SPEAKERS
SETUP
INPUTS
SETUP
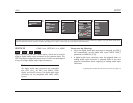
REAR PANEL CONFIG
Opens the REAR PANEL CONFIG menu, which can be used to
configure the analog audio input connectors as eight stereo
connectors, one 5.1-channel and five stereo connectors, or two
stereo and two 5.1-channel connectors. Refer to page 3-45 for
more information.
DISPLAYS
Opens the DISPLAY SETUP menu, which can be used to customize
the on-screen and front panel displays, restore audio/video
synchronization, and activate and create a custom unit name. Refer
to page 3-47 for more information.
VOLUME CONTROLS
Opens the VOLUME CONTROL SETUP menu, which can be used to
configure Main Zone and Zone 2 volume levels. Refer to page 3-53
for more information.
TRIGGER
Opens the TRIGGER SETUP menu, which can be used to configure
the trigger output connector labeled 1. Refer to page 3-54 for
more information.
TRIGGER
SETUP
VOLUME CONTROLS
SETUP
DISPLAYS
SETUP
REAR PANEL CONFIG
SETUP