- 23 -
Recording
1. Before recording, please firstly confirm whether the menu is setup to the record setting
you need.
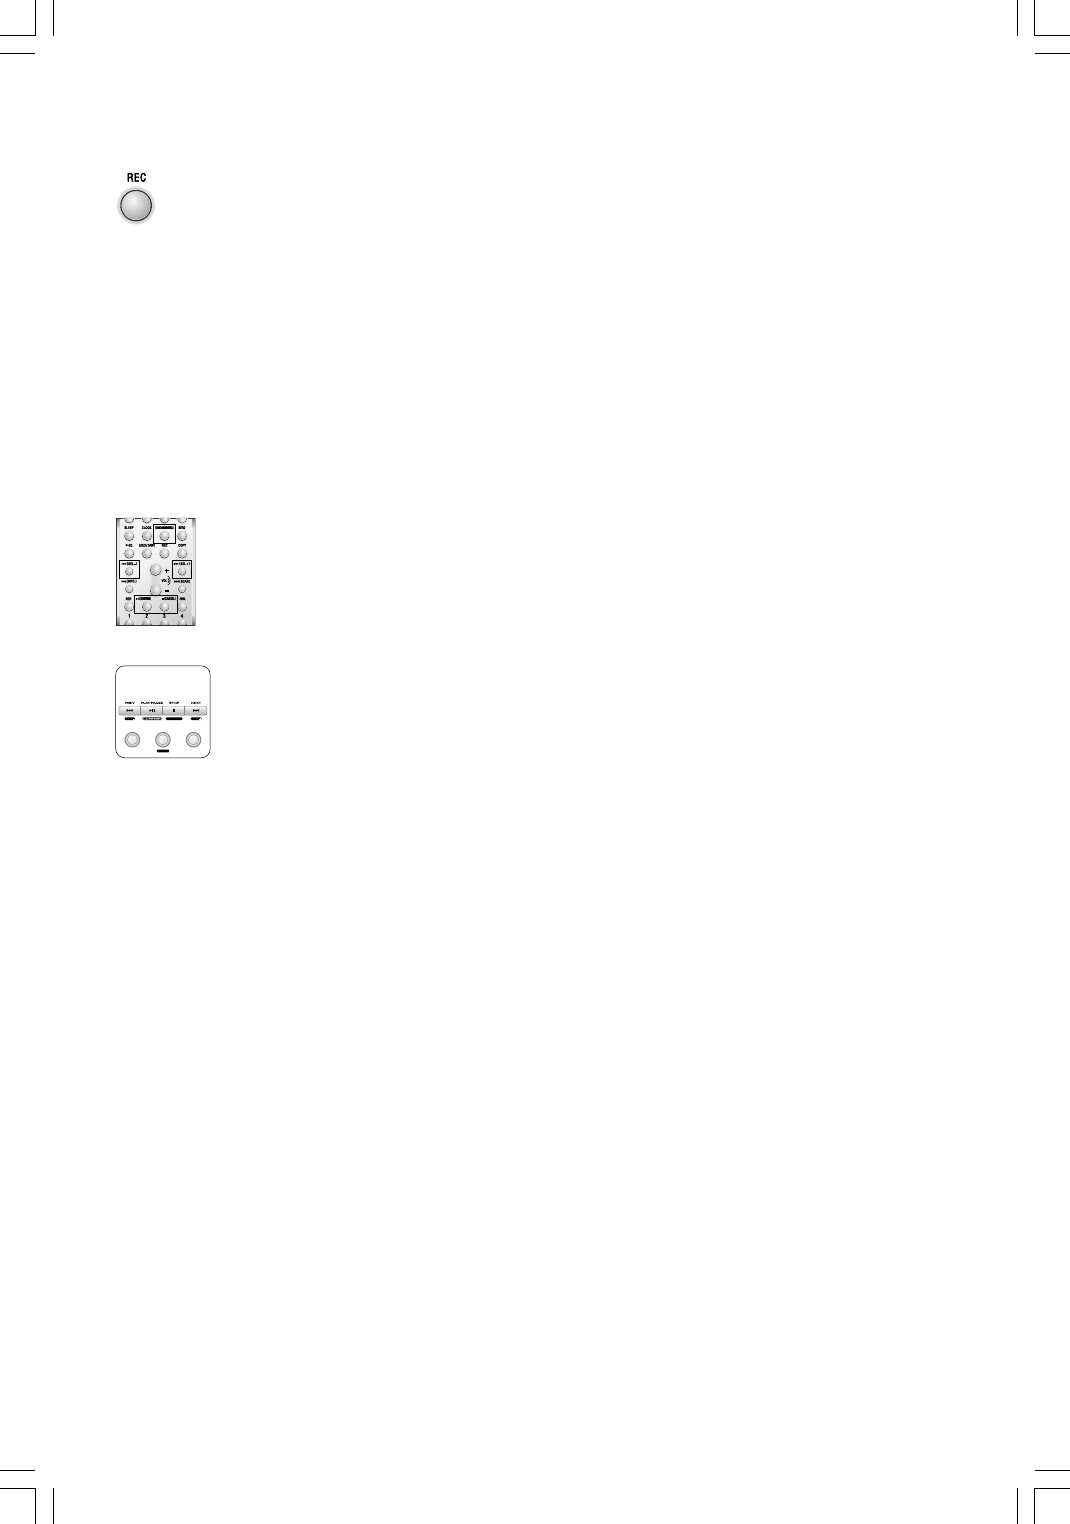
2. Place the disc on the disc tray correctly and press play. Press the REC button (
REC) to
select the record mode, the “REC TO HARD DISK” will be displayed on the VFD.
3. Press the
CONFIRM button to enter record, the “Select HD Operation C: or D:” will scroll
across the VFD.
4. Use the
SEL- or SEL+ button to select “Rec To C:” or “Rec To D:” and press CONFIRM
button to confirm your selection, the “WAITING...” will be displayed on the VFD.
5. Press the CANCEL button to stop recording anytime, the “Write TO HD” will be displayed
on the VFD. When the “MP3 STANDBY” is displayed on the VFD, the unit will exit the
record mode and return to normal play mode.
Warning: Do not remove the USB device while in use. This could damage the file.
Press the menu setting button (
MENU) repeatedly until “REC. BIT-RATE” is displayed on the
VFD, then you can use SEL- or SEL + button to select the 5 levels of bitrate (64 kbps to 196
kbps for recording from external equipment and press
CONFIRM button to confirm your
selection. (The highter the bitrate, the better the sound quality.)
Press the menu setting button (MENU) repeatedly until “CD-SYNC REC” is displayed on the
VFD, then you can use SEL- or SEL + button to select the OFF, ONCE or ALL mode to record
songs from external equipment and press CONFIRM button to confirm your selection.
* Off : Turns record synchronization off
* ALL : Synchronized record all tracks of a disc. Each track will be saved as a separate
MP3 file.
* Once : Synchronized record one track of a disc. Only the first track played will be recorded.
Press the menu setting button (
MENU) repeatedly until “DELETE” is displayed on the VFD,
then you can use the
SEL- or SEL + button to select hard disk or USB device and press
CONFIRM button to confirm your selection. Use SEL- or SEL+ button to select the file that you
want to delete (press the INTRO button to enter the subdirectiry.) and press CONFIRM button
to confirm the delete or press
CANCEL button to cancel.
Press the menu setting button (
MENU) repeatedly until “MEM SIZE CHECK” is displayed on
the VFD, then you can use the
SEL- or SEL + button to select hard disk or USB device and
press CONFIRM button to confirm your selection. Use SEL- or SEL + button to check the hard
disk total memory and remaining memory, then the USB device memory if inserted.
Press the menu setting button (
MENU) repeatedly until “BROWSE DIR” is displayed on the
VFD, then you can use the SEL- or SEL + button select DIR to play first track.
Press and hold the menu setting button (MENU) until “1.FORMAT, 2.FDISK & FORMAT” are
displayed on the VFD, use the SEL- or SEL+ button to select the memory to be formatted
between hard disk and USB device. Then press
CONFIRM button “ARE YOU SURE FORMAT?
” will be displayed. Press CONFIRM button to confirm to format memory or press CANCEL
button to cancel.
Note:
DRM-protected files will only play if you copy them to the player through Windows Media
Player or through the music management software provided by the online music store
where you purchased the files.
RANDOMREPEAT INTRO
M
ENU
C
ANCEL
S
EL
S
EL
On the unit


