Crestron Professional Surround Sound Tuning Kit
Room EQ setup
When the Pro Sound Tools application is launched it will provide a window for
selecting the current system configuration (for example, 5.1, 6.1, 7.1 plus additional
rooms, etc.). When a center speaker or subwoofer is not used, un-check the Front
Center Speaker and/or Subwoofer checkboxes as appropriate, in order to enable
“phantom” center and “phantom” subwoofer. The phantom setting will route center
and/or subwoofer information to the main speakers.
Any subwoofer low-pass filter should be defeated or set to the THX setting
(sometimes called “LFE input”). If the subwoofer low-pass filter cannot be defeated,
set it to its maximum frequency. Any subwoofer gain settings should be set to their
nominal position or at 12 o’clock on a conventional level control. Also, if the
subwoofer has any sort of “Auto Standby” or sleep mode that turns the power to the
subwoofer off after it does not receive any signal for some period of time, please
disable this mode. This will ensure that the subwoofer is always on, which is
important when taking measurements. The subwoofer may be set back to Auto after
measuring is complete.
Click Room Equalization Setup… to begin the process.
NOTE: If you have not already done so, the application will prompt you to install
the special file for the microphone that came with your Professional Surround Sound
Tuning Kit.
NOTE: The Volume control will function until the process gets to the Job
Information screen, at which point the use of the volume control is disabled until the
filters are transferred (refer to “Save Results” on page 11).
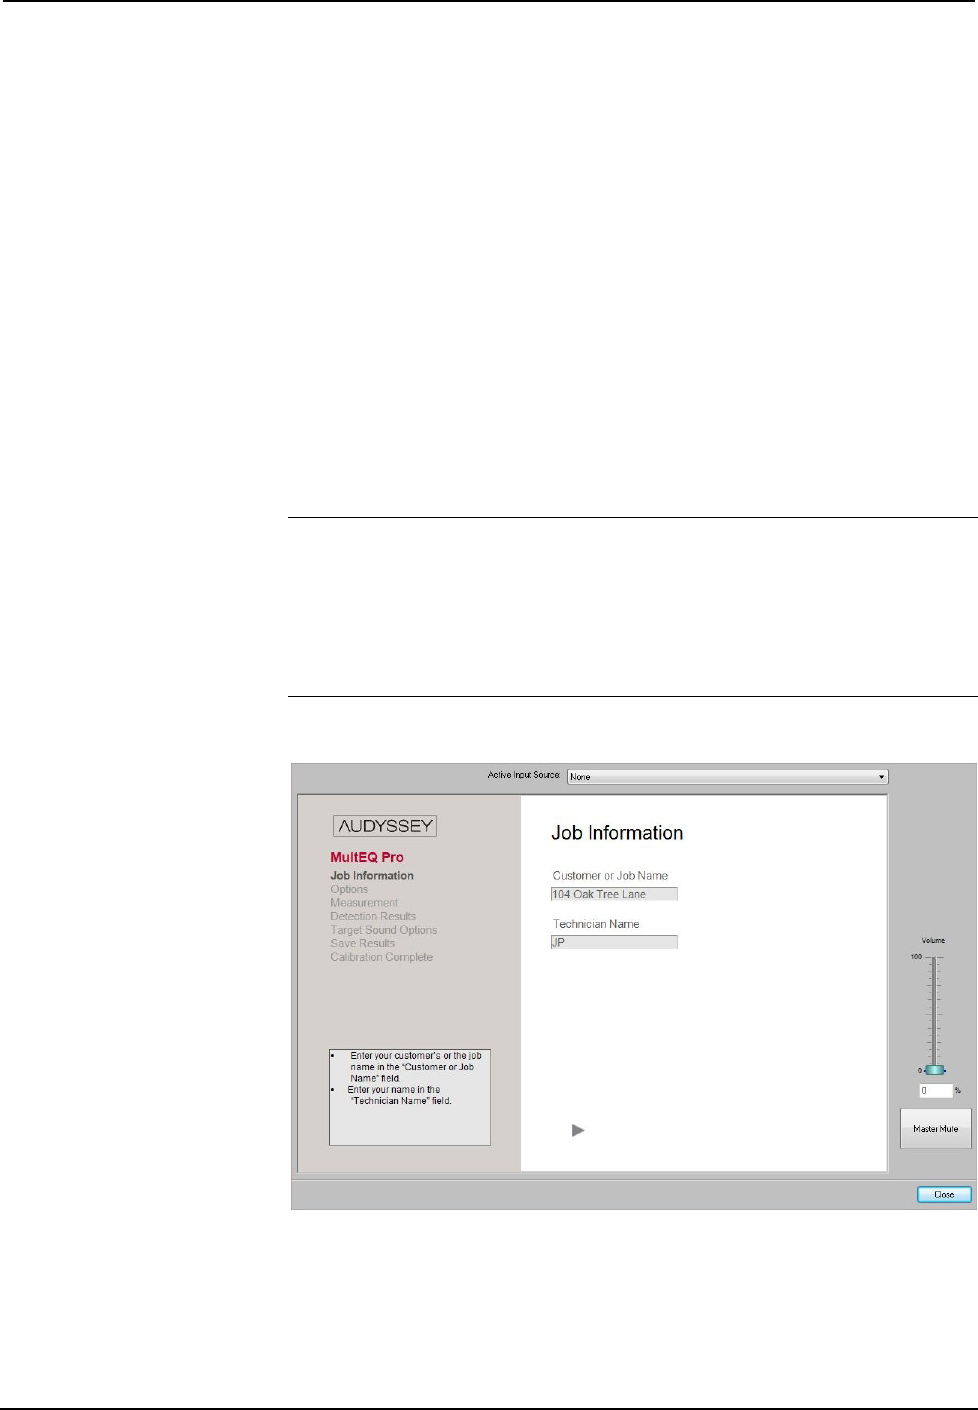
Job Information Screen
The Job Information screen is used to record the name of the customer or job and the
name of the technician performing the job.
Click the forward arrow to proceed to the Options screen.
Operations Guide – DOC. 6565A Professional Surround Sound Tuning Kit • 5


