


Crestron Professional Surround Sound Tuning Kit
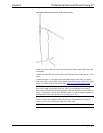
The microphone should be positioned as far out from the stand as possible to
minimize the effect of stand reflections.
NOTE: You must place the microphone in a vertical position with the capsule
facing the ceiling for all measurements. Refer to illustration on page 3.
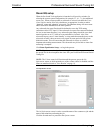
Quiet the room as much as possible. Background noise can disrupt the room
measurements. Turn off cell phones, televisions, radios, air conditioners, fluorescent
lights and other devices or home appliances. Close any open windows.
Refrain from talking and do not sit or stand directly between any of the speakers and
the microphone during the room measurements. Each speaker will emit a series of
test signals during the measurements and your body and background noise can
disrupt the microphone’s ability to properly record the room response to the test
signal.
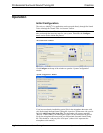
Position 1 Measurement
For the Position 1 measurement, place the microphone at the primary or most central
listening location. The height should be the ear height of a listener seated at this
position.
NOTE: It is important to have the microphone in the primary listening position for
the first measurement. Every position measurement will record the room’s frequency
and time response but Position 1 also detects the absolute polarity of each speaker,
calculates the exact distance (within a half inch) for setting delays and determines
levels (within half a dB) for each speaker. The polarity, distance and level from the
Position 1 measurement are displayed later on the Detection Results screen (refer to
“Detection Results” on page 9).
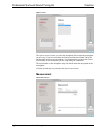
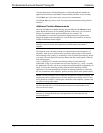
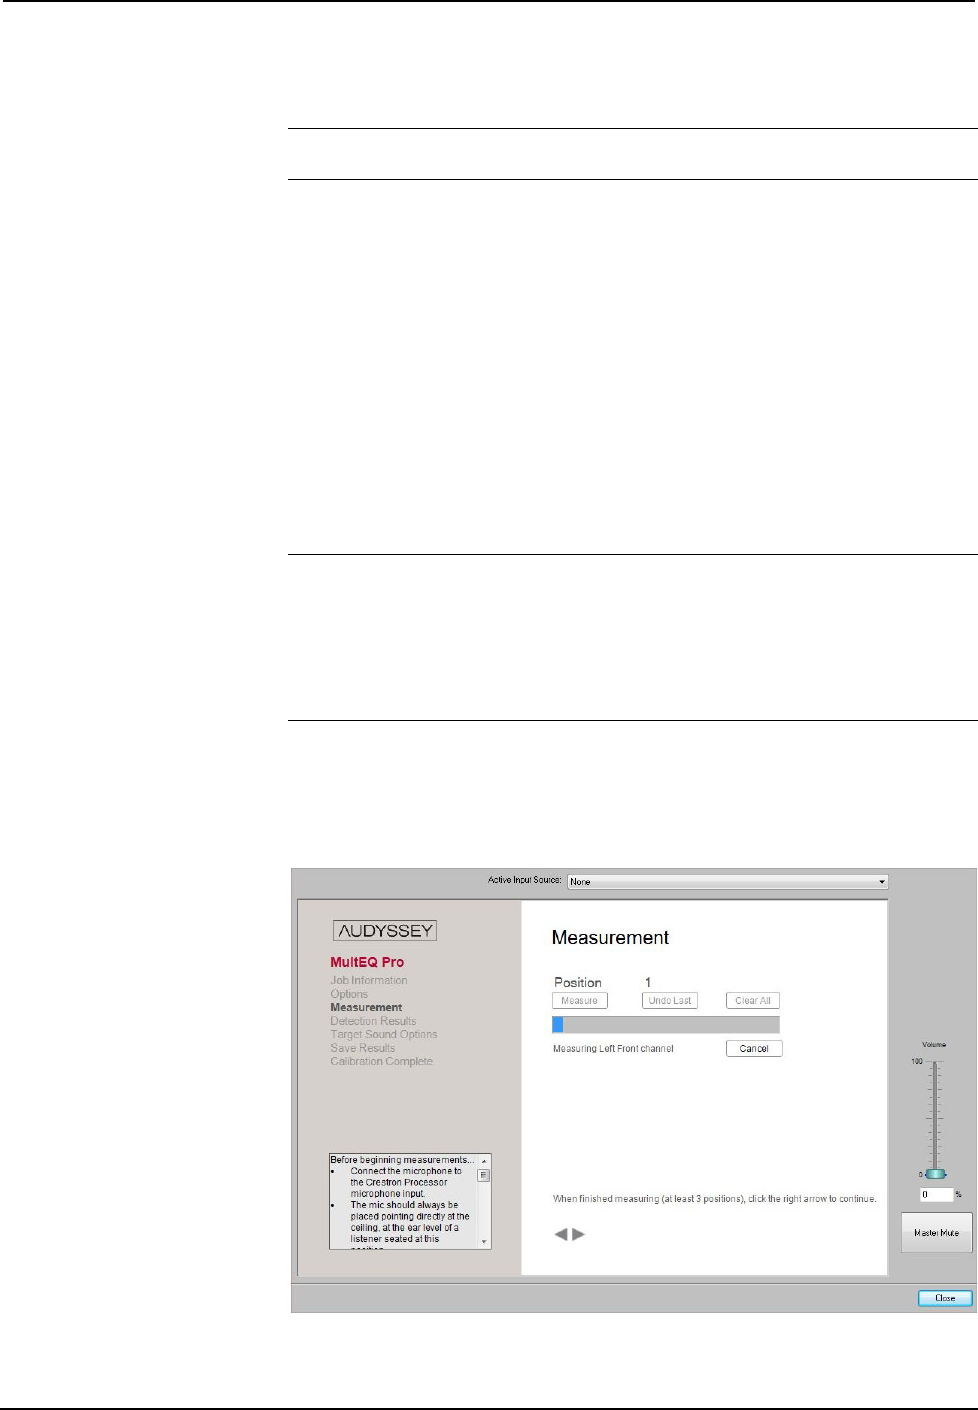
Press the Measure button. The Audyssey test signal will play a series of 10 “chirps”
through each channel. The name of the speaker being measured will be indicated
under the status bar while the test signal plays.
Measurement Screen (Showing Position 1 Progress)
Operations Guide – DOC. 6565A Professional Surround Sound Tuning Kit • 7