


11
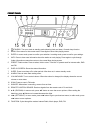
The MAIN MENU allows access to all modes plus sleep and timer
functions.
Some menus, for example the SYSTEM SETTINGS MENU, have
several submenus.
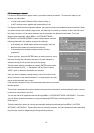
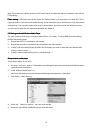
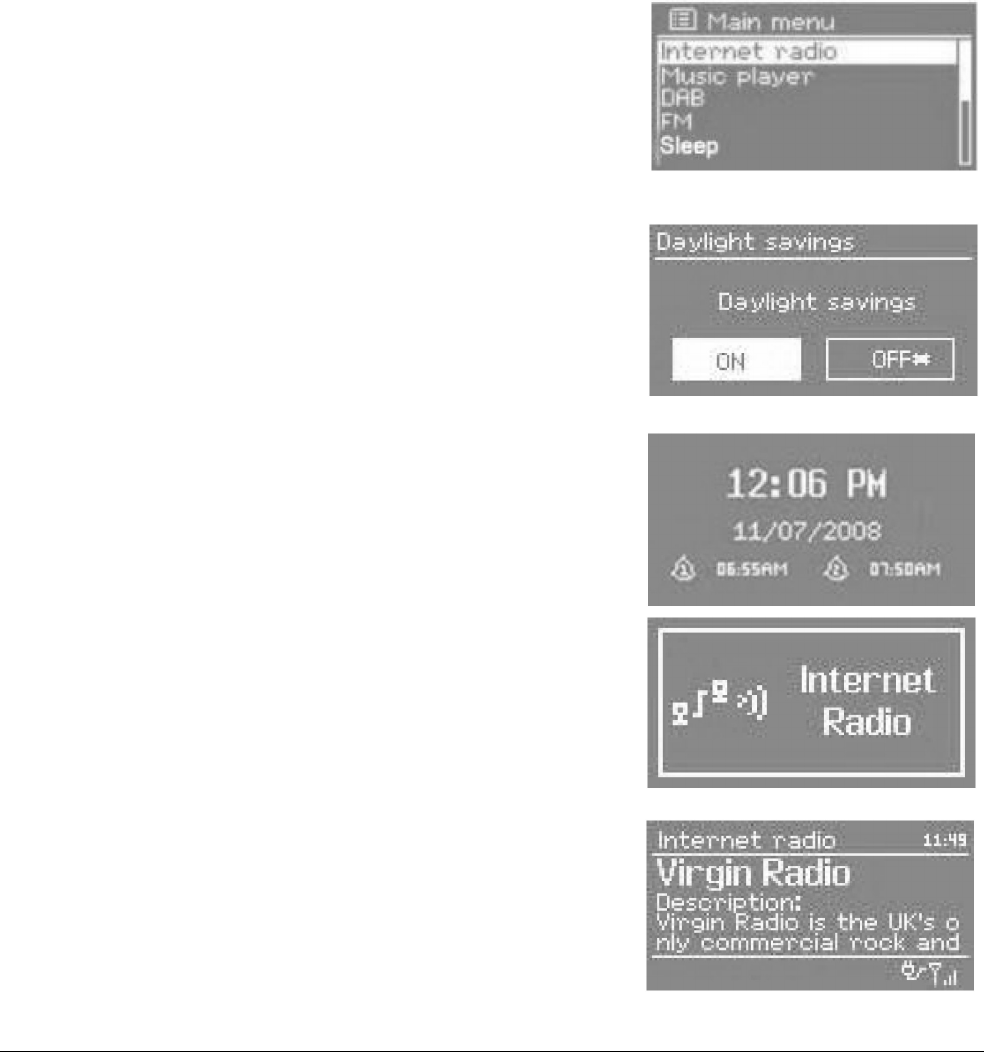
Dialogue screens
Dialogue screens Dialogue screens
Dialogue screens
Dialogue screens are shown to allow the user to change settings.
They vary in complexity from simple Yes/No options up to the
scrollable network password input screen.
As with menus, the selected item is shown with a white background.
Dialogue screens mark the current setting with an asterisk (*).
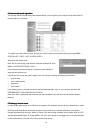
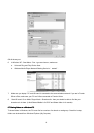
Display screens
Display screens Display screens
Display screens
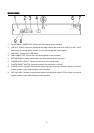
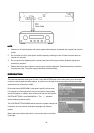
This radio has basically three types of display screen:
The Standby screen shows the time, date and any active alarm times.
As you cycle through the play modes pressing MODE button, The
radio shows a splash screen for each mode. After one second, the
radio enters the selected mode and tries to start playing the last
station or track that was playing in that mode. If this is not possible,
Jupiter 6 will try to connect to the selected source by scanning for
stations, networks, or prompting for user input as appropriate.
The NOW PLAYING SCREEN shows information about the audio
source and track now playing, where available.
In addition, there are screens for information such as volume, mute
and information/error messages.
BASIC OPERATION
BASIC OPERATIONBASIC OPERATION
BASIC OPERATION
1 Getting started
1 Getting started 1 Getting started
1 Getting started
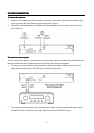
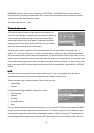
Although this radio is sophisticated, getting started is simple. To play DAB or FM radio, all you need is a power
source (~220-240 V mains supply).
NOTE:
NOTE:NOTE:
NOTE:
It is recommended to use the mains power supply where available, for economy and to avoid unnecessary
waste.
1. Place the radio on a suitable shelf or table and plug it in to a power outlet.
2. Extend the telescopic antenna.