


| ADCOM GTP-880 Owner’s Manual40
41ADCOM GTP-880 Owner’s Manual |
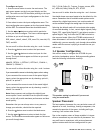
3. Press select to enter the channel calibration menu.
The channel calibration menu appears on the front panel
display and the OSD. The selected menu item should be
left front.
A special test tone will be generated allowing you to
measure the output of the speaker that’s playing. Adjust
the master volume as needed.
4. Use the and buttons to adjust the speaker level.
You can adjust the selected channel level in 1dB steps
across a range of -15dB to +10dB.
5. Press the button when you have nished making the left
front level adjustment. Repeat steps 5 and 6 until you have
completed setting the level for each speaker in your system.
6. When you have nished adjusting the level for all the
speakers in your system, press the button to select the
return to main menu option.
7. Press the select or menu button to return to the main
menu, or press the menu button twice to exit. You can
also perform this calibration at any time by using the built
in test tone, by pressing the ch. cal button on the GTP-880
remote control.
To set channel levels using the test tone function:
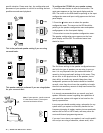
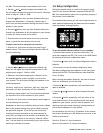
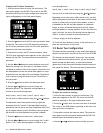
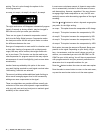
1. Press the ch. cal button on the remote (make sure to
press the main button rst). This will produce a display
that shows:
When you select this function, the GTP-880’s test tone
will automatically cycle every few seconds through all the
speakers you have told the GTP-880 are connected to the
system. The unit cycles through the speakers in the
following sequence:
left front, center front, right front, right surr(ound), right
back (surround), left back (surround), left surr(ound),
subwoofer
2. Use the and buttons to adjust the speaker level.
You can adjust the selected channel level in 1dB steps
across a range of -15dB to +10dB.
While you are adjusting each speaker, the test tone will
remain on that channel until you have stopped changing
the volume for a few seconds. The unit will then resume
cycling the test tone from speaker to speaker, until you
touch the ch. cal button again.
Note: Speakers that you selected “none” for in the
speaker cong menu will not appear.
3. Press the ch. cal button on the remote control again to
exit the test tone function.
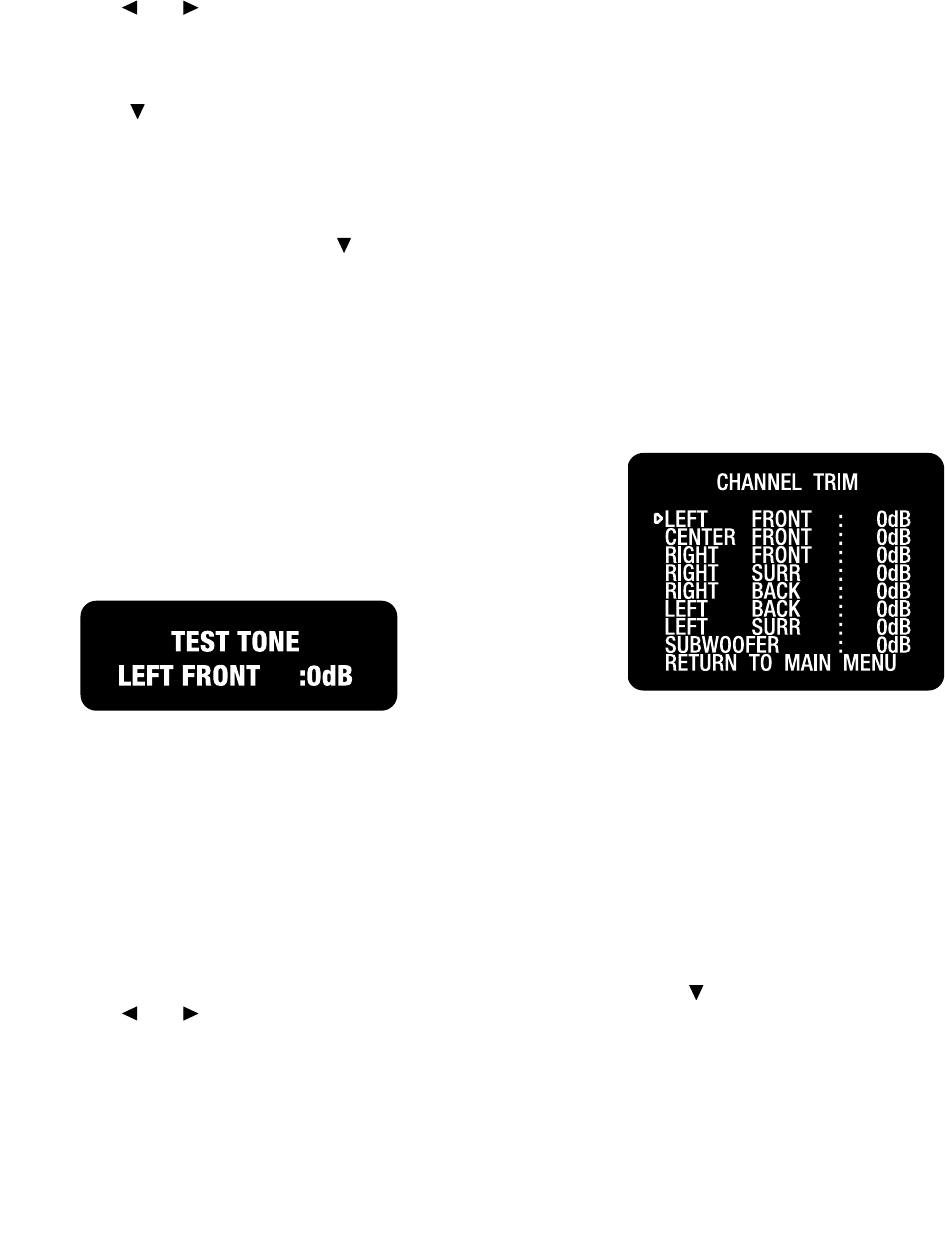
Channel Trim
Channel trim allows you to ne tune the channel levels
to compensate for various soundtrack anomalies. For
example, you may play a movie and nd that the center
(dialogue) channel is weak, making the movie hard to
follow. Simply trimming the center channel up a dB
or two can x the problem. Or another lm may have
substantially more bass than normal and trimming the
subwoofer channel down a dB or two may help balance
the sound correctly.
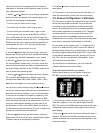
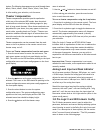
This function can be accessed in two ways. You can press
the ch. trim button on the remote control, or you can
access this feature through the main menu. The channel
trim menu is shown below.
To adjust channel trim from the main menu:
1. While playing the program material with output that
you wish to ne tune, press the menu button to enter the
main menu.
The main menu appears on the front panel display and the
OSD. The cursor on the OSD should be pointing to the input
conguration menu and input cong appears on the front
panel display.
2. Press the button until the channel trim menu is
selected. The cursor on the OSD should be pointing to the
channel trim menu and channel trim appears on the front
panel display.
3. Press select to enter the channel trim menu. The
channel trim menu appears on the front panel display and