


| ADCOM GTP-880 Owner’s Manual44
45ADCOM GTP-880 Owner’s Manual |
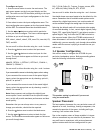
the room two feature on or off. If on is selected, the red
LED below the word room 2 on/off on the front panel will
illuminate indicating activation of the second stereo room.
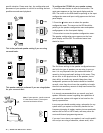
5. Press the button to select the Input menu.
6. Use the and buttons to select a stereo analog
source which signal will be sent through the room 2
outputs to the second room. The source choices appear as
follows as you scroll through them:
DVD, video 1, video 2, video 3, VCR, tuner FM, tuner AM,
CD, TAPE, AUX
Note: Stereo analog connections must be made from each source
except tuner.
You can scroll in either direction using the < and > buttons.
7. Press the button to select the mute menu.
8. Use the and buttons to select whether the room
two mute function is on or off.
9. Press the button to select the volume menu.
10. Use the and buttons to increase or decrease the
volume level of the signal being sent to the second room.
The range available is from -80dB to 10dB. Use caution as
you can set a very high volume level and not be aware of it
because of the distance between you and the second room.
11. Press the button to select the return to main menu option.
12. Press the select or menu button to return to the main
menu, or press the menu button twice to exit.
3.10 Additional Options
Surround Data Format Lock
The GTP-880 will automatically set the surround format
based on the signal it receives from the selected source. To
avoid the slight delay occasionally encountered in the auto
select process, you can choose to override the auto data
format detection circuitry by following the procedure below.
To lock a specic surround mode:
1. Press the desired surround mode button (Dolby, DTS, or
stereo) on the remote control repeatedly to cycle through
the available processing options. Your selection will appear
on the front panel display and OSD.
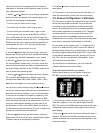
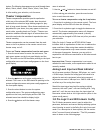
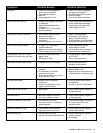
2. Press the same button for ve (5) seconds to choose
from among three data format options for digital audio
sources. The following is shown on the front panel display
and the OSD:
Auto is the default setting for this option, and means that
when the unit detects the special code imbedded within
certain data streams such as Dolby Digital or DTS it will set
itself to properly decode that type of incoming signal.
3. Use the and buttons to select one of the data
format options. You can select either Dolby D(igital), DTS,
or PCM (for Pro Logic II), as the default format. If you do
this, signals that are not in the selected format won’t be
recognized. Therefore, we recommend that you leave the
system in auto mode unless you wish to use the selected
mode exclusively.
The data format menu will disappear automatically
approximately 10 seconds after you make your selection.
Dynamic Range
Dynamic range is a special feature of Dolby Digital
that compensates for difcult listening situations by
compressing the dynamic range of the speaker output. An
example would be when you are watching a movie with a
soundtrack that contains very loud passages and you don’t
want to disturb others in the house.
Both low-level boost and high-level cut compression inte-
grated into night mode compensation is only available
when the surround mode of the selected input source is
set to Dolby Digital or Dolby Digital EX and downmixing is
not enabled (i.e. if the source is a 3/2.1 AC-3 stream, the
system must be congured to have at least a 5.0 speaker
setup, or greater). When the system is downmixing a
multichannel AC-3 stream and Night mode compression is
enabled, the low-level signals may still be boosted, how-
ever the high-level signals will not be compressed.
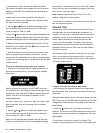
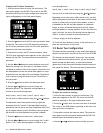
To enable/disable Night Mode compensation:
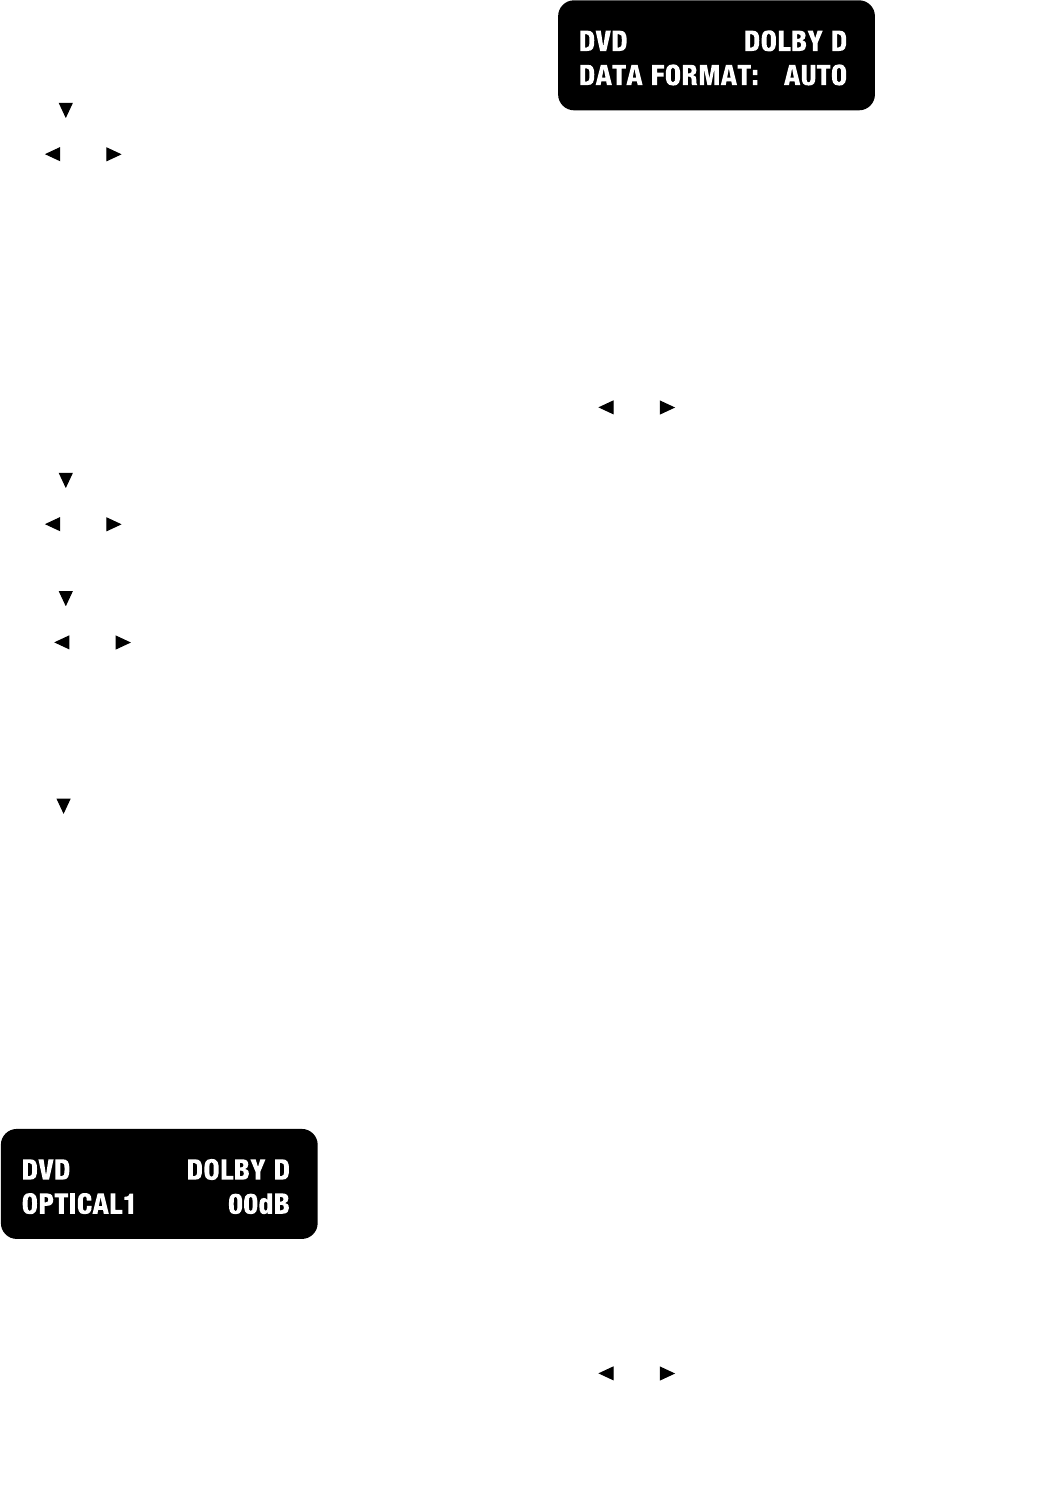
1. Press the d.range button on the remote control. The
night mode selection appears on the front panel display
and OSD under the currently selected input source.
2. Use the and buttons to change the night mode