Quick start guide
10 En
• To use the “TV Viewing” template (Case B), you must connect
a satellite receiver, a cable TV receiver or an HDTV decoder to
this unit in advance. See page 20 for details.
• To use the “Radio Listening” template (Case C), you have to
tune into the desired radio station. See pages 50 to 52 for the
tuning information.
• To achieve the best possible reception, orient the connected AM
loop antenna, or adjust the position of the end of the indoor FM
antenna.
y
If you cannot find the desired situation, you can select and change
the assigned SCENE template for the SCENE buttons. See
page 33 for details.
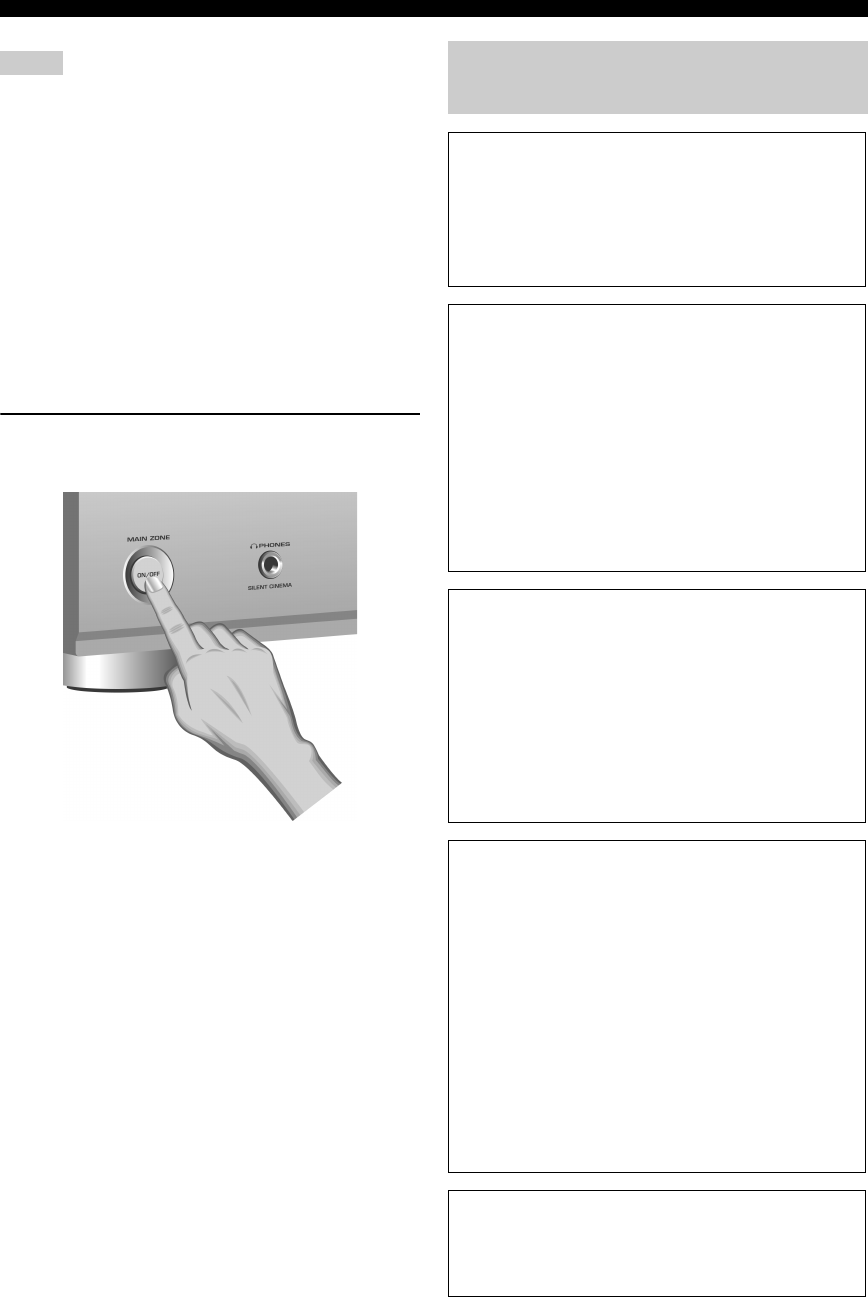
■ After using this unit...
Press
A
STANDBY/ON to set this unit to the
standby mode.
This unit is set to the standby mode and consumes a small
amount of power in order to receive infrared signals from
the remote control. To turn on this unit from the standby
mode, press the desired
E
SCENE buttons (or
F
SCENE) or
A
STANDBY/ON on the front panel (or
H
POWER on the remote control). See page 25 for
details.
Notes
What do you want to do with this
unit?
■ Customizing the SCENE templates
• Using various SCENE templates
☞ P. 33
• Creating your original SCENE templates
☞ P. 36
■ Using various input sources
• Basic controls of this unit
☞ P. 37
• Enjoying FM/AM radio programs
☞ P. 50
• Enjoying XM Satellite Radio programs
☞ P. 53
• Using your iPod with this unit.
☞ P. 58
■ Using various sound features
• Using various sound field programs
☞ P. 42
• Using the pure direct mode for high fidelity
sound
☞ P. 48
• Customizing the sound field programs
☞ P. 61
■ Adjusting the parameters of this unit
• Automatically optimizing the speaker
parameters for your listening room
(AUTO SETUP)
☞ P. 28
• Manually adjusting various parameters of
this unit manually
☞ P. 71
• Setting the remote control
☞ P. 84
• Adjusting the advanced parameters
☞ P. 89
■ Additional features
Automatically turning off this unit
☞ P. 41


