


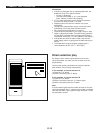
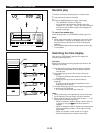
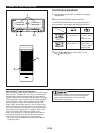
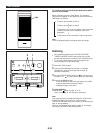
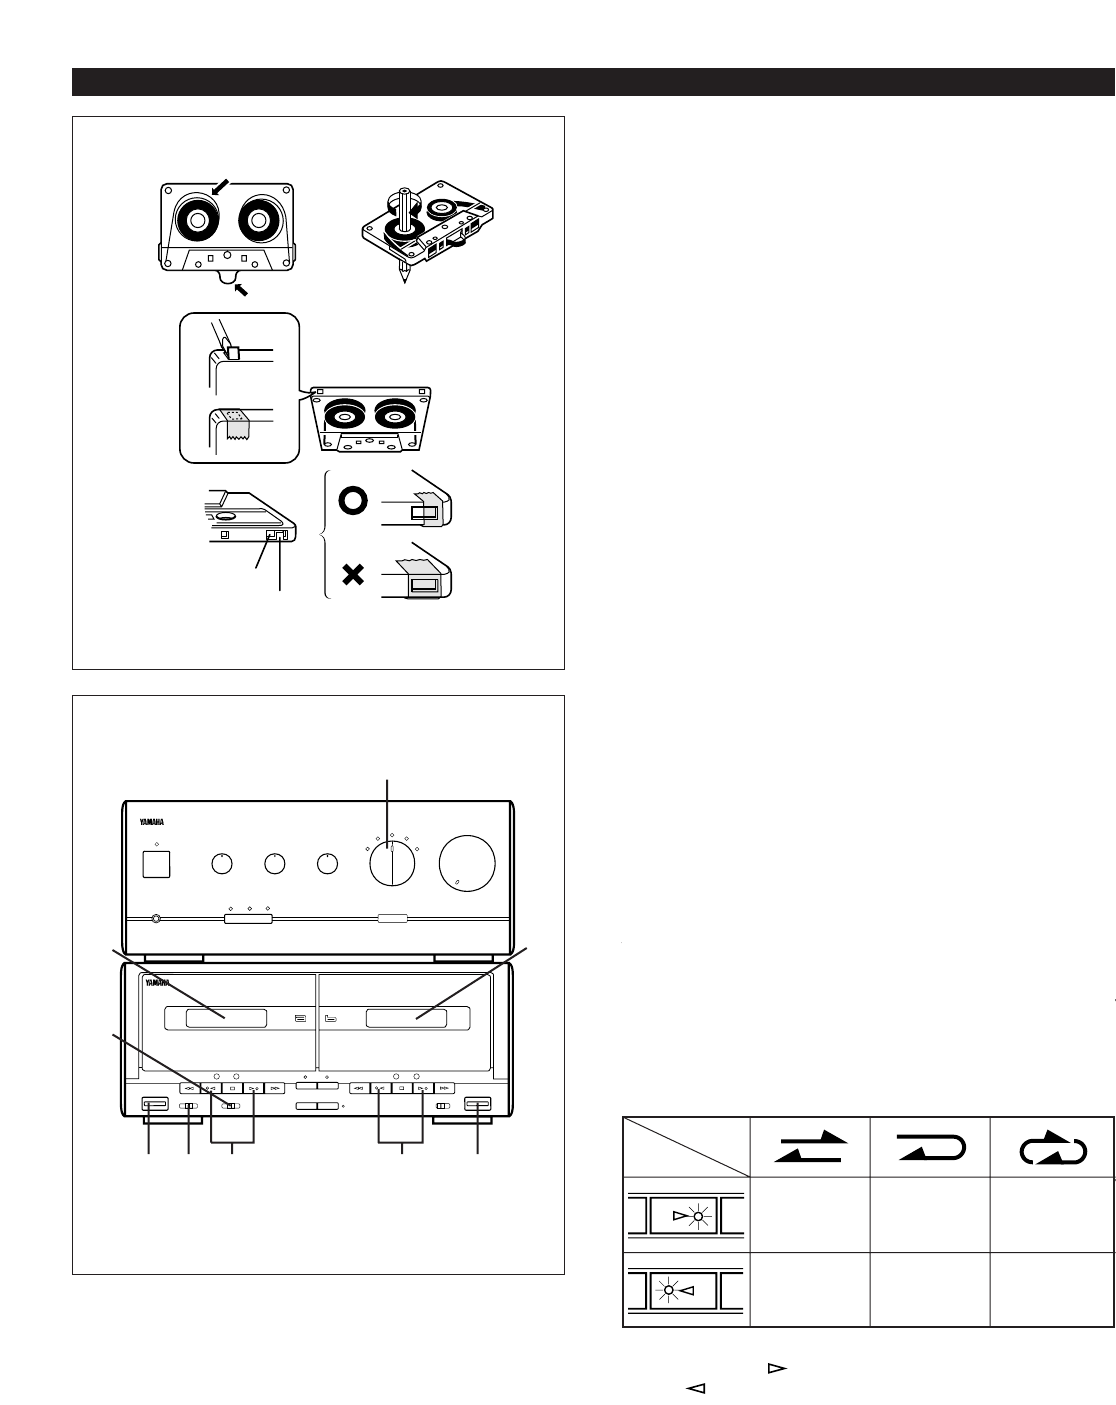
Detection hole
Tab
E-22
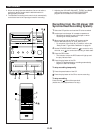
CASSETTE TAPE OPERATION
General information
•
Do not use C-120 tapes, tapes with internal reels or poor-
quality tapes, since they can cause malfunctions.
•
Before loading a tape into the cassette compartment,
tighten the slack tape with a pen or pencil.
•
Tapes have removable tabs which prevent accidental
recording or erasing from taking place. Removing the tab
on the top left protects the side facing you from erasure.
Cover the tab holes with adhesive tape to erase or record
again.
•
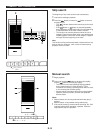
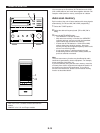
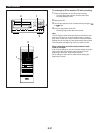
This deck is a Double Cassette Deck with Automatic
Reverse Function.
Tape “a”: Playback only.
Tape “b”: Playback or recording.
•
This deck features an auto tape selector. Just load the
tape, and the tape formula being used will be sensed
automatically.
•
This unit can playback metal tapes as well as normal or
chrome tapes, however recording cannot be done on
metal tapes only.
•
When covering erasure prevention tab holes, do not cover
the chrome and metal detection holes. Otherwise, the
deck will treat tape as normal tape.
•
Do not press the EJECT button during playback or
recording.
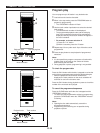
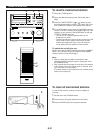
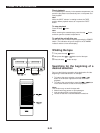
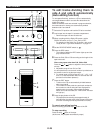
Tape “a” or tape “b” playback
1 Select the TAPE position.
2 Open the tape “a” or tape “b” cassette compartment by
pushing the EJECT button.
3 Load the cassette into the tape “a” or tape “b” cassette
compartment.
4 Set the DOLBY NR switch to B or C if the tape has been
recorded with Dolby noise reduction, and to OFF if Dolby
NR was not used.
* For selection of the Dolby B or C position, refer to the
“Dolby B and C Type Noise Reduction” on page 24.
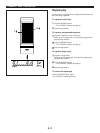
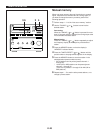
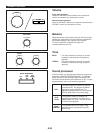
5 Set the REVERSE MODE switch as desired.
The REVERSE MODE switch can be operated before or
during playback, and changes tape playback as follows:
6 Press the play button to listen to side A, or the
play button for side B.
Side A only
Side B only
Side A → Side
B
Side B only
Side A → Side B
Continuous play
Side B → Side A
Continuous play
2(a) 5
4
1
6(a) 6(b) 2(b)
3
(b)
3
(a)