28-GB
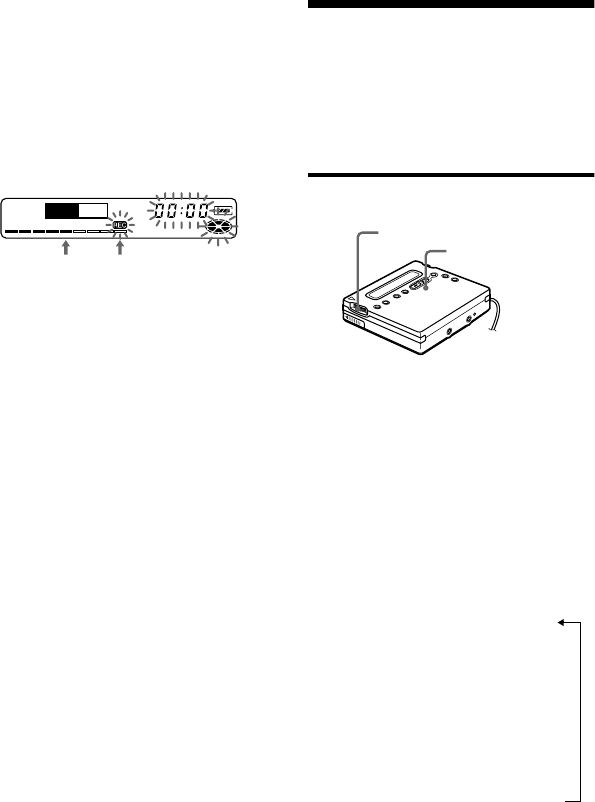
5 While observing the level meter in the
display, adjust the recording level by
flipping the jog lever (L).
Set the level so that the input lights up
around the fifth segment on the level
meter. If the maximum input lights up
the ninth segment, lower the level.
Recording does not start in this step.
If your source is an externally
connected component, be sure to cue
the source to the beginning of the
material to be recorded before you
start playback.
6 Press X again to start recording.
To stop recording, press x.
The recording level control is switched back to
automatic control when you record the next
time.
z
If you press x during recording operation, the
recorder will revert to automatic recording level
adjustment mode the next time you start a
recording operation.
Notes
• The recording level cannot be adjusted while
recording is in progress. If you want to adjust
the recording level after you have started the
recording, press X to pause the recorder. Then
do the procedure from step 5.
• You cannot adjust the recording level
manually during synchro-recording.
Checking the remaining
time or the recording
position
You can check the remaining time, track
number, etc. when recording or during
stop.
On the recorder
1 While the recorder is recording or
stopped, press the jog lever (L), flip
the lever until “ DISPLAY” flashes in
the display, and then press the lever
again.
2 Flip the jog lever (L) until the
information you want flashes in the
display.
Each time you flip the lever, the
display changes as follows.
LapTime (The elapsed time of the
current track.)
r
RecRemain (The remaining
recordable time.)
r
AllRemain (The remaining time
after the current track.)
1)
r
Clock (Current time.)
1)
Appears only when the recorder is stopped.
3 Press the jog lever (L).
The display changes as follows.
REC +
<,
Volume
decreases
increases
fifth segment ninth segment
REC indicator
Jog lever (L)
