


41
Notes
• When you erase a track mark between the two
consecutive tracks that are registered into
different groups while group mode is off, the
second track is re-registered into the group
containing the first track. In addition, if you
combine a track that is registered to a group
with a track that is not registered to a group
(two consecutive tracks), the second track
takes the same registration setting as the first
track. However, when group mode is on, you
can only combine tracks within the selected
group.
• You cannot erase track marks according to the
system limitations. For details, see “System
limitations” (page 48).
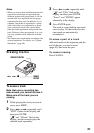
Erasing tracks
To erase a track
Note that once a recording has
been erased, you cannot retrieve it.
Make sure of the track you are
erasing.
1 While playing the track you want to
erase, press MENU.
2 Press > or . repeatedly until
“EDIT” flashes in the display, and
then press ENTER.
“ ” and “T:Name” flash in the
display, and the recorder plays the
selected track repeatedly.
3 Press > or . repeatedly until
“ ” and “T:Ers” flash in the
display, and then press ENTER.
“Erase?” and “ENTER” appear
alternately in the display.
4 Press ENTER again.
The track is erased and the next track
starts to play. All the tracks after the
one erased are automatically
renumbered.
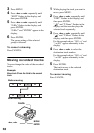
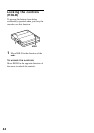
To erase a part of a track
Add track marks at the beginning and the
end of the part you want to erase
(page 40), then erase the part.
To cancel erasing
Press CANCEL.
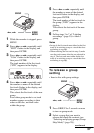
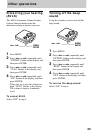
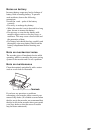
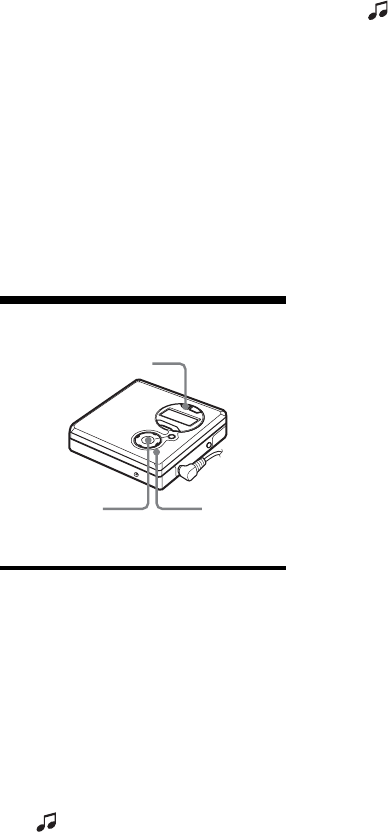
>, ., x
MENU/
ENTER
GROUP/CANCEL