26
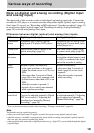
Using Auto Time Stamp to add
track marks while recording
When the elapsed recording time
exceeds the time interval for Auto
Time Stamp:
The recorder adds track marks at the point
you set the time interval and from that
point the recorder adds a track mark
whenever the time interval has elapsed.
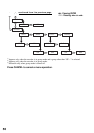
Example: Eight minutes of recording has
been completed when the Auto Time
Stamp time interval is set to 5 minutes.
A track mark will be added at the 8-
minute point (after the start of recording)
and after each 5-minute interval
thereafter.
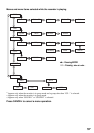
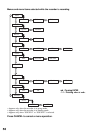
When the time interval set for Auto
Time Stamp exceeds the elapsed
recording time:
The recorder adds a track mark when the
set Auto Time Stamp time interval has
elapsed.
Example: Three minutes of recording has
been completed when the Auto Time
Stamp time interval is set to 5 minutes.
A track mark will be added at the 5-
minute point (after the start of recording)
and after each 5-minute interval
thereafter.
z
“T” appears before the track display on the
recorder for track marks added by Auto Time
Stamp.
Notes
• Automatic track marking by Auto Time Stamp
starts when you add a normal track mark to
the disc (i.e., by pressing T MARK or X,
etc.).
• The setting will be lost when the recording
stopped.
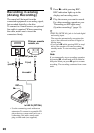
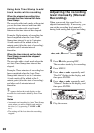
Adjusting the recording
level manually (Manual
Recording)
When you record, the sound level is
adjusted automatically. If necessary, you
can set the recording level manually
during both analog and digital recording.
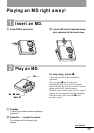
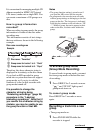
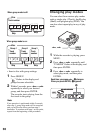
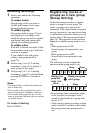
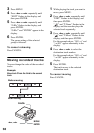
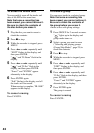
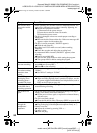
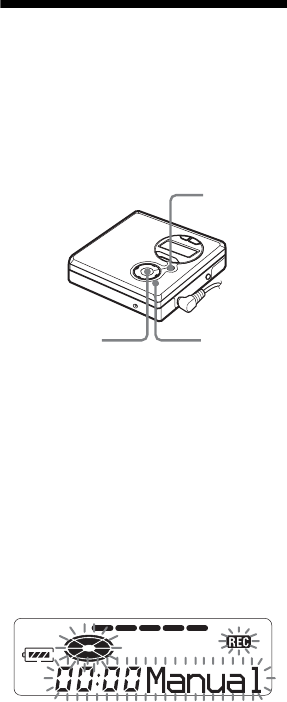
1 Press X while pressing REC.
The recorder stands by for recording.
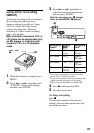
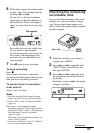
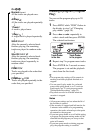
2 Press MENU.
3 Press > or . repeatedly until
“RecVol” flashes in the display, and
then press ENTER.
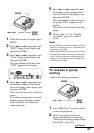
4 Press > or . repeatedly until
“Manual” flashes in the display, and
then press ENTER.
5 Play the source.
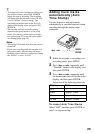
REC
MENU/
ENTER
>, ., X