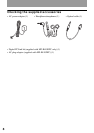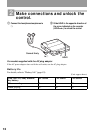
27
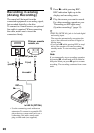
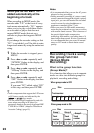
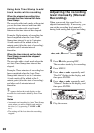
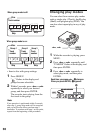
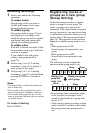
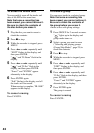
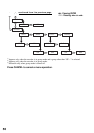
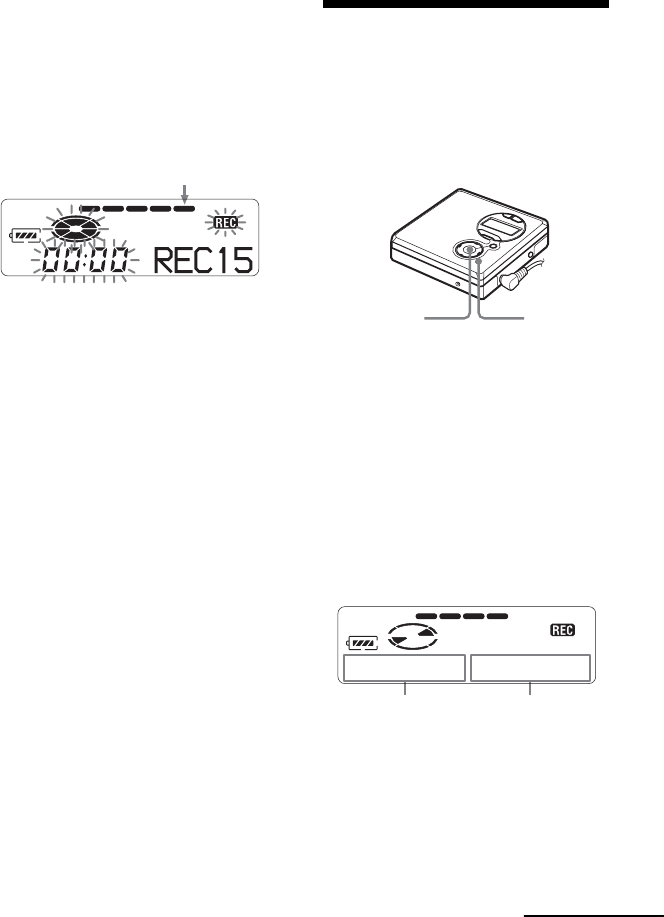
6 While observing the level meter in the
display, adjust the recording level by
pressing > or ..
Set the level so that the maximum
input lights up the fifth segment on
the level meter. If the sixth segment
lights up, lower the level by pressing
>.
Recording does not start in this step.
If your source is an externally
connected component, be sure to cue
the source to the beginning of the
material to be recorded before you
start playback.
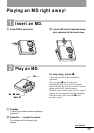
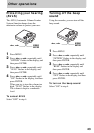
7 Press X again to start recording.
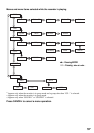
To stop recording
Press x.
The recorder will revert to automatic
recording level adjustment mode the next
time you start a recording operation.
To switch back to automatic
level control
Select “Auto” in step 4.
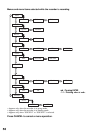
Notes
• To set the recording level manually during
synchro-recording, do the procedure below.
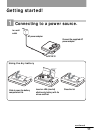
1 Select “OFF” in step 3 of “Record an MD.”
(page 14).
2 Do steps 1 to 6 of manual recording
procedure (page 26). Then do the procedure
of “Record an MD.” (step 3 of “Recording an
MD right away! (Synchro-recording)”
(page 13) again.
Recording starts automatically whenever the
source sound is played.
• You cannot switch from “Auto” to “Manual”
(or vice-versa) during recording.
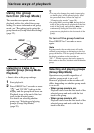
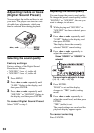
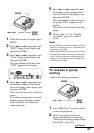
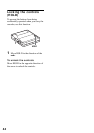
Checking the remaining
recordable time
You can check the remaining time, track
number, etc. when recording or during
stop. Group-related items appear only
when a track with group settings is played
and then stopped.
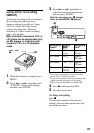
1 While the recorder is recording or
stopped, press MENU.
2 Press > or . repeatedly until
“DISP” flashes in the display, and
then press ENTER.
3 Press > or . repeatedly until
the information you want flashes in
the display.
Each time you press ., the display
changes as follows:
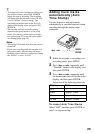
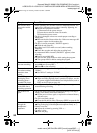
fifth segment
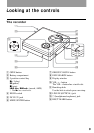
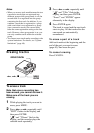
>, .
MENU/
ENTER
continued