Sound Adjustment
19
US
You can reinforce the bass and create a more
powerful sound.
Press GROOVE repeatedly.
Each time you press the button, the display
changes cyclically as follows:
GROOVE ON* t GROOVE OFF
* The volume switches to power mode and the
equalizer curve changes.
Tips
• The default setting is “GROOVE ON”.
• When “GROOVE ON” is selected,
“GROOVE” lights up in the display.
Turn OPERATION DIAL clockwise or
counterclockwise (or press EQ on the
remote repeatedly) to select the preset
effect you want.
Preset effect options
To cancel the preset effect
Turn OPERATION DIAL clockwise or
counterclockwise until “FLAT” appears in the
display.
You can adjust the sound by raising or lowering
the level of specific frequency band, then store
up to three user equalizer setting in the memory.
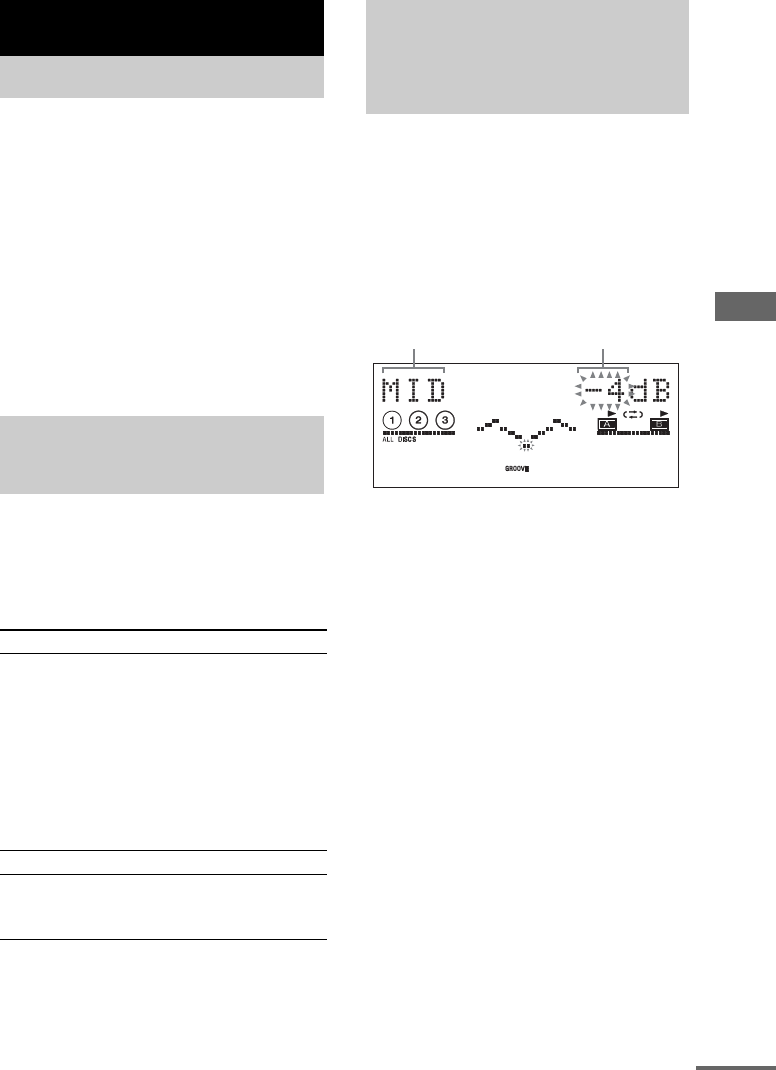
1 Press EQ BAND repeatedly to select a
frequency band or surround effect.
2 Turn OPERATION DIAL clockwise or
counterclockwise to adjust the level or
select surround effect you want.
3 Repeat step 1 and 2 to adjust the level
of other frequency bands.
4 Press ENTER.
A user equalizer number flashes in the
display.
5 Turn OPERATION DIAL clockwise or
counterclockwise to select a user
equalizer number (1~3) you want to
store the equalizer setting.
6 Press ENTER.
This setting is automatically stored as the
user equalizer setting you selected in step 5.
The previous setting stored at this memory
location is erased and replaced by the new
setting.
Tip
If you do not want to store the equalizer setting, select
“EXIT?” in step 5.
Sound Adjustment
Adjusting the sound
Selecting the preset
effect
Effect Category
ROCK
POP
JAZZ
DANCE
SOUL
TECHNO
HIP HOP
REGGAE
SAMBA
CLASSICAL
Standard music sources
FLAT Original music source
USER EQ 1
USER EQ 2
USER EQ 3
User equalizer setting
Adjusting the graphic
equalizer or selecting the
surround effect
Frequency level
Frequency band
continued


