


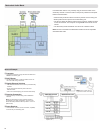

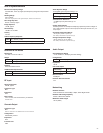
RESTORE DEFAULTS
OVERWRITE CURRENT
SETTINGS WITH
DEFAULT SETTINGS?
RESTORE
DEFAULT SETTINGS
22
Restoring Dante Factory Settings
The receiver and the Dante network card can be reset to restore factory Dante settings. Performing a reset is helpful for clearing existing data before setting
up a system.
Caution! Performing a reset on either the Dante network card or on the ULX-D receiver will interrupt the Dante audio.
Tip: Prior to performing a factory reset, note the current Dante network mode and IP settings. After a reset, the Dante network mode reverts to
SWITCHED,
and the IP address mode revert to AUTO.
Restoring Receiver and Dante Card Factory Settings
Performing a reset from the receiver restores the factory settings and
configures the Shure Control and Dante IP address mode to AUTO.
1. From the receiver menu: DEVICE UTILITIES > SYSTEM RESET > RESTORE
DEFAULT SETTINGS
2. Press ENTER to complete the reset.
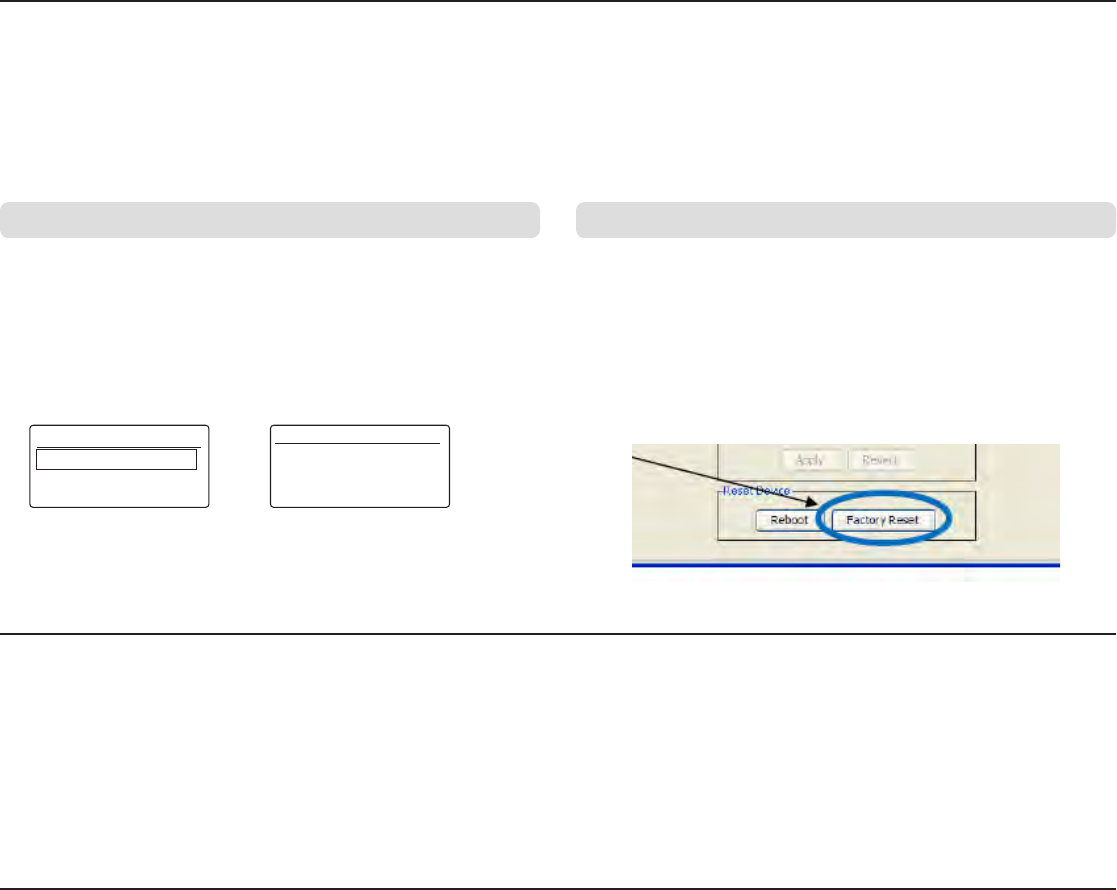
Restoring the Dante Network Card Factory Settings
The Factory Reset option within the Dante controller restores the Dante card
to the factory settings and configures the Dante IP address mode to AUTO.
1. From the Dante controller, select a receiver and open the Network Cong
tab.
2. Click on Factory Reset.
3. Allow the Dante controller to refresh before making any additional
changes.
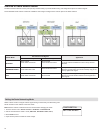
Connecting to an AMX or Crestron System
The ULX-D receiver connects to an AMX or Crestron control system via the Ethernet, using on the same cables used to carry Shure Control (WWB6). Use
only one controller per system to avoid messaging conflicts.
• Connection: Ethernet (TCP/IP; ULX-D receiver is the client)
• Port: 2202
For a comprehensive list of ULX-D command strings, visit: http://shure.custhelp.com/app/answers/detail/a_id/4976
Network Troubleshooting
• Use only one DHCP server per network
• All devices must share the same subnet mask
• All receivers must have the same level of firmware revision installed
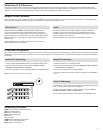
• Look for the illuminated network icon on the front panel of each device:
If the icon is not illuminated, check the cable connection and the LEDs on the network jack.
If the LEDs are not on and the cable is plugged in, replace the cable and recheck the LEDs and network icon.
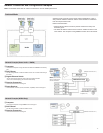
To check connectivity of WWB6 to the network:
1. Start WWB6 software and use Inventory view to see devices connected to the network.
2. If not, find the IP address from one of the devices on the network (such as a ULX-D receiver) and see if you can ping it from the computer running WWB6.
3. From a WINDOWS/MAC command prompt, type ‘ping IPADDRESS’ of the device (e.g. "ping 192.168.1.100").
4. If the ping returns success (no packet loss), then the computer can see the device on the network. If the ping returns failure (100% packet loss), then check
the IP address of the computer to ensure it’s on the same subnet.
5. If the pings are successful and the devices still do not show up in the WWB6 inventory, check to ensure all firewalls are either disabled or allow the WWB
network traffic to pass to the application. Check that firewall settings are not blocking network access.