


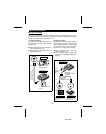

■ Recording from the microphone (Mic synchro recording)
The recording will begin automatically in response to a noise or a person speaking. When
the sound stops, the recording will pause. This function is convenient when recording
lectures, conferences, etc.
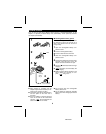
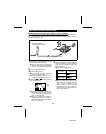
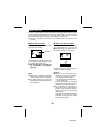
RECORDING USING A MICROPHONE
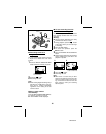
VOL /
NAME
Stereo microphone
(commercially available)
To the MIC IN jack
1 Connect the stereo microphone to the
MIC IN jack on the main unit.
● When a microphone is connected to
this unit, the unit will automatically
switch to input from the microphone.
2 Insert a recordable Minidisc.
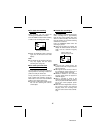
3 Press the REC button.
● A monaural, long-play recording
mode is available. (Page 17)
● Timed identification marks can be
created while recording. (Page 15)
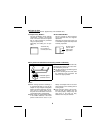
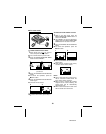
4 Press the or button to adjust
the recording level.
● Adjust the recording level so that the
maximum sound volume from the
source makes the reading swing be-
tween -4 dB and 0 dB.
● When the recording level display is
changed from “MIC H” to “MIC L”,
the sound will be interrupted momen-
tarily. This is normal.
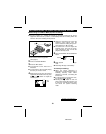
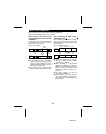
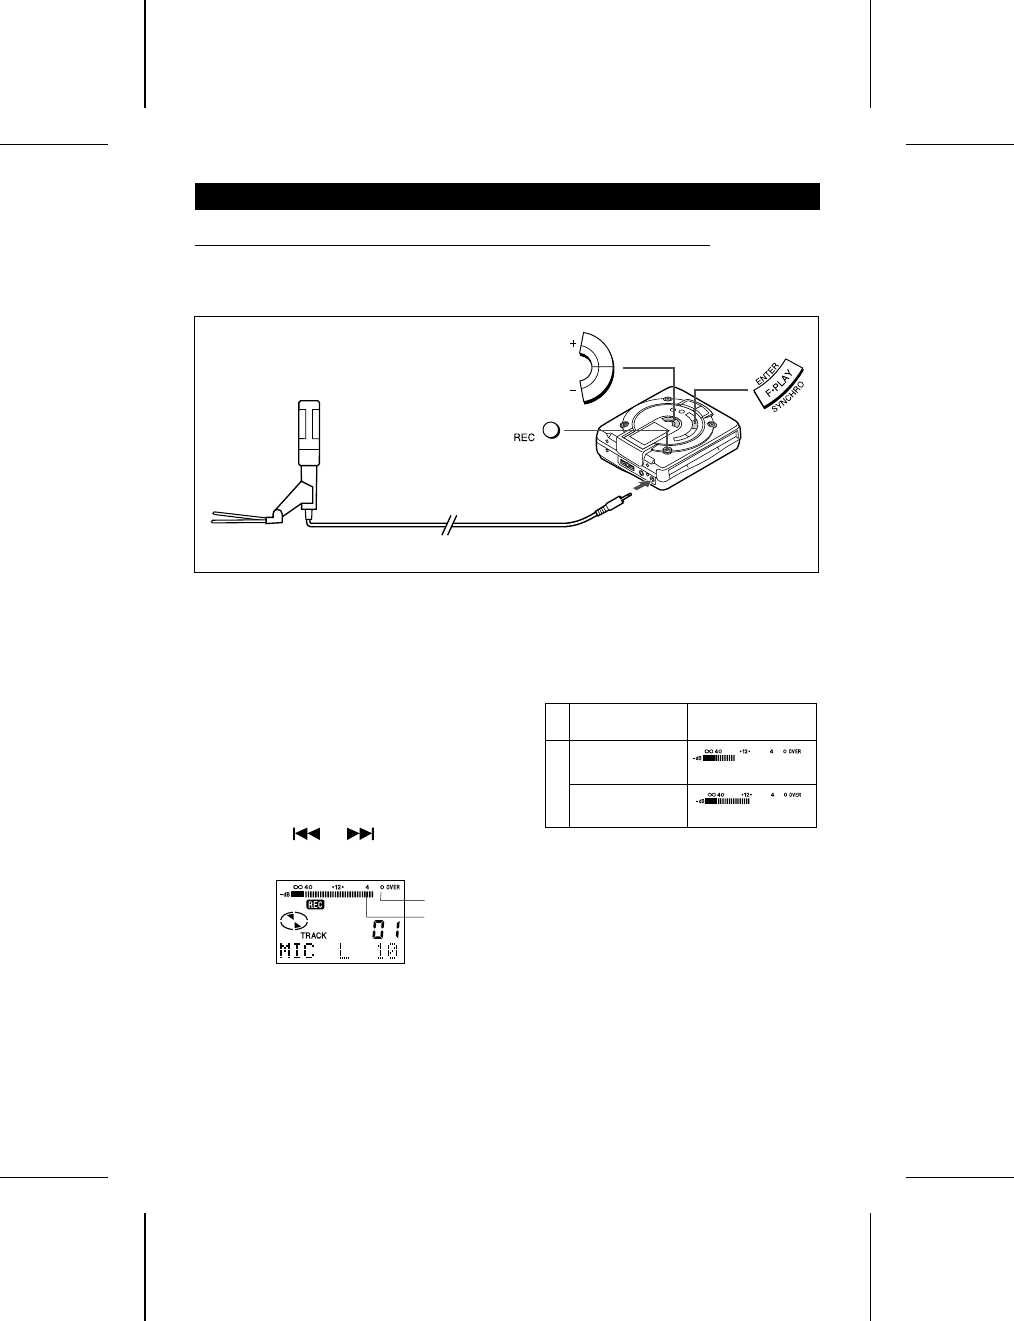
5 Press the ENTER/F.PLAY/SYNCHRO
button to select the synchro recording
level. (This level can be changed, even
while recording.)
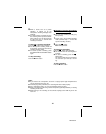
● Refer to the following table.
● When the microphone input is set to
MIC SYNC H, recording will start
when a sound is detected at the
lowest volume. If the unit starts
recording too often due to low, un-
wanted noises, set the microphone
input to MIC SYNC L.
0dB
-4dB
Synchro recording
level display
Sound level at which
to start recording
MIC SYNC H
MIC SYNC L
Mic input
-24dB
-12dB
13
MD-MS702