


9
ENGLISH
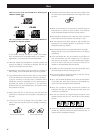
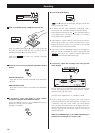
POWER
Press this button to turn the unit standby or off.
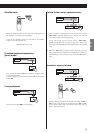
Display
Disc Tray
OPEN/CLOSE
Use this button to open and close the disc tray.
MUSIC SKIP (.//)
Use these buttons to skip tracks.
Hold down these buttons to search for a part of a track.
PLAY (y)
Use this button to start playback, recording, finalizing and
erasing.
PAUSE (J)
Use this button to pause playback or recording.
STOP (H)
Use this button to stop playback or recording.
RECORD
Use this button to enter record pause mode.
During recording, use this button to divide tracks.
DIGITAL REC LEVEL
In record pause mode, use these buttons to adjust the
recording level.
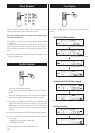
PHONES
For private listening, first reduce the volume level to
minimum. Then insert the plug from your headphones into
the PHONES jack, and adjust the volume by turning the LEVEL
knob.
INPUT SELECT
Use this button to select a source to be recorded.
AUTO/MANUAL
Use this button to select the mode of track number
assignment.
SYNC 1/ALL
Use this button for digital synchronized recording.
FINALIZE
Use this button to finalize a CD-R/CD-RW disc.
ERASE
Use this button to erase or unfinalize a CD-RW disc.
P
O
N
M
L
K
J
I
H
G
F
E
D
C
B
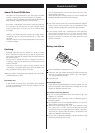
The equipment draws a nominal amount of power from
the AC outlet even with its POWER switch in the OFF
position.
A
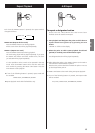
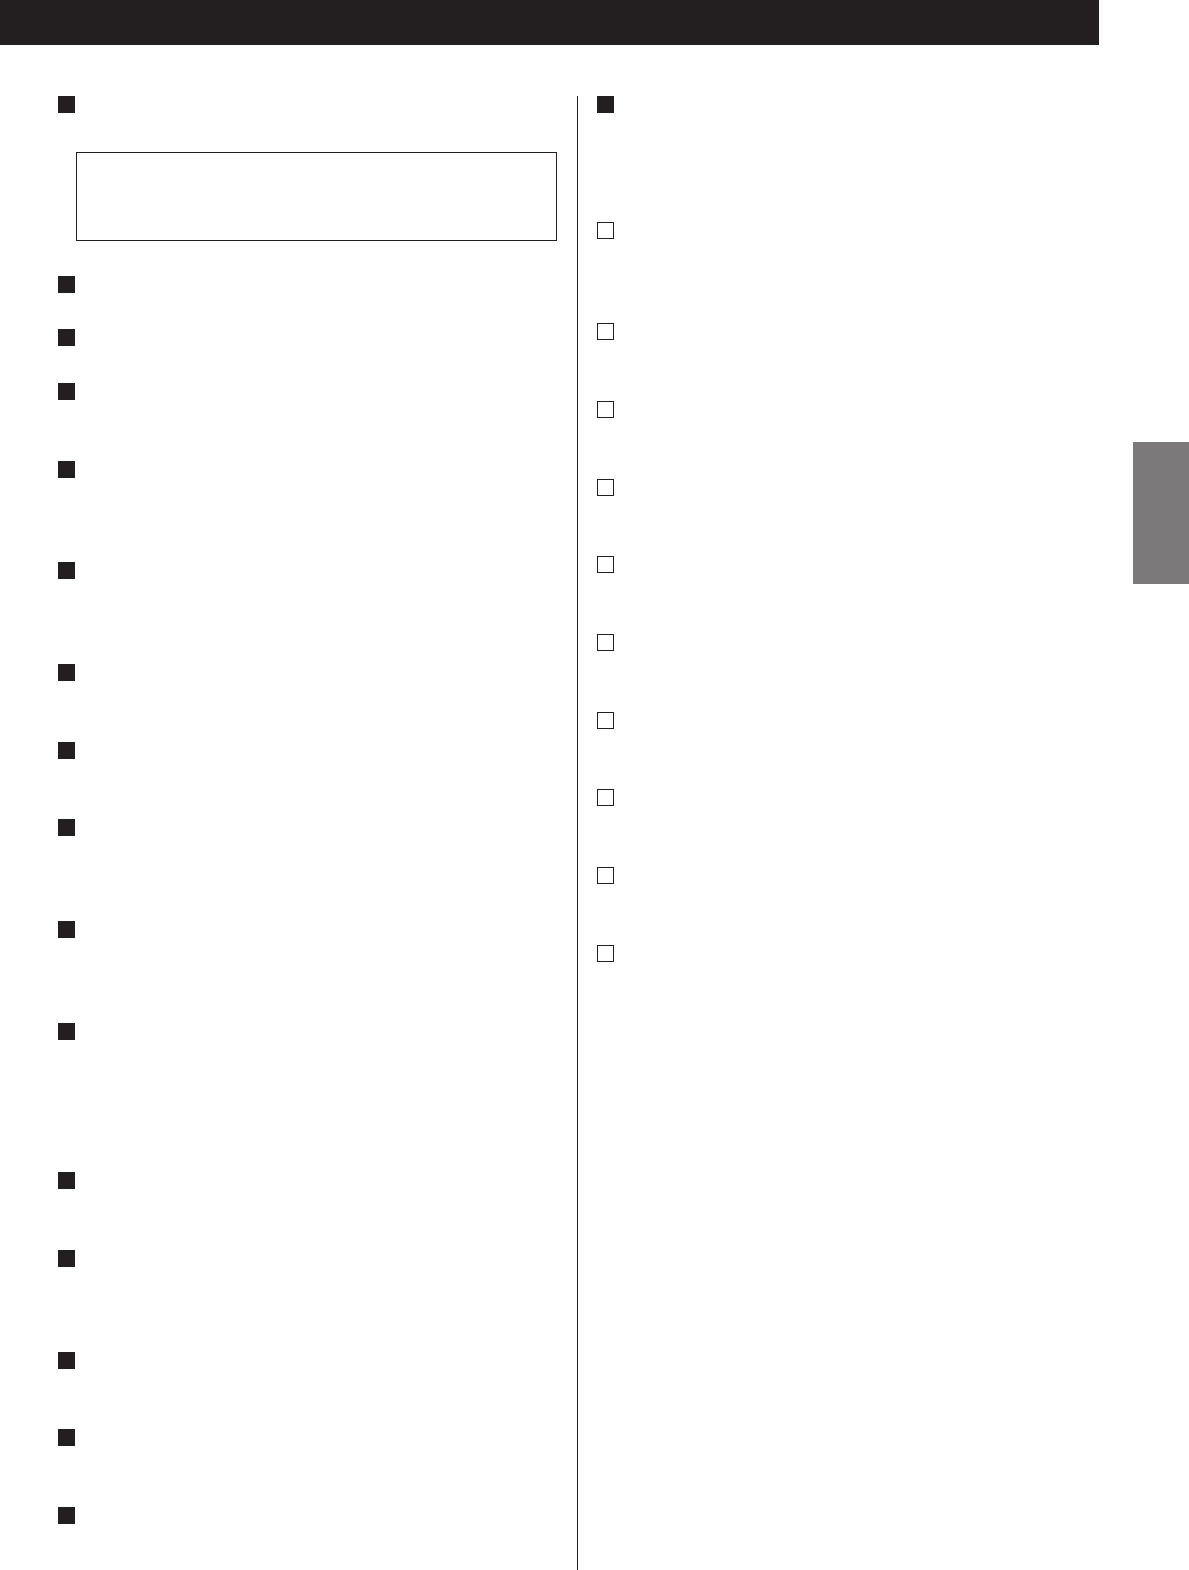
Remote Sensor
When operating the remote control unit, point it towards the
REMOTE SENSOR.
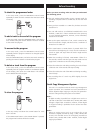
STANDBY/ON
When the POWER switch of the main unit is depressed, use
this button to turn the unit on or standby.
Numeric buttons
Use these buttons to select track numbers.
REPEAT (1/ALL, A-B)
Use these buttons to select a repeat mode.
SEARCH (
m
/
,
)
Use these buttons to search for a part of a track.
TIME
Use this button to change the display mode.
PROGRAM
Use this button to program tracks.
CLEAR
Use this button to clear programmed tracks.
PROGRAM CHECK
Use this button to check the programmed contents.
SHUFFLE
Use this button for shuffle playback.
MUSIC SKIP (.//)
Use these buttons to skip tracks.
Note:
To simplify explanations, instructions in this manual refer to
the names of the buttons and controls on the front panel
only. Associated controls on the remote control will also
operate similarly.
J
I
H
G
F
E
D
C
B
A
Q