


Connecting to your computer network - cont.
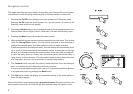
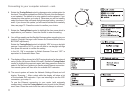
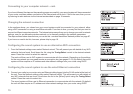
6. Rotate the Tuning/Select control to choose an auto-update option for
the clock. This can be updated from DAB or FM radio, from the Network,
or not updated. The default is to auto update from the network. If you
choose any other option, go to step 9. Otherwise you will first need to
select the correct time zone and daylight savings setting, see steps 7
and 8. If you choose 'No update' you will need to set the clock manually
later, see page 72. Press the control to confirm your choice.
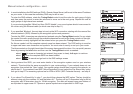
7. Rotate the Tuning/Select control to highlight the time zone which is
applicable to your location. Press the control to enter the setting.
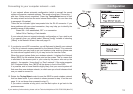
8. You will then need to set the Daylight Savings option according to your
location (Daylight Savings is also known as Summer/Winter time or
BST/GMT adjustment).
Rotate the Tuning/Select control to highlight
'YES' to turn on daylight
savings if required or 'NO' if you do not wish to use daylight savings
then press the control to confirm the setting.
In the UK,
'ON' is equivalent to British Summer Time and 'OFF' is
equivalent to Greenwich Mean Time.
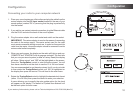
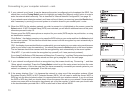
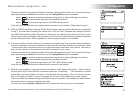
9. The display will then show a list of WiFi regional options for the network
set up (for the UK choose 'Most of Europe'). Rotate the Tuning/Select
control to highlight the required region and then press the control to
select it. Do this even if planning to use the wired Ethernet connection.
Your sound system will then scan for available WiFi networks.
10. The sound system will enter the Network Settings Wizard and will
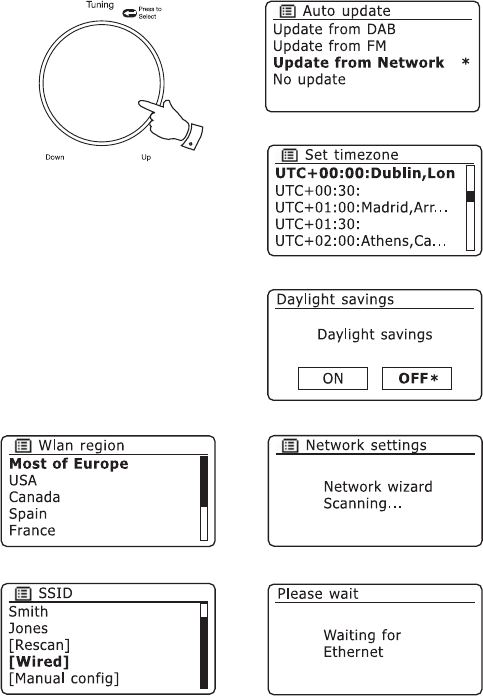
display 'Scanning...'. After a short while the display will show a list
of the available WiFi networks. If you are intending to use the WiFi
connection, go to step 11.
To use the Ethernet connection to your router (with automatic
configuration), rotate the Tuning/Select control to point to the '[Wired]'
menu item. Press the control and the radio will attempt to connect.
6-10
11