7
ENGLISH
Using the Digital Effects
You can add of splash a delay and chorus or gallons
of lush reverb to either input channel using one of
the Acoustic Ribbon’s 100 on-board, 24-bit digital
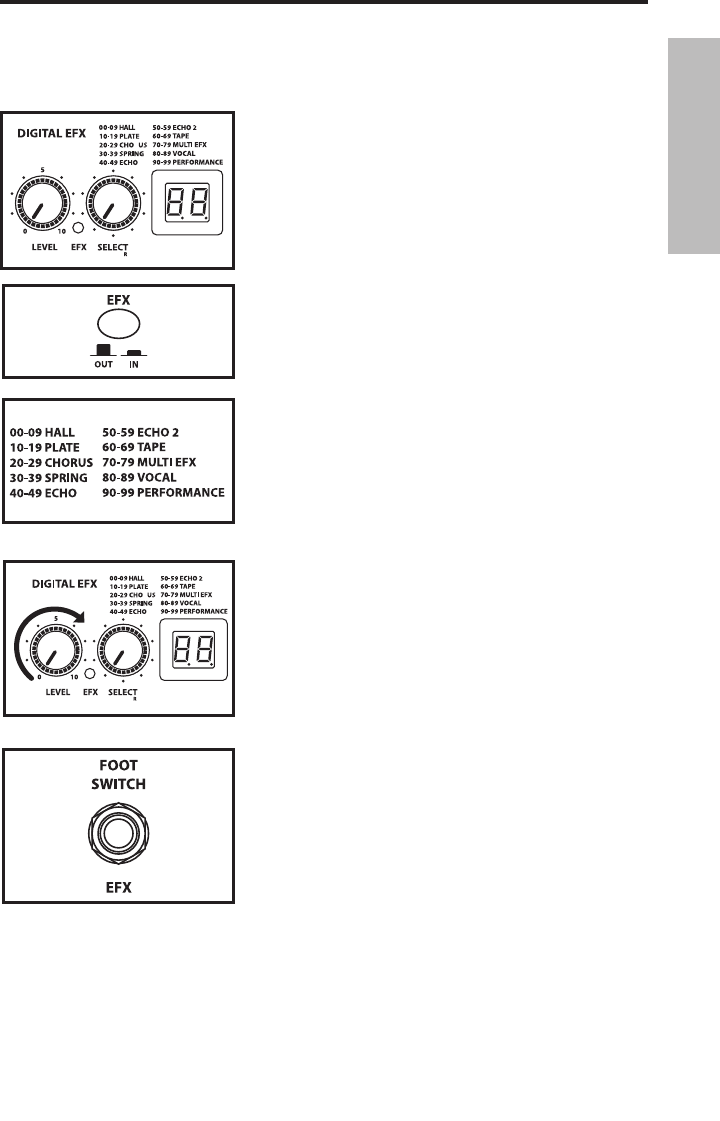
effects. The effects section includes a SELECT control
with a bright, dual seven-segment LED display to dial
up the effects preset, plus a LEVEL control to adjust
the amount of effects you want to hear.
• Assign the effects on Channel 1 by setting the EFX
ON/OFF switch to the IN position.
• Next select the desired effect by using the SELECT
control. The Effects presets are arranged in logical
banks to help you keep organized. Each group
includes 10 presets in the following categories;
HALL, PLATE, CHORUS, SPRING, ECHO, ECHO2,
TAPE, MULTI EFX, VOCAL and PERFORMANCE. You
can dial the control clockwise to advance through
the effects preset list, or turn it counter-clockwise
to descend through the preset list. For this exer-
cise, let use a large room reverb. Use the SELECT
control to choose preset number 08.
• Now, slowly raise the effects LEVEL until you add
the desired amount of HALL reverb to your acous-
tic.
• If you want to add the EFX to the MIC or LINE
input on Channel 2, engage the EFX ON/OFF
switch on Channel 2.
Since the AC150's 5-inch full range speakers are
arranged in stereo pairs, you can hear stereo pan-
ning on some of the effects. You can find a complete
list of the 100 effects presets on page 71 of this
manual.
You can also use an optional footswitch, like the
Hartke FS1, and the rear panel FOOTSWITCH jack to
remotely turn the EFX on and off.
If no footswitch is connected to the FOOTSWITCH
jack, the red EFX LED will always illuminate indicat-
ing the Digital Effects are on, regardless of the posi-
tion of the channel EFX switch. The EFX LED will turn
off only when the effects are by-passed using the
footswitch.
Setting Up and Using Your Hartke AC75 and
AC150 Acoustic Amplifier


