


15
Installation and Registration
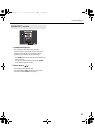
7. The message “Ready to install the driver.” appears.
Leave the screen open; do not close it at this point.
* If any other message appears, follow the directions of the message.
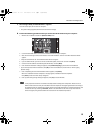
8. Perform the following procedure before you connect the VS-20 Hardware to your computer.
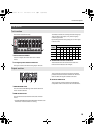
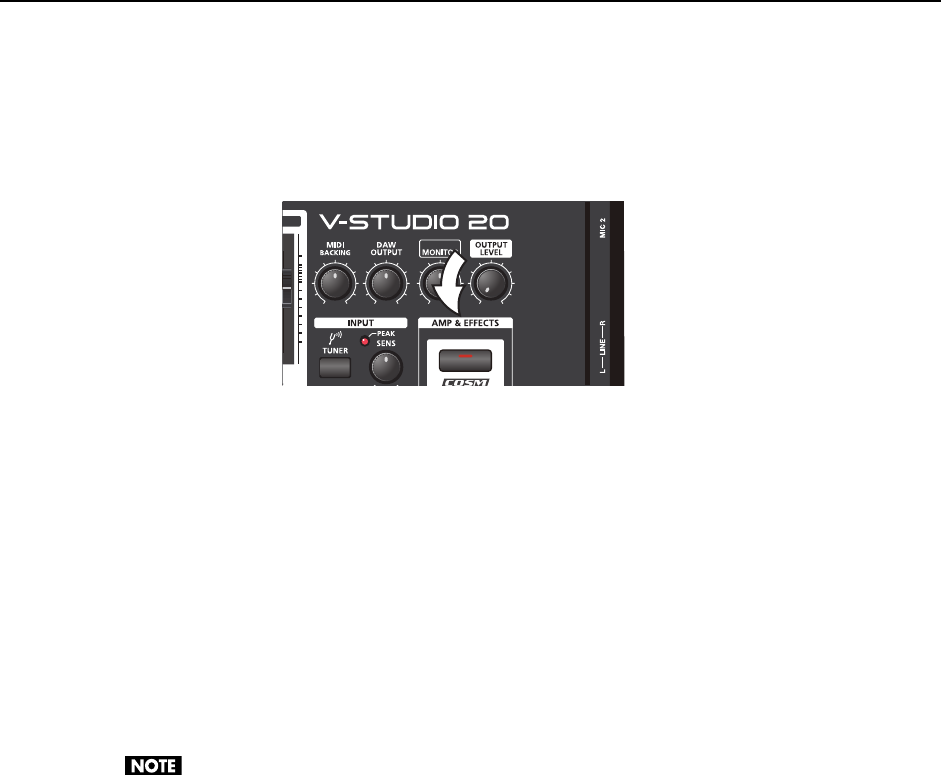
1. Minimize the V-STUDIO 20 hardware’s [OUTPUT LEVEL] knob.
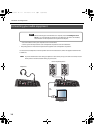
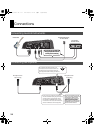
2. Use the included USB cable to connect the V-STUDIO 20 hardware to your computer.
3. Wait until the lower right of the screen indicates “Found New Hardware” and the “Found New Hardware Wizard”
appears.
* It may take some time for the “Found New Hardware Wizard” to appear.
4. If you are asked whether you want to connect to Windows Update, choose “No” and then click [Next].
5. Choose “Install the software automatically (Recommended)” and click [Next].
6. If the “Hardware Installation” dialog box appears, click [Continue Anyway] to proceed with the installation.
* If you cannot proceed with the installation, click [OK] to cancel the installation, and then refer to “Driver Signing
Options setting.”
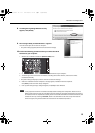
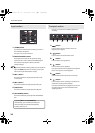
7. If the “Completing the Found New Hardware Wizard” appears, Click [Finish].
When the “Installation has been completed.” message appears, installation has been completed.
Click [Close] to close the “Driver Setup” dialog box.
8. If the “System Setting Change” dialog box appears, click [Yes] to restart Windows.
It is very important the driver is installed successfully before installing other components. Please be sure to
follow all instructions and verify the “Installation has been completed” messages appears before continuing. If
the installation was not completed successfully, disconnect the USB cable from the V-STUDIO 20 hardware, and
uninstall the driver by executing “Uninstall”, found in the same folder as the driver setup. Then install the
driver once again, being careful to follow the instructions for the installation procedure.
DIRECT
VS-20_e.book 15 ページ 2010年1月18日 月曜日 午前9時8分