


25
RQTV0141
Cassette tapes—Playback and Recording
You can use either deck 1 or deck 2 for tape playback.
Use normal position tapes.
High position and metal position tapes can be played, but the
unit will not be able to do full justice to the characteristics of
these tapes.
1 Press [21, TAPE].
The unit comes on.
If a cassette was loaded, play starts automatically
(One touch play).
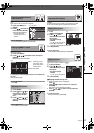
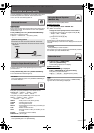
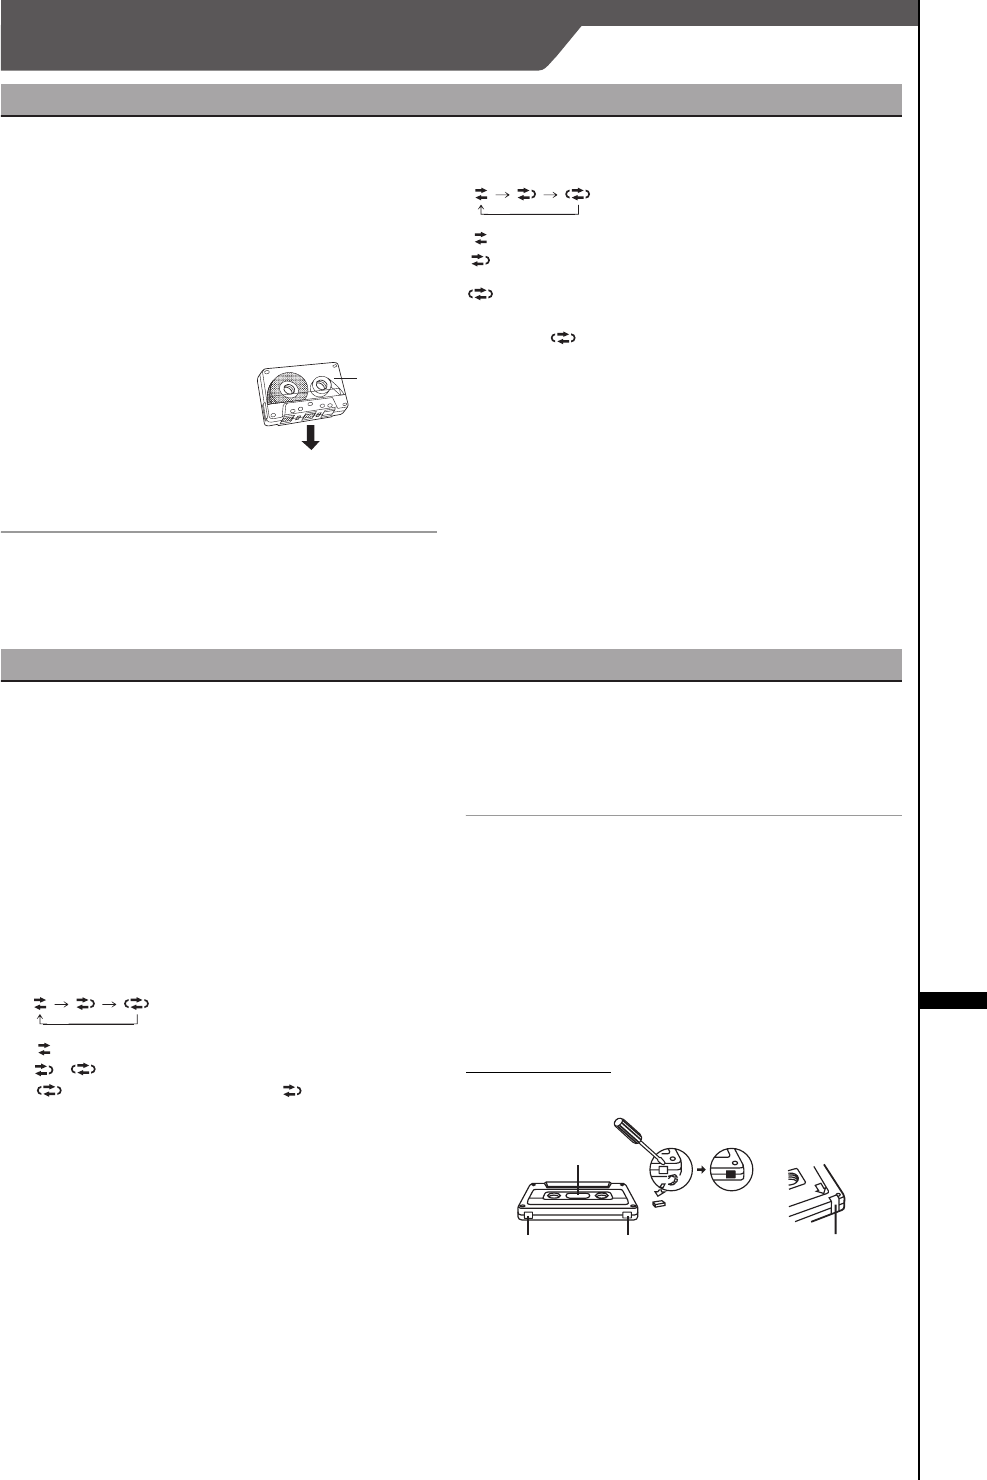
2 Press deck 1 [<, OPEN] or deck 2 [OPEN, <] on the
main unit and insert the cassette.
Insert with the side to be
played facing towards you and
the exposed tape facing down.
Close the deck by hand.
3 Press [21, TAPE] to start
playback.
Every time you press the button: F1 ,. 2R
F1: Forward side is played.
2R: Reverse side is played.
To stop tape playback
Press [∫].
To select the reverse mode
While TAPE is selected as the source
Every time you press and hold [PLAY MODE]:
: One side is played.
: Both sides are played. (forward > reverse)
Play stops at the end of the reverse side.
: Both sides are played repeatedly until [∫] is pressed.
To listen to 2 tapes consecutively, load a tape into each deck
and select “ ”. Both tapes will be played repeatedly until
[∫] is pressed.
To fast-forward or rewind
Press [:, C/REW] (rewind) or [9, FF/D] (fast-forward).
To select between loaded decks
Press [PLAY MODE] (main unit: [DECK 1/2]).
[Note]
≥Tape playback is momentarily interrupted if you open the
other deck.
≥Tapes exceeding 100 minutes are thin and can break or get
caught in the mechanism.
≥Tape slack can get caught up in the mechanism and should
be taken up before the tape is played.
≥Endless tapes can get caught up in the deck’s moving parts
if used incorrectly. Use tapes appropriate to this unit’s
auto-reverse mechanism.
Selection of tapes for recording
Use normal position tapes.
High position and metal position tapes can be used, but this
unit will not be able to record or erase them correctly.
Preparation:
≥
Wind up the leader tape so recording can begin immediately.
≥Press [21, TAPE] and then [∫].
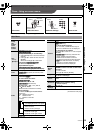
1 Press [OPEN, <] on the main unit to open deck 2 and
insert the cassette to be recorded.
Insert with the side to be recorded facing towards you and
the exposed tape facing down. Close the deck by hand.
The tape direction is automatically set to “F1”.
2 Press and hold [PLAY MODE] to select the reverse
mode.
Every time you press and hold the button:
: One side only records.
, : Both sides record. (forward > reverse)
“ ” is automatically changed to “ ” when
[¥, RECORD] on the main unit is pressed.
3 Select the source to be recorded.
Radio recording:
Tune to the required station. (l page 24)
Disc recording:
1 Insert the disc(s) you want to record.
Press [1, DVD/CD] and then [∫].
2 Prepare the desired disc recording mode.
≥To record programmed item [l do steps 1 and 2 on
page 15, Program play (up to 32 items)].
Ensure disc is stopped.
Tape-to-tape recording:
1 Press [21, TAPE] and then [∫].
2 Press [<, OPEN] on the main unit to open deck 1 and
insert the cassette you want to record.
4 Press [¥, RECORD] on the main unit to start
recording.
To stop recording
Press [∫].
If the tape finishes before the disc
The disc continues playing. Press [∫] to stop it.
[Note]
≥Multi-channel sources (3 to 5.1 channels) are automatically
down-mixed to 2 channels during recording.
≥Changes to volume and sound or field quality do not affect
recording.
≥You cannot open deck 1 while recording.
≥You cannot fast-forward or rewind one deck while recording
with the other.
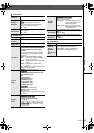
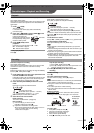
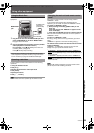
Erasure prevention
The illustration shows how to remove the tabs to prevent
recording. To record on the tape again, cover as shown.
To erase a tape
1Press [21, TAPE] and then [∫].
2 Insert the recorded tape into deck 2.
Ensure there is no tape in deck 1.
3 Press and hold [PLAY MODE].
4Press [¥, RECORD] on the main unit.
Playback
Front side
Recording
A
Side A
Tab for side B Tab for side A Adhesive tape
To re-record
Normal tape
Cassette tapes—Playback and Recording
SC-VK650GCSGCTGN.book 25 ページ 2006年4月17日 月曜日 午後5時47分