


14
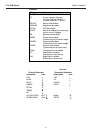
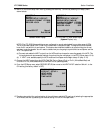
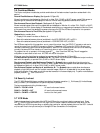
8. Select Time/Date from the Quick Setup menu. Enter the time format (12 or 24 hours), time, date format
(dd/mm/yyyy; mm/dd/yyyy; yyyy/mm/dd) and date information as requested. Use the direction (arrow) keys to
move the cursor and to scroll through parameter settings. Use the SELECT key to choose the parameter
you want to program and to save your selections. When you have finished programming all time/date
parameters, use the ZOOM key to return to the Quick Setup menu.
NOTE: The multiplexer encodes the time/date onto each field of video sent to the VCR. In the Live Display mode,
the time/date is displayed on the monitor. If the VCR's time/date display is ON, each screen in the playback mode
will also show the time/date. (You may want to switch the VCR time/date display OFF.)
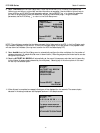
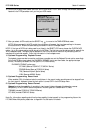
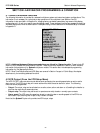
9. Select AutoSet from the Quick Setup menu to automatically configure the video multiplexer for the number of
cameras connected. (A sample AutoSet menu is shown below.) Recording, sequence, and video loss list are also
configured via this menu.
10. Selecting AUTOSET ALL BELOW will automatically set the record list, sequence, and video loss list (according
to the number of camera inputs detected by the multiplexer). Selecting any of the other options in this menu
will set only the selected option.
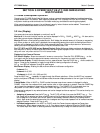
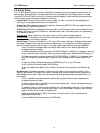
11. When Autoset is completed, a message indicating so will be displayed for nine seconds. The camera inputs
detected in the setup process are also displayed as shown in this sample screen.
LTC 2600 Series Section 2 Installation
TIME/DATE
>TIME FORMAT 12hr
TIME 01:00:00AM
DATE FORMAT MM/DD/YYYY
DATE 01/01/1998
Choose:SELECT More:V
Edit: >< Exit:ZOOM
AUTOSET
SETUP 1
>AUTOSET ALL BELOW
RECORD LIST
VIDEO LOSS LIST
SEQUENCES
Choose:SELECT More:V
Exit:ZOOM
AUTOSET ALL
SETUP 1
01 02 03 04 05 06 -- -- --
-- -- -- -- -- -- -- -- -- -- --
The above cameras were
included in selected system
list(s).
HIT ANY KEY TO CONTINUE