27
3. OPERATING INSTRUCTIONS
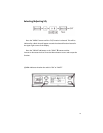
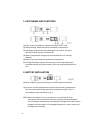
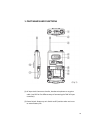
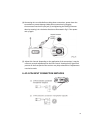
(1) Power on: when powering up the microphone, switch the power switch (2)
to the ON position- The Battery Status indicator will flash briefly, indicating
normal operational status. (b)When the indicator remains illuminated or
does not illuminate at all, the battery level is low or exhausted and must
be replaced for continued operation.
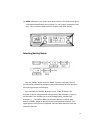
(2) Determine Channel/Group: After you power up the transmitter, check to
see that it is assigned to the same channel/group as the receiver. If
you find they do not match then follow the G/CH setup procedu
res
(pages 8 -9).
4. FUNCTIONS OF LCD DISPLAY
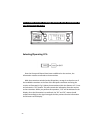
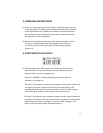
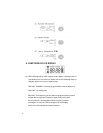
(1) "ERR" Message: when "ERR" appears in the display it indicates that an
operational error has occurred. Please refer to the following codes to
diagnose which error you are experiencing.
ERR no01 - EEPROM is not being programmed or internal data error
ERR no02 - For testing only
ERR no03 - The frequency you are about to program into the system exceeds the
microphone's frequency upper limit (At this time the microphone is still
operable and the frequency remains unchanged. To clear the "ERR" message
in the LCD display, simply turn off the power and switch back on.).
ERR no04 - The frequency you are about to program into the system is below the
microphone’s frequency lower limit (At this time the microphone is still operable
and the frequency remains unchanged. To clear the “ERR” message in LCD
display, simply turn off the power and switch back on.).


