30
6
7
Using the timer
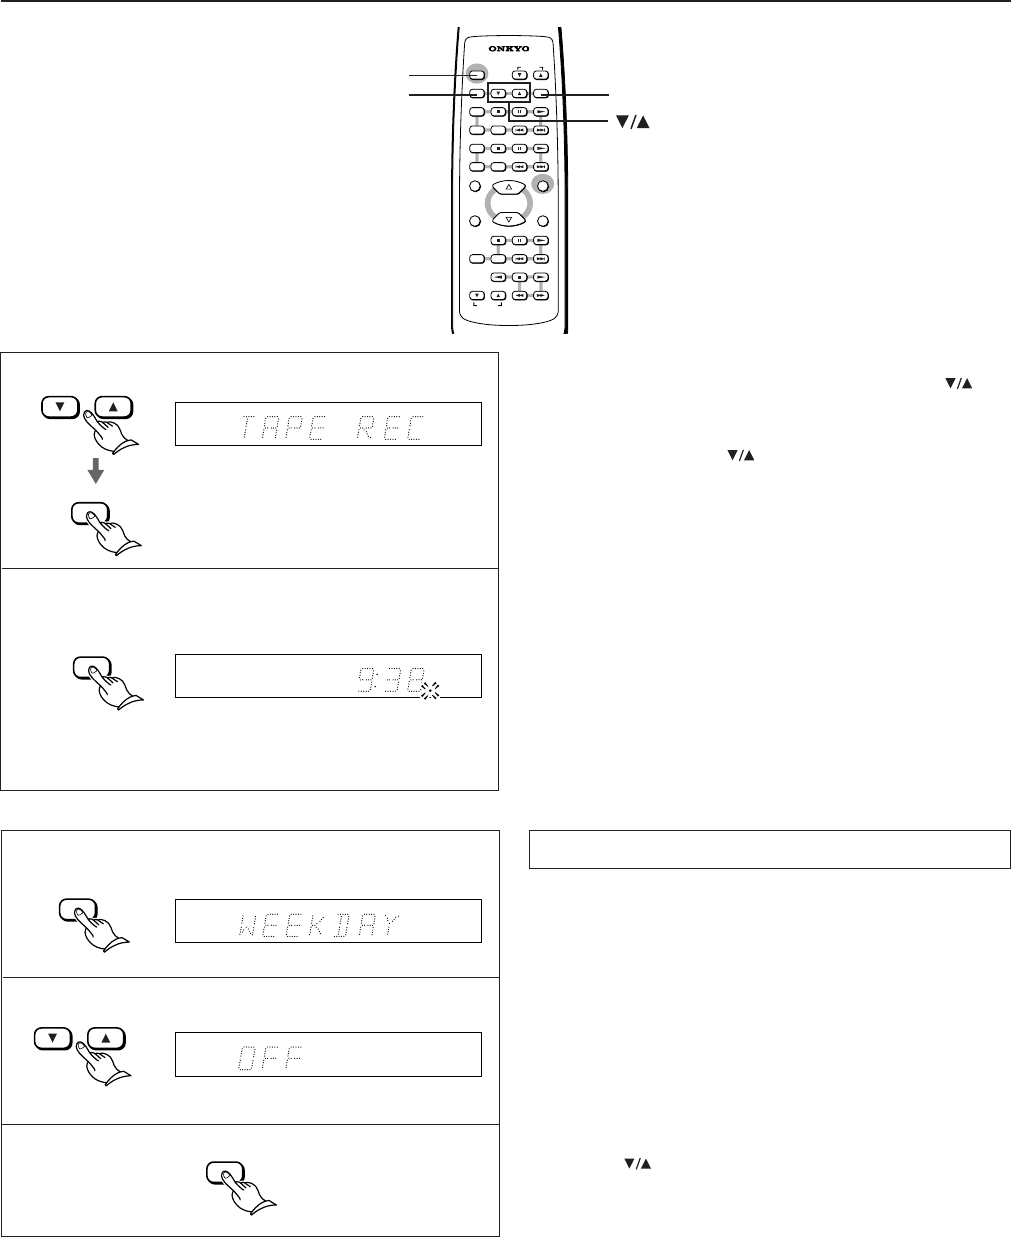
6. If you are using U. S. or Canadian models, skip this step. If
you are using Asian or European models, press the
but-
tons to select the recording component, and press the EN-
TER button.
Each time you press the
buttons, the display changes as fol-
lows.
MD, TAPE or MD/TAPE
Note
When you record analog FM or AM signals to an MD recorder,
be sure to use Analog In on the MD recorder.
7. Press the STANDBY/ON button on the remote controller to
set the Standby mode.
Notes
• Since muting is automatically turned on when the timer is used
to record, the sound cannot be heard during recording. To moni-
tor recording, press the MUTING button on the remote control-
ler to cancel muting.
• Timer recording is activated once. After recording, the REC mode
setting will be cancelled.
STEREO
TIMER
REC
STEREO
TIMER
REC
ENTER
V
O
L
U
M
E
U
P
V
O
L
U
M
E
D
O
W
N
REMOTE CONTROLLER
STANDBY/ON
INPUT
TIMER ENTER
RANDOM
MEMORY REPEAT
CD
PLAY MODE
SLEEP
A.PRESENCE
CLOCK
CALL
MUTING
REPEAT
MD
VOLUME
PLAY MODE
REPEAT
TUNER
PRESET
CDR
TAPE
SCROLL
RC-421S
Switching the timer ON/OFF
You can switch the timer ON/OFF to cancel the timer setting, to
enable the timer again, or to perform timer recording again.
When the Timer function is enabled, the selected timer mode such
as “WEEKDAY”, “WEEKEND”, and “REC” appears in the upper
left corner of the display.
Note
To switch the timer ON, first you need to program the time value.
1. Press the TIMER button repeatedly until the timer mode
(WEEKDAY, WEEKEND or REC) that you would like to
enable or disable appears on the upper left corner of the dis-
play.
2. Press the
buttons to switch the selected mode ON or OFF.
3. Press the ENTER button to confirm the selection.
1
2
3
AUTOTIMER
W.DAY
ENTER
TIMER
STANDBY/ON
ENTER
STANDBY/ON
