1. Carefully unpack and remove your unit from the box.
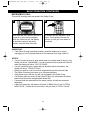
2. Make sure all the items have been included:
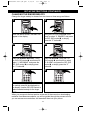
3. Make sure the Rechargeable Battery is installed or install the Rechargeable
Battery as described on the next page.
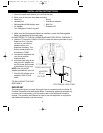
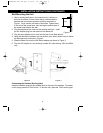
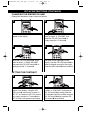
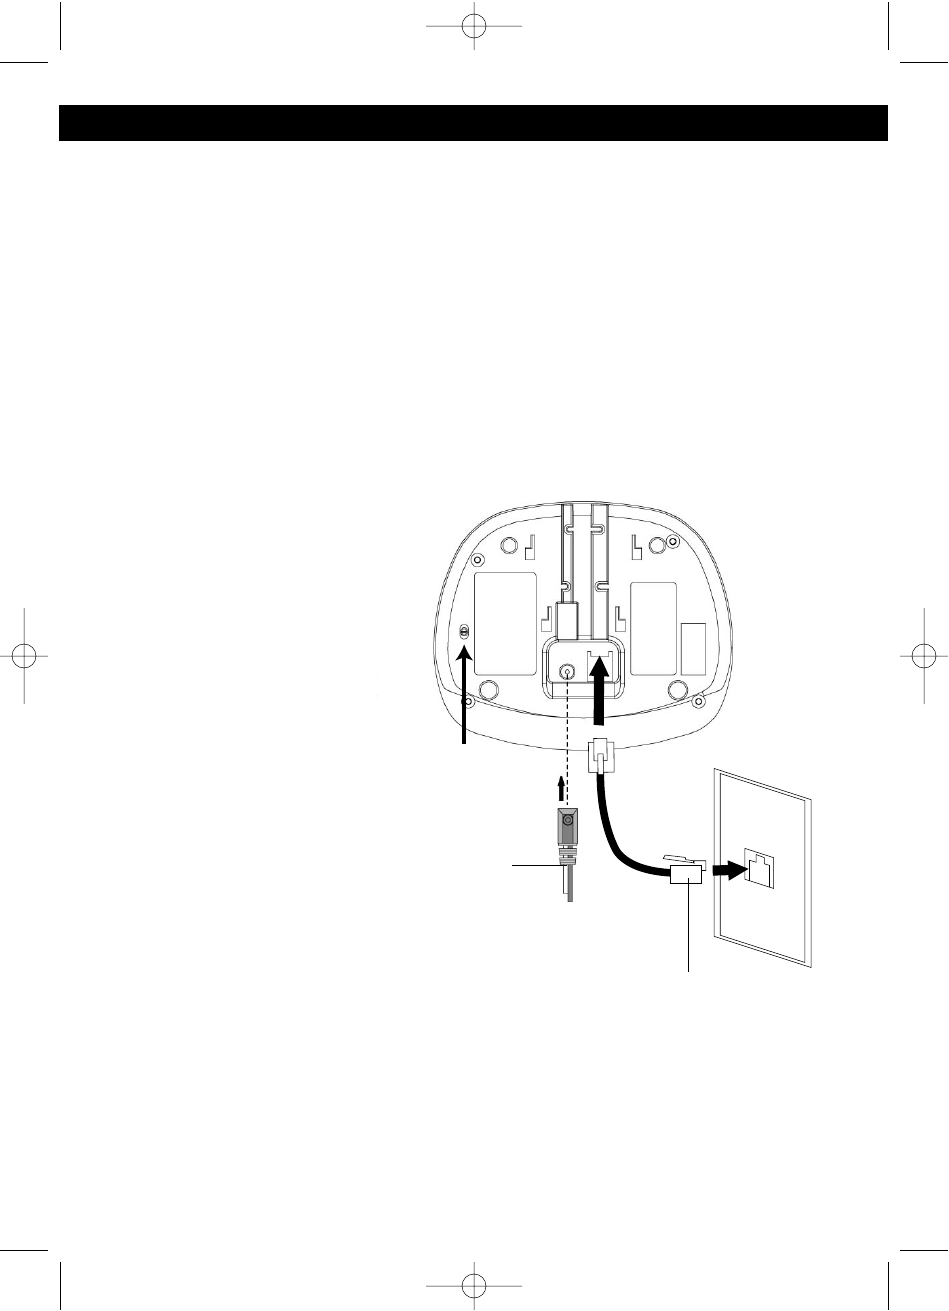
PLEASE REFER TO THE FOLLOWING DIAGRAM FOR STEPS 4 THROUGH 7:
4. Slide the T/P switch to TONE or PULSE to match the service provided on your
telephone line. If you are
not sure of your service,
please contact your
telephone company. The
factory preset position for
this switch is TONE.
5. Connect the telephone line
cord into a modular
telephone jack.
6. Insert the small plug at the
end of the AC adapter into
the DC power jack located
at the bottom of your unit.
NOTE: Use only the AC
adapter provided with your unit.
7. Plug the AC adapter into a
standard 120V AC wall
outlet.
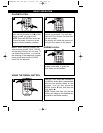
TO WALL MOUNT THE UNIT,
SEE PAGE 8.
6
INSTALLATION INSTRUCTIONS
TELEPHONE LINE CORD
AC ADAPTER
TO AC
OUTLET
P/T (PULSE/
TONE) SWITCH
IMPORTANT
The instructions given on pages 6 through 8 are for connection with the Caller ID
Cordless Telephone and the supplied Base. If connecting additional handsets (up
to seven can be connected), you will need to refer to the additional handset’s
manual. The operation and features on how to use this telephone in conjunction
with additional handsets, see this manual.
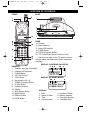
• Base Unit
• Handset Unit
• Rechargeable Ni-MH battery pack
• AC Adapter
• Two Telephone Cords (Long and
Short)
• Wall Mount Adapter
• Belt Clip
• Software CD
MCD4300BT.2002.O/M.QXD 4/19/02 9:57 AM Page 6


