


KRAMER: SIMPLE CREATIVE TECHNOLOGY
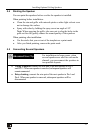
Installing Optional Ceiling Speakers
22
8. Tighten the strain relief fitting, if plenum cable
1
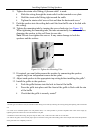
Slide the wiring through the strain relief on the terminal cover plate
is used:
Hold the strain relief fitting tight around the cable
Tighten the strain relief screws first and then the horizontal screw
2
9. Push the speaker into the ceiling hole until the front baffle rim is leveled with
the ceiling.
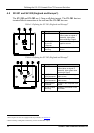
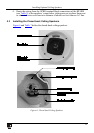
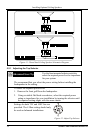
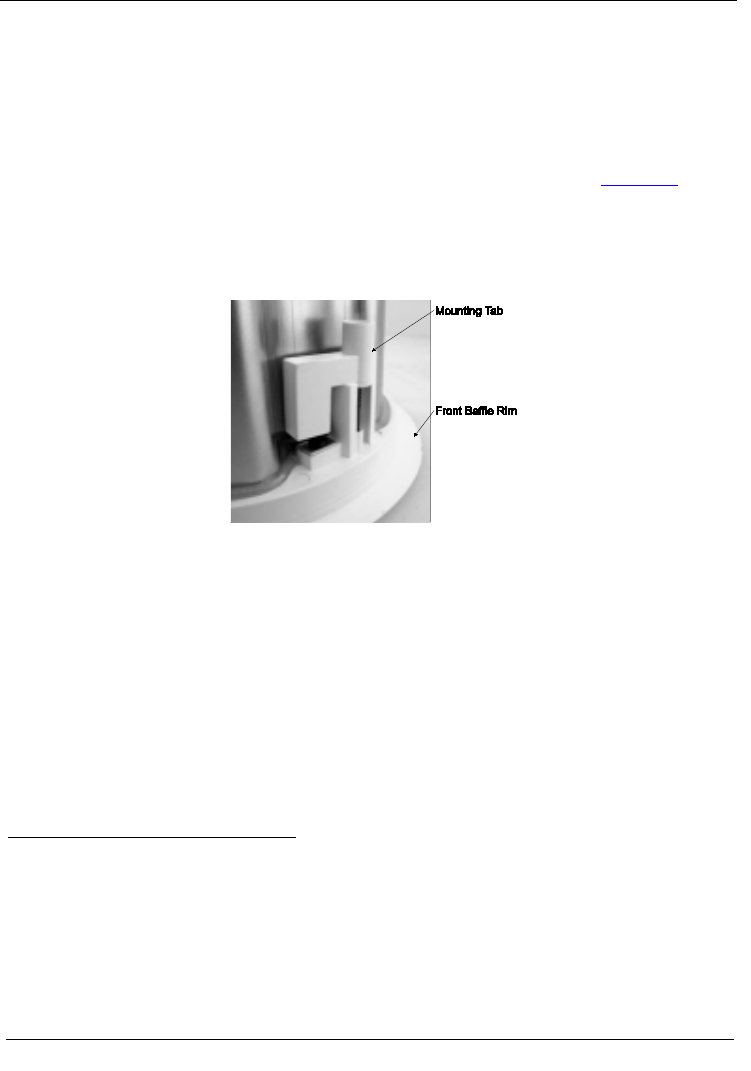
10. Tighten the mounting tabs by turning the screw clockwise (see
Figure 10
).
When tightening the mounting tabs, the tabs automatically turn outward, thus
clamping the speaker to the wall from its rear side.
Note: Do not over-tighten the screws. It may cause damage to both the
speakers and the surface.
Figure 10: Tighten the Mounting Tabs
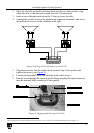
11. If required, you can further secure the speaker by connecting the speaker
support ring to an independent secure anchor point.
12. Adjust each speaker to the appropriate tap setting before installing the grille
3
13. Install the grilles to the speakers:
.
Push the grille fastener into the hole in front of the baffle
Press the grille into place until the front of the grille is flush with the rim
of the baffle
Check that the grille is securely seated
4
1 If other types of cables are used, an alternate conduit fitting can be used by removing the existing fitting and replacing with an alternate
one
2 In cases of an insulated speaker wire and plenum cable, it is often possible to provide acceptable strain relief force simply by
tightening the strain relief screws onto the terminal cover plate
3 In addition to the 4 ohm setting, the power taps are 30W, 15W, 7.5W and 3.7W at both 70.7V and 100V
4 To remove the grille, insert two bent paper clips into the holes in the grille and carefully pull it down. Repeat this around the perimeter
of the grille until it is completely removed