


20
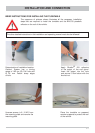
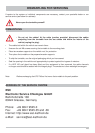
Remove the wood screws supplied from their transport attachment on the underside of the respective
mounting piece (2 pieces).
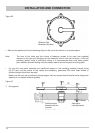
Vertically insert each mounting piece into the fi fth slot from the edge, as shown in Fig. 1.
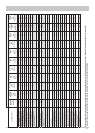
Then push each mounting piece downwards and outwards (see Fig. 2) until they lie fl at on the receiver
casing (see Fig. 3).
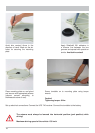
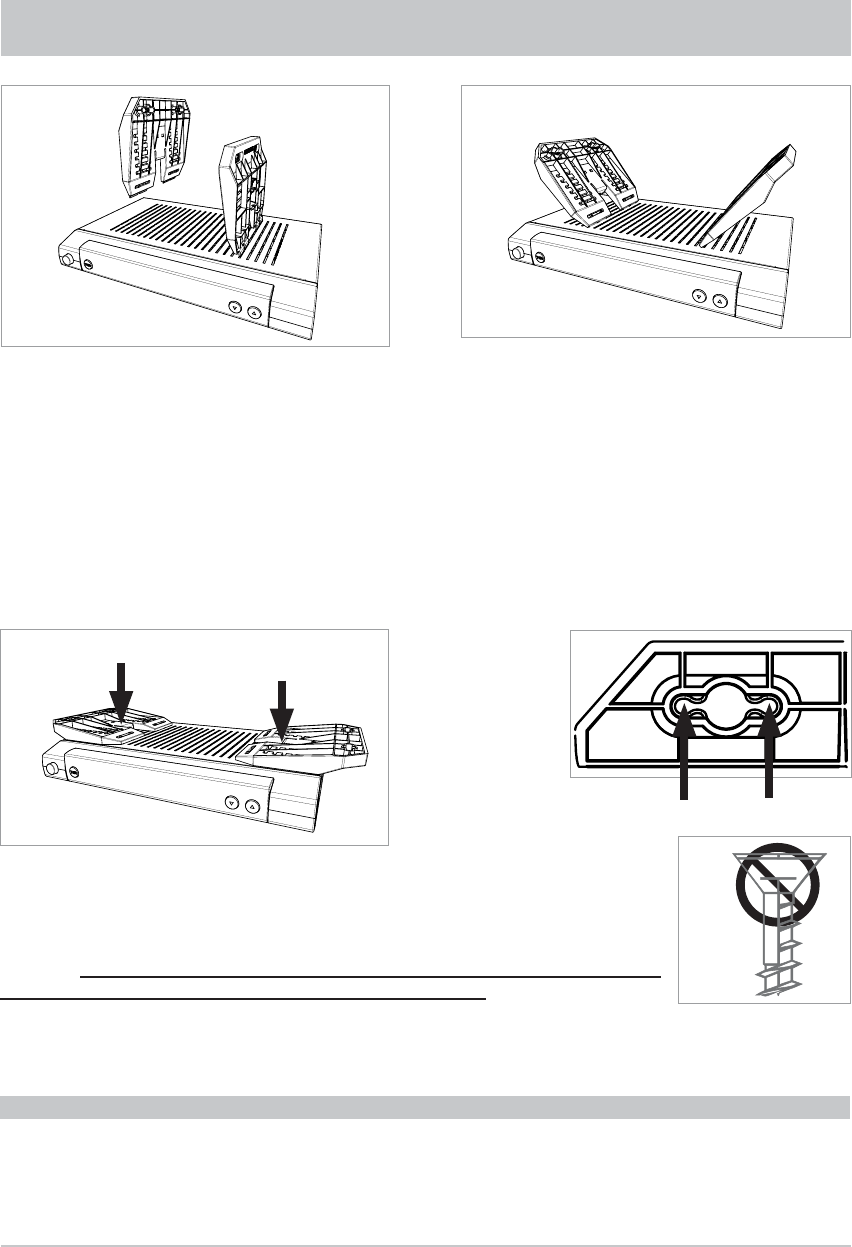
Now press the mounting pieces fi rmly against the receiver casing at the points shown arrowed in Fig. 3,
until the catch audibly snaps home in the receiver casing.
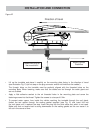
Now hold the receiver, with the installation kit attached, at the installation location.
Screw in the wood screws supplied through the smaller holes in the screw
attachment area (4 x) (see Fig. 4). Wherever possible, use the wood screws
supplied. If these are unsuitable, other screws of adequate size and strength can
be used. Under no circumstances however use countersunk wood screws,
since these can damage the attachment area (see Fig. 5).
Then screw all four screws fully home, so that the installation kit is no longer
able to come free.
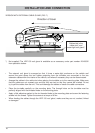
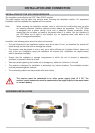
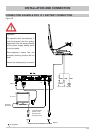
INSTALLATION ON A FIXED FLAT SURFACE
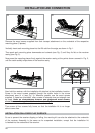
So as to prevent the receiver slipping or falling, the mounting kit can also be attached to the underside
of the receiver. Assembly is the same as for suspended installation, except that the installation kit
is hooked into the underside of the receiver.
INSTALLATION AND CONNECTION
or