


15
XL-MC334BK
LVT0022-001B [J]
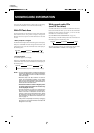
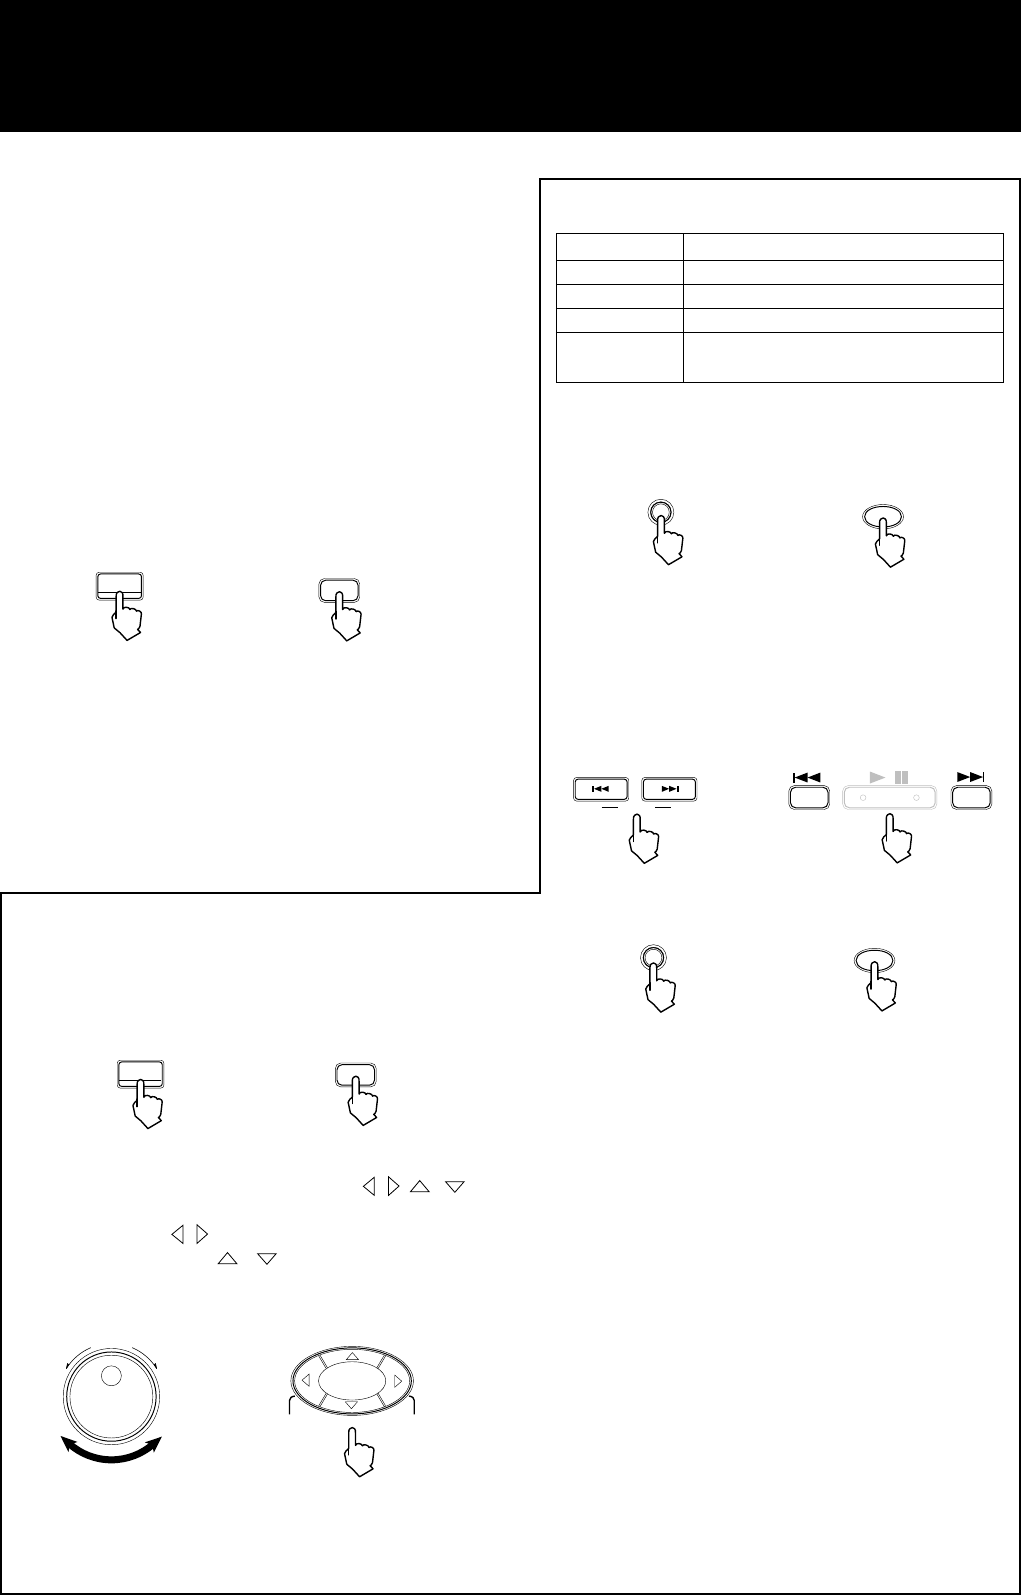
The following characters can be used.
Character type Available character
Upper case A ~ Z (space)
Lower case a ~ z (space)
Numeral 0 ~ 9 (space)
Symbol ! ” # $ % & ’ ( ) * + , - . / : ; <
= > ? @ [ \ ] ˆ _ ` { | }
~
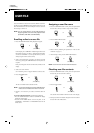
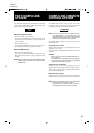
c) Press the ENTER button to enter the character.
The next position prompts for entry of the next
character.
You can manually store the Title information of each normal audio
CD. Each Title information includes Disc title, Performer and Genre,
and is displayed when the disc is selected.
(See “SHOWING DISC INFORMATION” on page 14.)
Title information stored may also be used for the search operation.
(See “SEARCHING FOR A DISC” on page 17.)
NOTE: You can store a Title not only while playback is stopped
but also during playback.
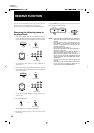
Storing Title information
1. Select a disc for which you wish to enter a Title.
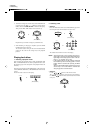
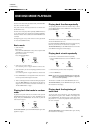
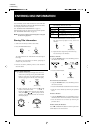
2. Press the TITLE INPUT button.
ENTERING DISC INFORMATION
TITLE INPUT
TITLE
INPUT
or
(Remote control)
The “TITLE INPUT” and “DISC TITLE” indicators light on
the display.
The leftmost disc information area blinks, prompting for
character entry of the disc title.
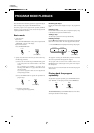
3. Enter the disc title by following “How to enter characters”
shown the below.
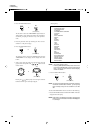
CHARACTER
CHARACTER
or
(Remote control)
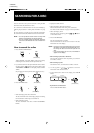
DISC/TRACK
DOWN
UP
+10DISC
–10DISC–1DISC
+1DISC
or
(Remote control)
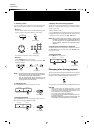
How to enter characters
a) Select the character type from upper case, lower case,
numeral and symbol by pressing the CHARACTER
button as many times as required until the desired
character type appears in the entry area of the display.
ENTER
ENTER
or
(Remote control)
b) Select a character by the jog dial or / / /
buttons on the remote control.
Pressing the
/ buttons selects the next character,
while pressing the
/ buttons jumps to the 5th
character forward/backward from the character
currently displayed.
d) Repeat the above steps until you finish the entry.
You can enter up to 32 characters.
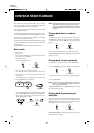
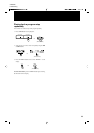
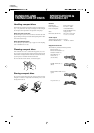
To delete a character:
1. Using the 4 / ¢ buttons, move the blinking cursor to
the character to be deleted.
2. Press the CANCEL button.
/
CURSOR
<>
or
(Remote control)
CANCEL
CANCEL
or
(Remote control)
To correct an incorrect character:
1. Using the 4 / ¢ buttons, move the blinking cursor to
the incorrect character.
2. Press the CANCEL button to delete the incorrect character.
3. Enter the correct character by following the procedure
above.
To insert a character:
1. Using the 4 / ¢ buttons, move the blinking cursor to
the character before which a new character is to be inserted.
2. Enter the character to be inserted by following the
procedure above.
To delete (cancel) all characters:
Press the 7 (STOP/CLEAR) button on the front panel or the
CLEAR button on the remote control.