– 34 –
Recording Any Sound Source
—Standard Recording
The following recording method can be applied to any
sound source.
On the unit ONLY:
1
Select the source to record from.
•
When recording from 3-CD Changer:
– Press CD 3 / 8, then 7. To select a disc, press
DISC repeatedly, then 7.
You can also use the remote control. When using it,
press CD1, CD2, or CD3, then 7.
– If the current play mode is either Program Play or
Random Play, press FM/PLAY MODE on the
remote control to select Continuous Play.
•
When recording an FM/AM (MW/LW) broadcast:
Press SOURCE repeatedly to select FM or AM
(MW/LW), then tune into a station you want.
•
When recording from external equipment:
1 Press SOURCE repeatedly to select “LINE.”
2 Press LINE REC SELECT (inside the sliding
panel) repeatedly to select either “ANALOG IN”
or “DIGITAL IN.”
ANALOG IN: To record through the LINE IN
jacks (analog-to-digital recording).
DIGITAL IN: To record through the LINE
DIGITAL IN terminal (digital-to-
digital recording).
2
Insert a recordable CD-R or CD-RW on the CDR
disc tray.
3
Press REC PAUSE so that CD Recorder enters
recording pause mode.
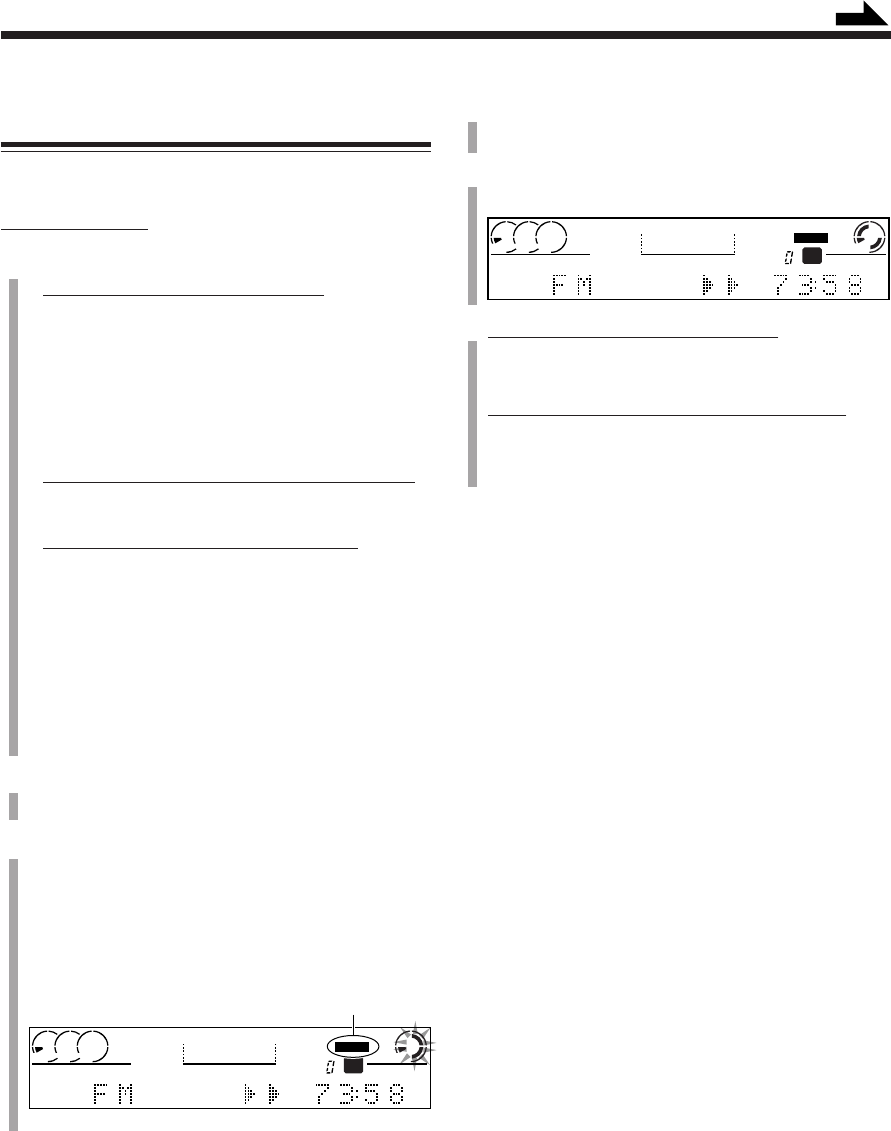
The REC indicator starts flashing on the display, and
the CDR lamps also start flashing.
• If OPC (see page 32) is being performed, “UPDATE
OPC” flashes first in the main display.
Ex.: When recording an FM station
Selected recording method—
digital or analog—is shown here.
CD
-
RW
UNFINALIZE DISC
AUTO TRACK
d
B
REC LEVEL
STEREO
321
OVER
ANALOG
REC
CD
-
RW
UNFINALIZE DISC
AUTO TRACK
d
B
REC LEVEL
STEREO
321
OVER
ANALOG
REC
Continued
4
Adjust the recording input level if necessary.
See “To adjust the recording input level” on page 35.
5
Press CDR 3 / 8.
Recording starts.
6
When recording from 3-CD Changer:
Press CD 3 / 8.
• Recording stops when a selected disc is recorded.
When recording from the external component:
Start playback.
• For details, see the manual supplied with your
component.
To stop recording for a moment, press REC PAUSE (or
CDR 3 / 8) again.
To resume recording, press CDR 3 / 8 again. (A track
mark is recorded when you resume recording.)
To stop recording, press 7.
• When recording from 3-CD Changer, both 3-CD
Changer and CD Recorder stop.
To remove the recorded disc, press 0 CDR.
“FINALIZE ?” flashes in the main display for a while.
• If you do finalize the disc, press FINALIZE.
Remember once you finalize a CD-R, no further
recording can be made on the disc. (For more details, see
“Finalizing a Disc—CD-R/CD-RW” on page 41.)
• If you do not finalize the disc, press 0 CDR again.
To fade in and fade out the recording
You can fade in and fade out the recording—for about 5
seconds—when using Standard Recording.
To start recording by fading in, press FADE IN/OUT on
the unit in step 5 of the Standard Recording procedure (in
other words, while CD Recorder is in recording pause).
To pause recording by fading out, press FADE IN/OUT
(instead of the 7 button) when you want to pause the
recording.
To stop recording, press 7.
EN31-41_CA-NXCDR7R[B]_f 01.7.23, 10:00 AM34


