Pressing the Enter Button K displays a dropdown
menu with the selections available for that setting. Use
t
he
⁄
¤
N
avigation Buttons
n t
o highlight the
appropriate setting, and then press the
Enter Button
K to select it.
You will notice that the adjustments for speaker size
and distance (used to calculate delay times) are set in
tandem for the front left and right speaker pair, and for
the surround left and right speaker pair. Changing the
settings for either speaker in these pairs also affects
t
hat setting for the other speaker in that pair. For this
reason, it is important to select the same brand and
model for both speakers in each pair, and also to
place them at about the same distance from the
listening position.
Speaker Size: Speaker size is part of the bass man-
agement system which determines which frequencies
are sent to the specific speaker position, and which
are sent to the subwoofer. The designation of “size”
does not refer to the speaker’s physical size, but rather
to the lowest frequency a speaker can handle. For this
purpose, “full-range” speakers are considered “large,”
while those not capable of reproduction below 100Hz
are considered “small.” In general, if you are using
a packaged speaker system with smaller satellite-
type speakers and a subwoofer, you should select
Small for all five speakers. Large should
only be selected if you are certain that your speakers
are capable of handling extreme low-frequency
sounds.
Delay Time: This setting is used to compensate for
the time it takes for sound to reach you from each
speaker position, as some speakers may be placed
further from the listening position than others. Select
the distance from the speaker to your listening position
by choosing one of the distance settings shown. This
setting is not available for the subwoofer.
Output Level: This setting is used to maintain bal-
anced reproduction and sound field presentation.
The
goal is to make certain that the sound is heard from
each speaker position with equal loudness. You may
simply enter the same speaker level output settings
already used for your receiver or processor. Alter-
natively
,
you may use a test disc that outputs a fixed
tone to all speakers at the same time and adjust the
settings here so that the tone is heard at the same
level (loudness) from all speakers.
For the subwoofer, the settings are slightly different.
Select
On when a subwoofer is connected,
or
Off
if one is not used. The second setting for the sub-
woofer is the crossover. This determines which sounds
will be sent to the subwoofer
, and which to the main
speakers when
Small is selected as the speaker
size for any of the speakers.
Select the frequency from
those shown that is closest to the lowest frequency
your main (left/center/right/surround left/surround
right) speakers are able to reproduce. If you are not
familiar with that information, it may be found in the
o
wner’s manual for your speakers. The output level
should be set the same way as for the other speakers.
When you have finished entering all settings on this
menu, use the
⁄¤‹› Navigation Buttons n
to highlight the word Done at the bottom of the
screen, and then press the
Enter Button K to
enter your settings into the DVD 37’s memory.
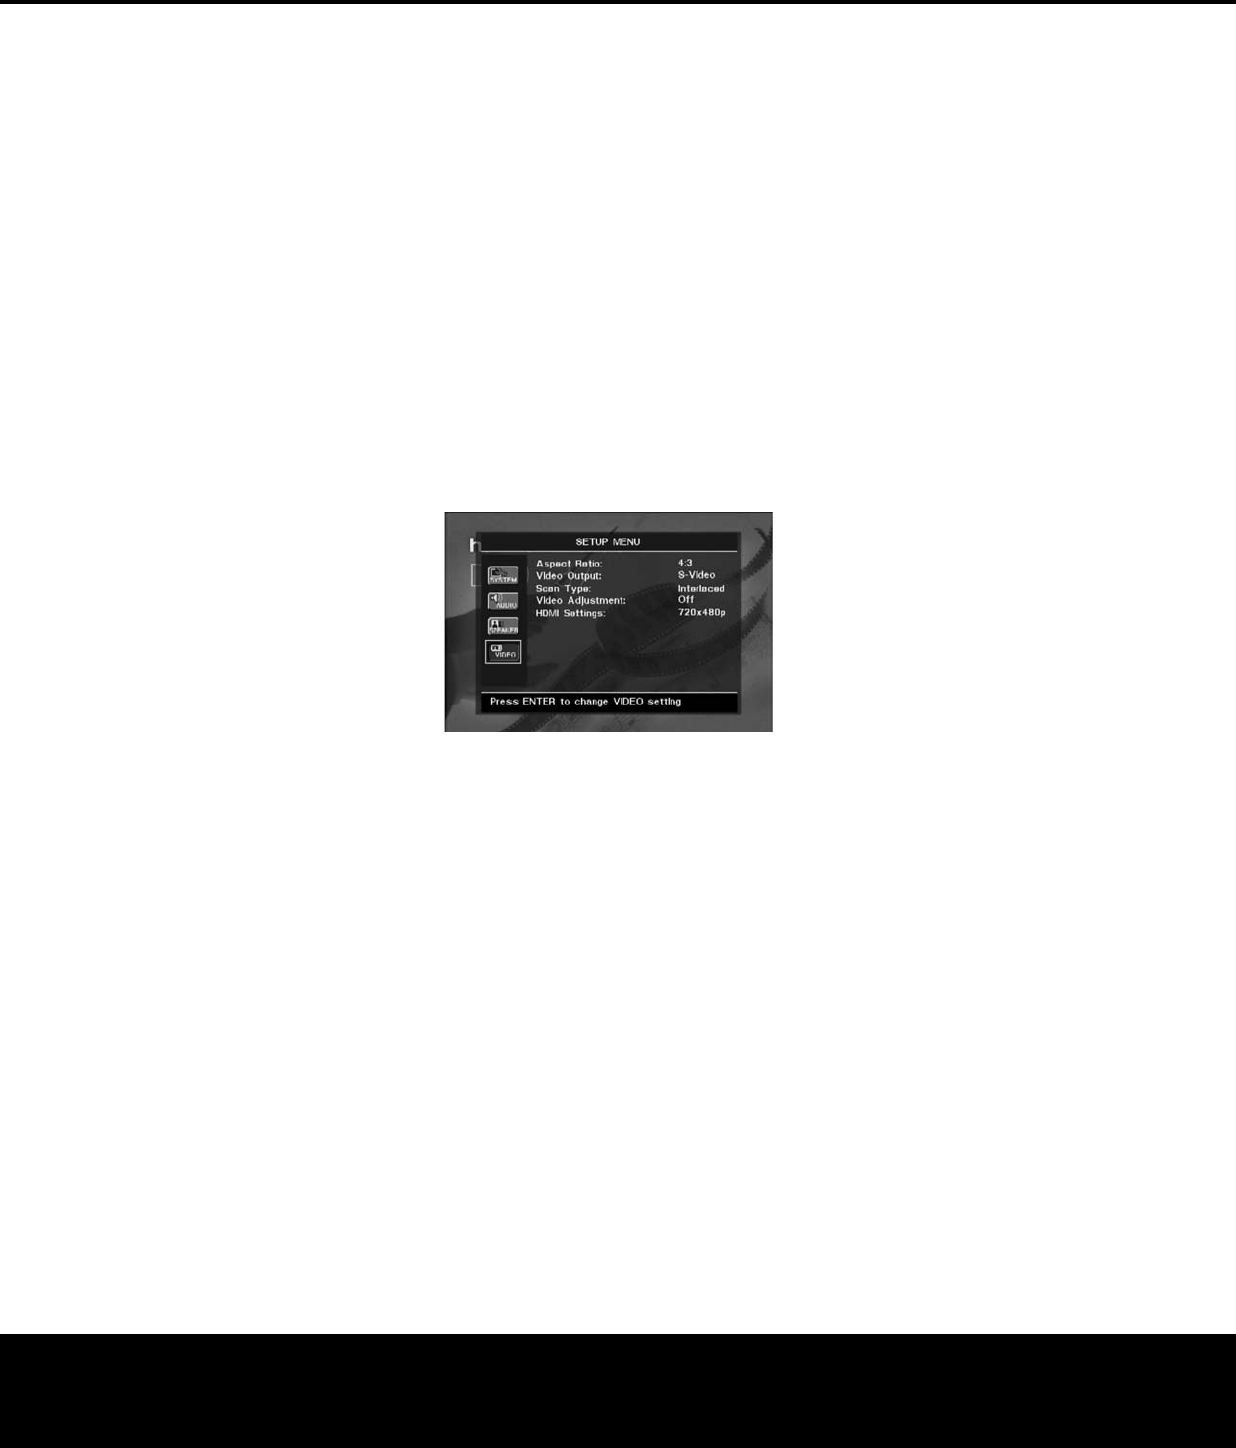
Video Setup Submenu
This menu establishes the DVD’s configuration for
video format settings such as aspect ratio and output
scan. It also allows access to the Video Adjustments
banner (see next section).
As with all setup menus, press the
Setup Button j
to activate the main menu screen, and then press the
⁄
¤
Na
vigation Buttons
n until the VIDEO
SETUP
icon is highlighted, and then press the
Enter Button K.
Figure 8
The following adjustments are available on the Video
Setup menu:
Aspect Ratio: This setting selects the aspect ratio
of video programming. Your choice should be made
according to the shape of your video display and your
personal preferences. When the
HDMI Output 2 is
used, the aspect ratio will automatically be set appro
-
priately for the specific display. However, you may
select an alternate view. For most other video displays,
make sure the Aspect Ratio setting is correct for your
display. Two choices are available:
•
16:9: If you have a widescreen (16:9) display
,
or a
display that has a widescreen mode
, choose this
setting. With this setting, the DVD 37 will adjust the
output for widescreen movies so that they fill the
entire screen in the proper aspect ratio. However, in
this setting a disc recorded in the 4:3 aspect ratio
will appear in the widescreen as a boxed image in
the center, with black columns on the left and right
side of the screen. If the widescreen option is chosen
and a widescreen movie is played on a conventional
4:3 aspect-ratio set, the image will be distorted
due
to vertical compression.
• 4:3: If you have a standard, 4:3 aspect ratio video
display, choose this setting. You will see the entire
f
rame of the movie as it is recorded on the disc
without any image cutoff at the left and right sides.
While this allows widescreen movies to be shown in
their entirety, they will occupy a smaller portion of
t
he screen and black “letterbox” bars may appear
a
t the top and bottom of the screen.
Video Output: This setting selects between the
S-Video Output • and Component Video
O
utputs
§,
which are not available simultaneously
If you have connected one of these outputs to your
video display and the screen is blank, you will need to
temporarily connect the
Composite Video Output
¶ to your TV in order to view the on-screen menus
and change this setting.
Scan Type: This setting allows you to select
between progressive and interlaced scanning for
the
Component Video Outputs § to maximize
the image resolution for the type of video display in
use. The output at the
S-Video • and Composite
Video
¶ outputs will always be standard-rate video
that is compatible with any television set or video dis-
play. Two choices are available:
•
Progressive: Select this option if you have a video
display that is compatible with input sources of
480P or greater. Displays labeled as “HDTV Ready,”
including virtually all large-screen LCD and plasma
displays, are compatible with progressive scan.
•
Interlaced: Select this option when you are using
an older video display that has Y/Pr/Pb component
inputs, but which is not capable of displaying high
scan rate, or “HD” signals.
NOTES:
1. The Scan Type may only be changed when the
Video Output setting has been set to Component.
2. If you have connected the DVD 37 to a video dis
-
play that is not capable of displaying progressive
scan video using the
Component (Y/Pr/Pb) Video
Outputs
§, and you have inadvertently changed
the Video Output Setting to Component
and the
Scan Type setting to Progressive, you may reset
the scan type to interlaced by pressing the
Setup
Button
9 to deactivate the Setup menu system.
Then press the
Progressive Scan/Interlaced
Button
J.
The display will blink,
indicating that
the scan type has been reset to interlaced mode.
Alter
natively, as a last-resort measure, you may
completely reset all of the DVD 37’s settings,
including the scan type
,
by exiting the on-screen
menu system and pressing and holding the
Clear
Button
d for five seconds. The display will blink,
and all settings will return to the factory defaults.
Video Adjustment: Use this setting to access the
Video
Adjustments banner by changing the setting
SYSTEM SETUP
SYSTEM SETUP 23
DVD 37 (120V) OM 8/7/06 4:10 PM Page 23


