


12
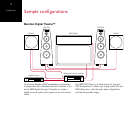
DSP7200 and
DSP7200HC
Unpacking
Before you begin installation you should ensure that
your DSP loudspeakers are the correct voltage for your
local AC supply. If they are not, do not try to install
them, and contact your dealer.
You should not make any connections to the DSP
loudspeakers, or to any other component in your
system, while the AC power supply is connected and
switched on.
Unpacking
The unpacking instructions are provided on a separate
leaflet enclosed with the speakers. Please refer to this
before proceeding.
Care when unpacking
Take great care when unpacking or repacking the DSP
loudspeakers that you do not put undue pressure on
the face containing the drive units, as they may be
damaged if pressed.
Components
Each pair of DSP loudspeakers is supplied with the
following components:
The DSP loudspeakers complete with grilles.
A hex wrench (3mm) for the drive units.
One power cord per speaker.
This user guide.
If any of these items is missing please contact your
dealer. We suggest that you retain the packaging
carefully for maximum protection in transit.
Caution
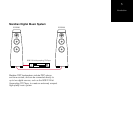
Meridian Audio has taken every care in the design,
assembly, finishing and packing of this product. The
high gloss finish on parts of the cabinet is achieved by
painting up to five coats of polyester lacquer onto the
plywood, each one hand polished.
•
•
•
•
Due to the product size and high technology cabinet
construction, small marks on the lacquer surface may
be visible when unpacked. These small marks can
usually be removed as described in Cleaning, page 37.
It is the nature of all lacquer finishes to shrink over
time. This is unavoidable and may result in cabinet joint
lines becoming visible.
Meridian Audio has supplied products using lacquer
finishes for many years and we are confident that
when carefully used your product will return a lifetime’s
enjoyment.
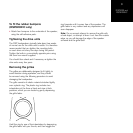
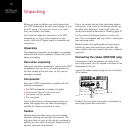
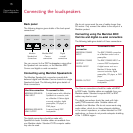
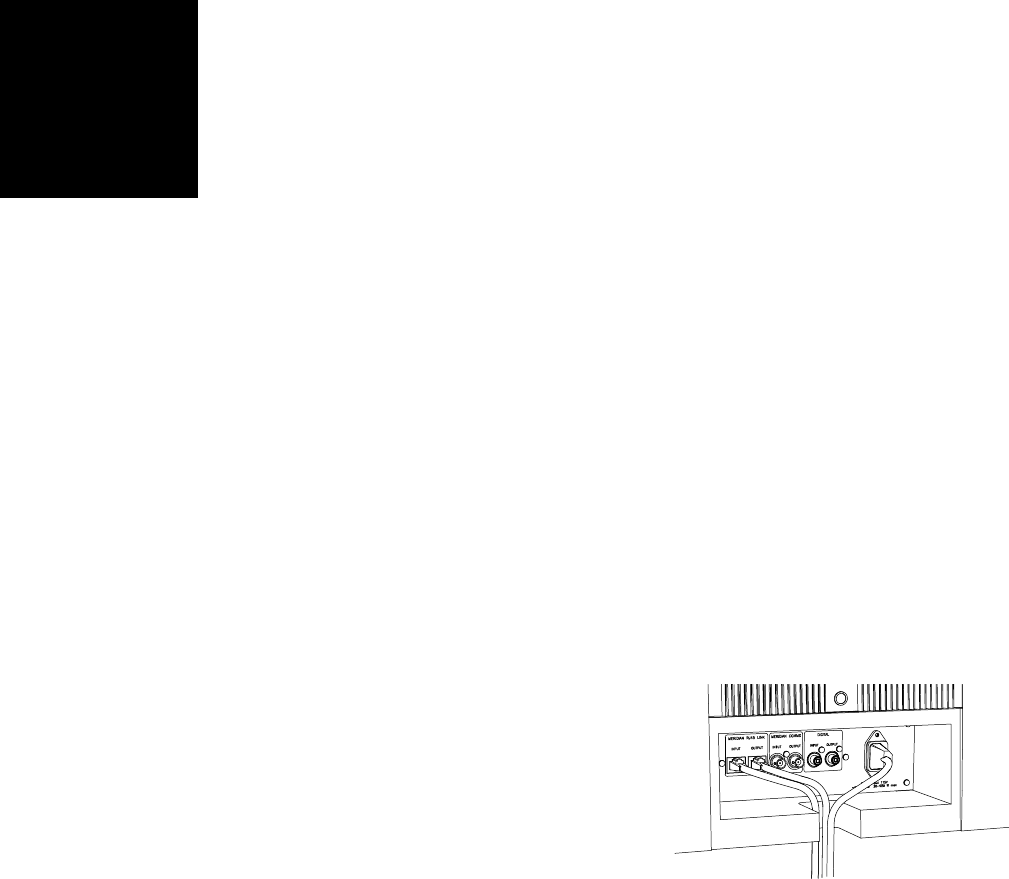
Connecting the cables (DSP7200 only)
Connections to each loudspeaker are made to the
input/output panel, which is located at the base of the
loudspeaker to the rear.
Lead all the cables neatly through the slot in the base
of the cabinet:
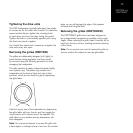
Finally fit the cover plate into position, concealing the
input/output panel and connections.