


Page 14
Page 15
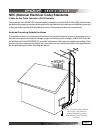
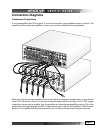
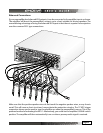
Installation and Connections
Observe the following precautions when choosing a location for your Emotiva MPS-1:
1) Protect it from prolonged exposure to direct sunlight and other direct sources of heat, such as heating
vents and radiators.
2) Do not expose the unit to rain or moisture. If uid or a foreign object should enter the unit, immediately
turn o the power and contact your Emotiva Dealer.
3) Avoid excessive exposure to extreme cold or dust.
4) Do not place heavy objects on top of the unit.
5) If you need to clean the front surface, rst turn o the power and then use a soft dry cloth, rubbing with
the grain. Be careful not to scratch the display window.
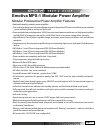
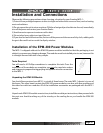
Installation of the EPM-300 Power Modules
The MPS-1 is shipped without the EPM-300 power modules installed so that the packaging is not
subject to unnecessary shipping damage. The modules must be installed prior to use, however this
is a straight forward task and is very simple.
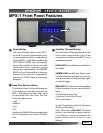
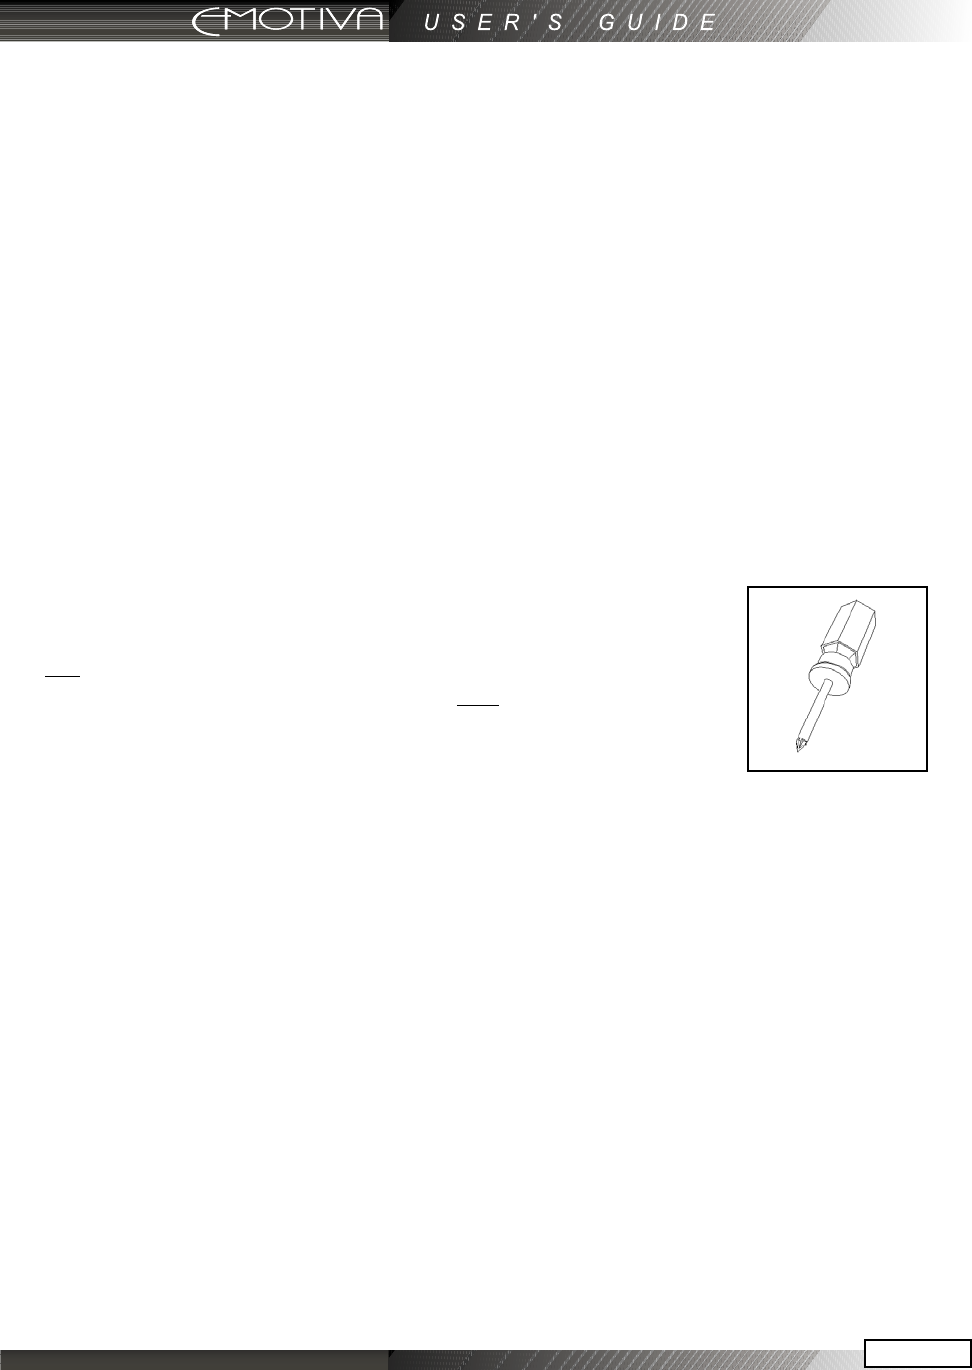
Tools Required
You will need a #2 Phillips screwdriver to complete this task. Once the
installation of the modules are complete, you may also need wire cutters
and strippers to prepare the trigger plug and speaker wires for connection
to the MPS-1.
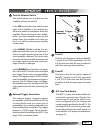
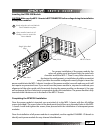
Unpacking the EPM-300 Module
You should have received your MPS-1 in a total of three boxes. The main MPS-1 chassis is in one of
the boxes. The other boxes contain the EPM-300 power modules, one box with ve modules and
the other box with two modules. All of the installation accessories are packaged with the MPS-1
chassis.
Unpack each EPM-300 module one at a time, install the module per instructions, then proceed with
the next one. Avoid touching any of the circuitry or the cooling fan as you handle the EPM-300
module.